Only one rule can be created per scope. The archiving scope cannot be broader than the profile scope.
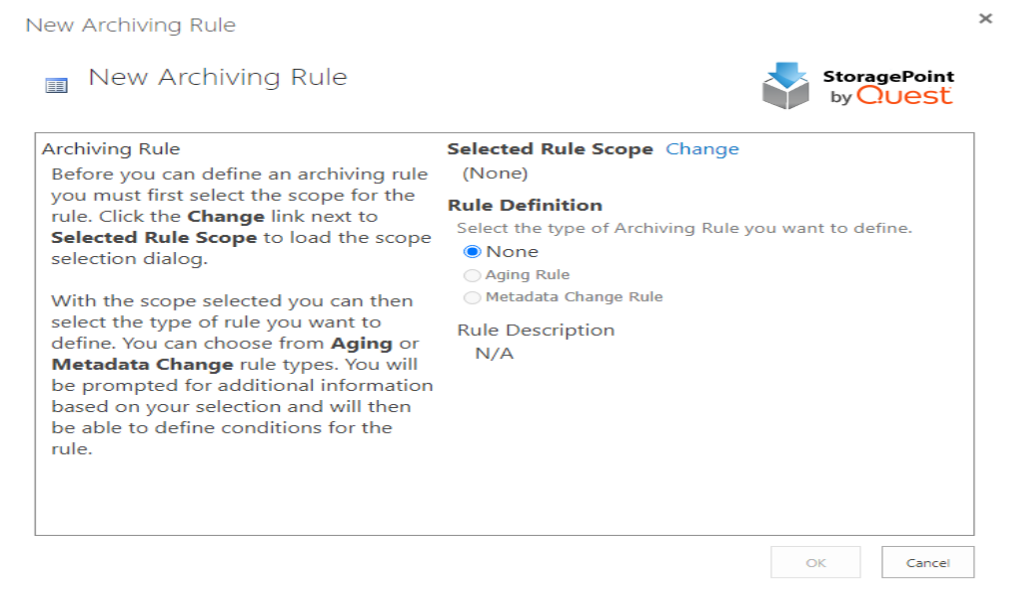
1.Expand the Archiving Configuration section on the profile. Click New Rule.
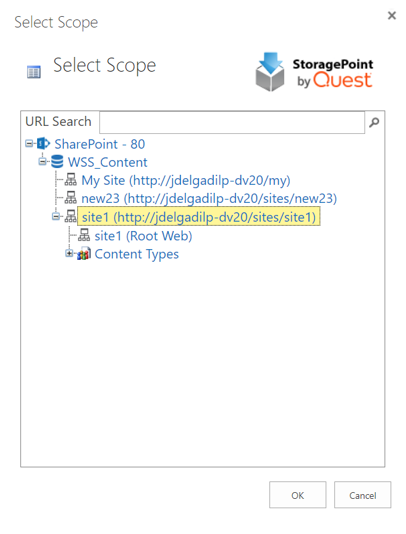
2.Click the Change link to select the scope (i.e. site collection, site, list, or content type).
3.Enter part or all of the URL to search for a scope or drill down in the hierarchy to select the scope, and click OK.
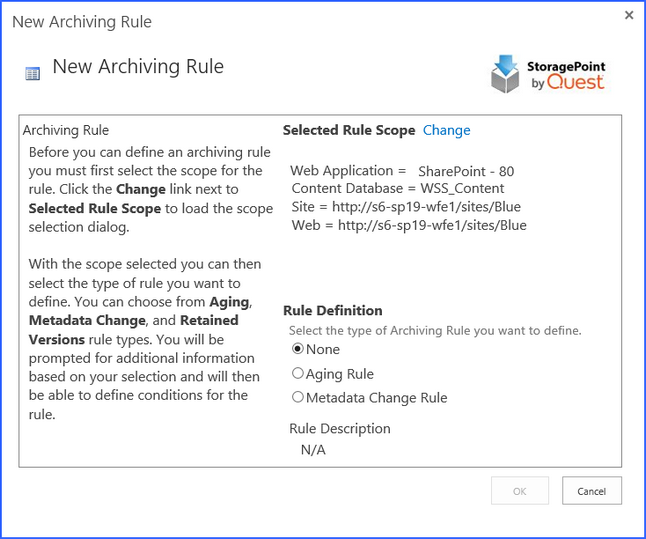
4.Note the selection in the Selected Rule Scope section.
5.Select the type of Rule Definition:
a.None No changes will be saved.
b.Aging Rule This rule looks for content that has aged beyond the defined time period(s) and triggers the content to be moved to different storage endpoint(s). See Aging Rules below.
c.Metadata Change Rule This rule captures changes in an items metadata and triggers the content to be moved to different storage endpoint(s). See Metadata Change Rules below.
The scope of a rule cannot be edited once it is saved. To change the scope, delete the rule and recreate the rule with the corrected scope and rule definitions.
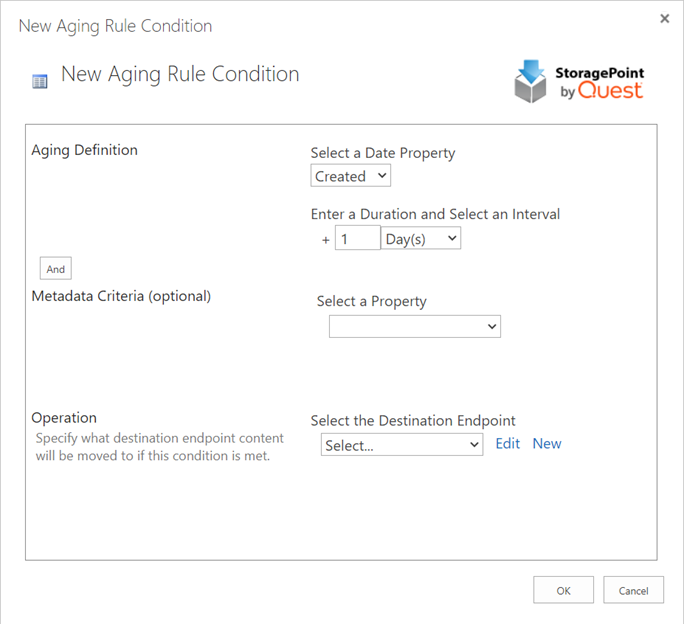
1.From the New Archiving Rule page, click the Aging Rule option.
2.Select the Date Property (i.e. Created, Modified, or some user defined data/time property) to be used to calculate the age of the content.
3.Click the New Condition link.
4.On the New Aging Rule Condition page, select as Date Property (Created or Modified) that this rule will be based on.
|
|
NOTE: Last Access Date only works if it has been enabled on the profile. See Creating a New Storage Profile for more details. However, the archiving condition can be configured and then enable the Last Access Date on the Profile. |
5.Enter the time period (duration and interval) that needs to elapse before the content is moved.
6.Select AND/OR for the condition by clicking on the button. AND will include both the Aging Definition and Metadata Criteria, while OR will include either the Aging Definition or Metadata Criteria in the condition.
7. (Optional) Select a Property in the Metadata Criteria section, and specify a value. This condition creates a compound archiving rule.
a.If selecting AND as the condition, both conditions need to be true.
b.If selecting OR as the condition, one condition needs to be true.
8.Select the archive endpoint from the dropdown or click New or Edit as needed. See Creating a New Storage Endpoint for steps.
9.Click OK. (Click Cancel to return to the New Archiving Rule page without saving changes.) The New Archiving Rule page is displayed.
10.Click New Condition to add additional rules or click OK to return to the Archiving Configuration page once all of the rules are configured.
11.Click Save on the Archiving Configuration page once all rules are created.
|
|
NOTE: Make sure to configure the Archive Aging timer job if Aging Rule Conditions are created. A notice is displayed. |
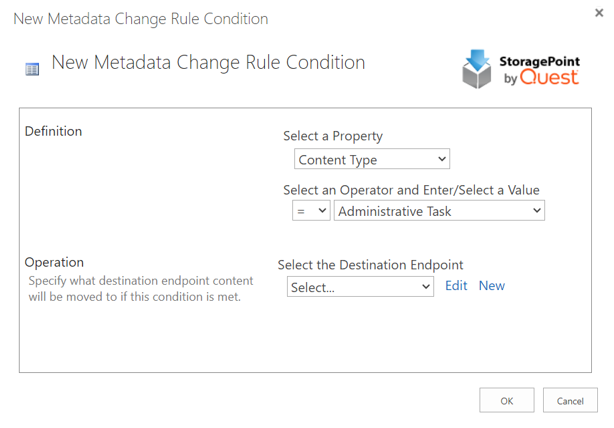
1.From the New Archiving Rule page, click the Metadata Change Rule option.
2.Click the New Condition link.
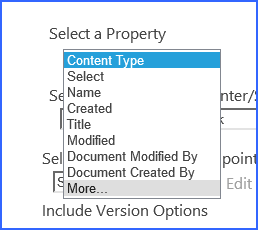
3.From the Select a Property dropdown, choose system or user-defined property. The selections in this dropdown list will change based on the scope selection made on the Archiving Rule dialog.
oIf the scope is broader than a list or library, there will be a More... option in the Property field. Click this option to populate custom fields, and then select the field. If the scope is a list or library, custom fields will populate automatically.
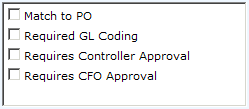
4.The Select an Operator and Enter/Select a Value fields will update accordingly. Select an Operator from the 1st dropdown and Enter/Select a value in the provided input control.
|
Property Type |
Operators |
Input Control |
|
Text, User |
=, <>, Begins, Contains |
|
|
Multi-Line Text |
=, <>, Begins, Contains |
|
|
Number, Currency |
=, <>, <, <=, >, >= |
|
|
Date Time |
=, <>, <, <=, >, >= |
|
|
Yes/No |
=, <> |
|
|
Choice, Lookup |
=, <>, Begins, Contains |
|
|
Multi-Choice, Multi-Lookup |
=, <>, <, <=, >, >= |
|
5.Select the archive endpoint from the dropdown or click New or Edit as needed. See Creating a New Storage Endpoint for steps.
6.Click OK. (Click Cancel to return to the New Archiving Rule page without saving changes.)
7.The New Archiving Rule page is displayed.
8.Click New Condition to add additional rules or click OK to return to the Archiving Configuration page once all of the rules are configured.
9.Click Save on the Archiving Configuration page once all rules are created.
When Save is clicked on the Profile page after archiving rules have been created or modified, a Process Existing dialog box displays to begin the migration of existing content, according to the rules that were created. Process existing content for each type of archiving rule individually, or all types of archiving rules.
1.For each type of archiving rule, select the preference for processing existing content.
|
Process Existing |
|
|
Never |
Existing content BLOBs will remain where they are and never be migrated. (default) |
|
Immediate |
Existing content BLOBs will be archived right away, per the rules created. |
|
Scheduled |
Specify a specific Date and Time to run the archiving process for existing content BLOBs. |
2.Click the Show link to see the advanced job settings.
3. (Optional) Under the Send Completion Notice To: header:
a.Choose Always or Only when errors occur.
b.Check the Default Notifications Contacts box to have an email sent to the email address entered in General Settings. Note that for this feature to work, the Default Notification field on General Settings must contain a valid email address.
c.In the Additional Contacts box, enter a semi-colon delimited list of other email addresses that should receive the notification.
4.(Optional) On the on Server dropdown list, select the WFE server to run the job on.
5.(Optional) Enter the Number of Processing Threads to use during job execution. It will default to one thread per processor core if no value is supplied.
6.Click OK.


![2024-02-21 00_04_28-Sharepoint 2019 (Just SharePoint-SQLServer) [Running] - Oracle VM VirtualBox](/fr-fr/technical-documents/image/fca75b69-0109-46bd-ade1-cf35903770ae)