Deletion

|
1 |
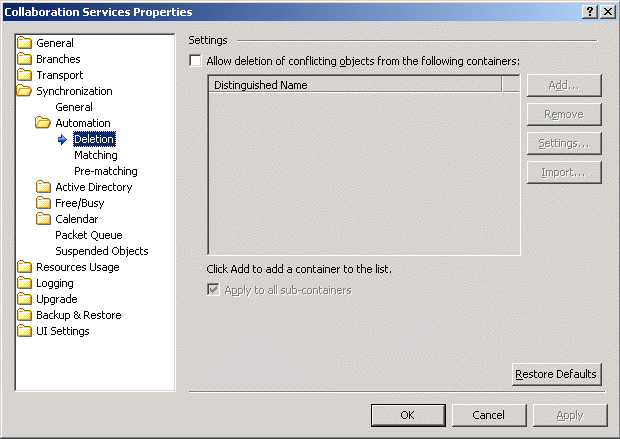
Select the Allow deletion of conflicting objects from the following containers: check box. |
|
2 |
Click Add, and then Load the list of containers from Active Directory; select the containers from which conflicting objects will be deleted. |
|
a |
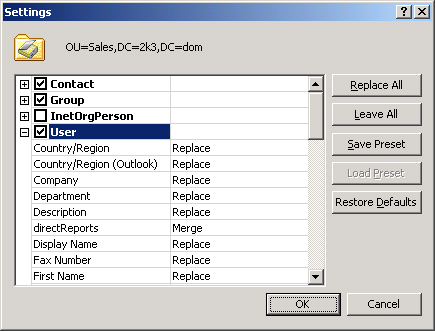
Select the container and click Settings. |
|
d |
Click OK to apply your changes. |
|
4 |
To delete the conflicting objects not only in the selected OUs but in the sub-containers as well, select the Apply to all sub-containers check box. In that case, parent OU settings will be propagated to child OUs settings. |
Matching
 Matching objects
|
1 |
Select the Allow matching to objects from the following containers: check box. Follow the procedure for configuring object attributes found within the section Deletion . |
|
2 |
Select the Apply to all sub-containers check box to specify that the conflicting objects should be deleted not only in the selected OUs, but in the sub-containers also. In that case, parent OU settings will be propagated to child OUs settings. |
Pre-Matching
|
• |
Creating a New Rule and the Pre-Matching Wizard
|
1 |
Click the Add button and follow the steps of the Pre-Matching Wizard. |
|
2 |
|
3 |
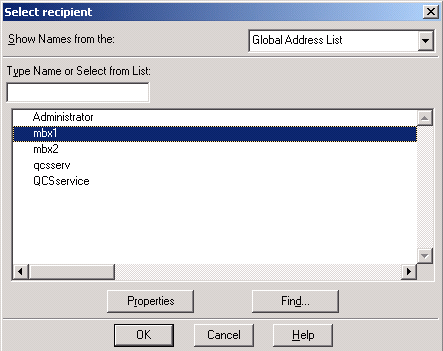
On the Email Address page, click Browse to specify the email address of published object using the Select recipient dialog box and click OK.  |
|
5 |
On the Attribute Synchronization page, choose how to handle the attributes of objects you match into. Select the Replace, Leave, or Merge (for multi-valued attributes only) attribute synchronization rule for each attribute of the object to match into and click Next. |
|
6 |
In the message box that appears, click Yes if you want to proceed with creating the new pre-matching rule. |
|
7 |
View the Summary and click Finish. |
For each pre-matching rule you add, you can perform the following actions:
|
• |
Click Remove to delete the rule from the list. |
|
• |
Click Settings to change how to handle matching object attributes. |
|
• |
Click Import to import a list of pre-matching rules from a text file. The file should contain a list of pairs, one pair per line. Each pair must include the email address of the published object and the distinguished name (DN) of the object to match into, separated by a space. |
|
• |
Click Detect to scan Active Directory and update the list of rules if any changes were made to Active Directory (for example, objects were moved). |


