ApexSQL Mask classifies and masks sensitive SQL Server data. One of the two types of masks that are available to mask SQL Server data is the Substitution mask type. The Substitution mask type is using different generators for masking sensitive data. Those generators produce data that will be used for masking and replacing entirely sensitive data.
The Substitution mask type is offering the next generators to create data for masking:
One of the above mention generators types is the Use original generator that uses initial data from the selected database to mask sensitive data in the same database. This article will provide instructions on how to use the Use original generator for masking sensitive data.
By opening ApexSQL Mask, the Connection to SQL Server will be shown. The instance of the SQL Server must be set, as well as the type of Authentication and Database in which sensitive data will be masked. When all is set, click the Connect button:

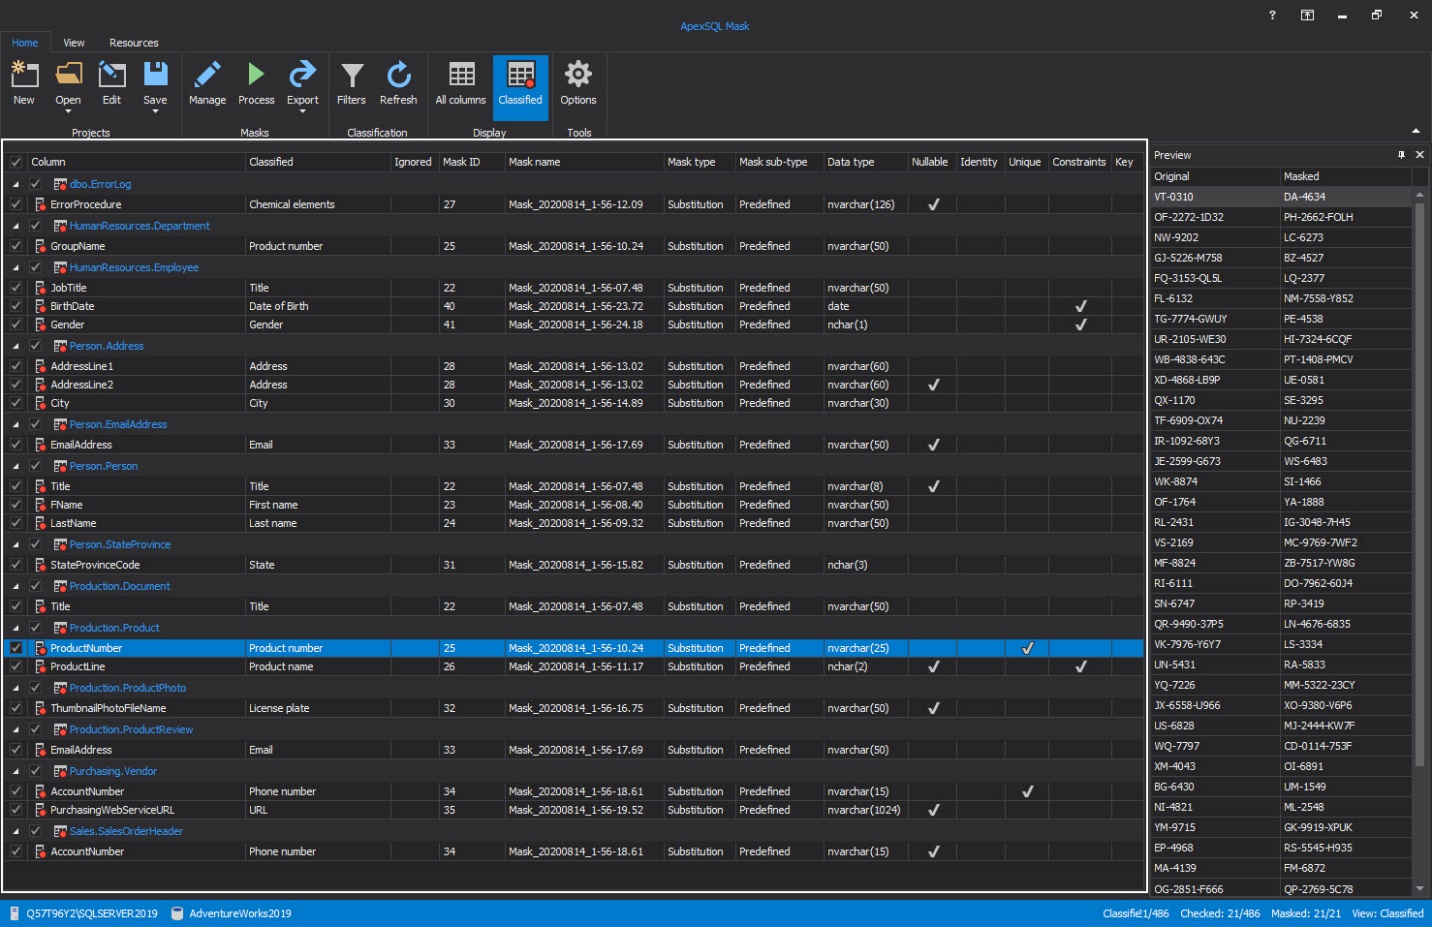
The main window with the uploaded database will be shown. In the grid panel, by default will be presented the automatically classified columns. Based on sensitive data filters, ApexSQL Mask found columns with sensitive data and automatically added an appropriate mask. Automatically classified columns are marked with the red dot in front of the mask name:
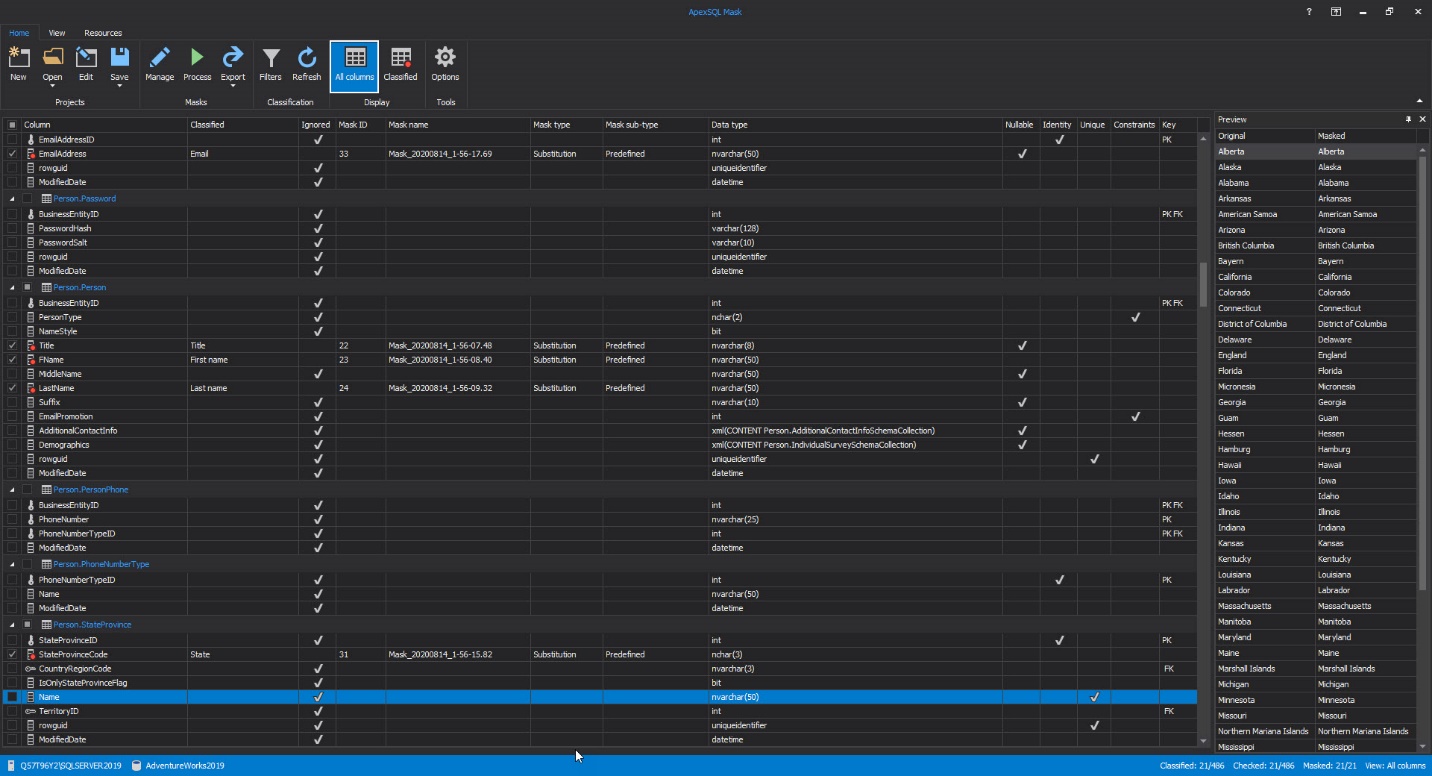
Besides automatically classified columns with automatically added masks, this database masking tool allows creating a new mask for any column in the selected database. By clicking on the All columns button from the Home tab, in the panel grid will be shown all columns from the selected database:
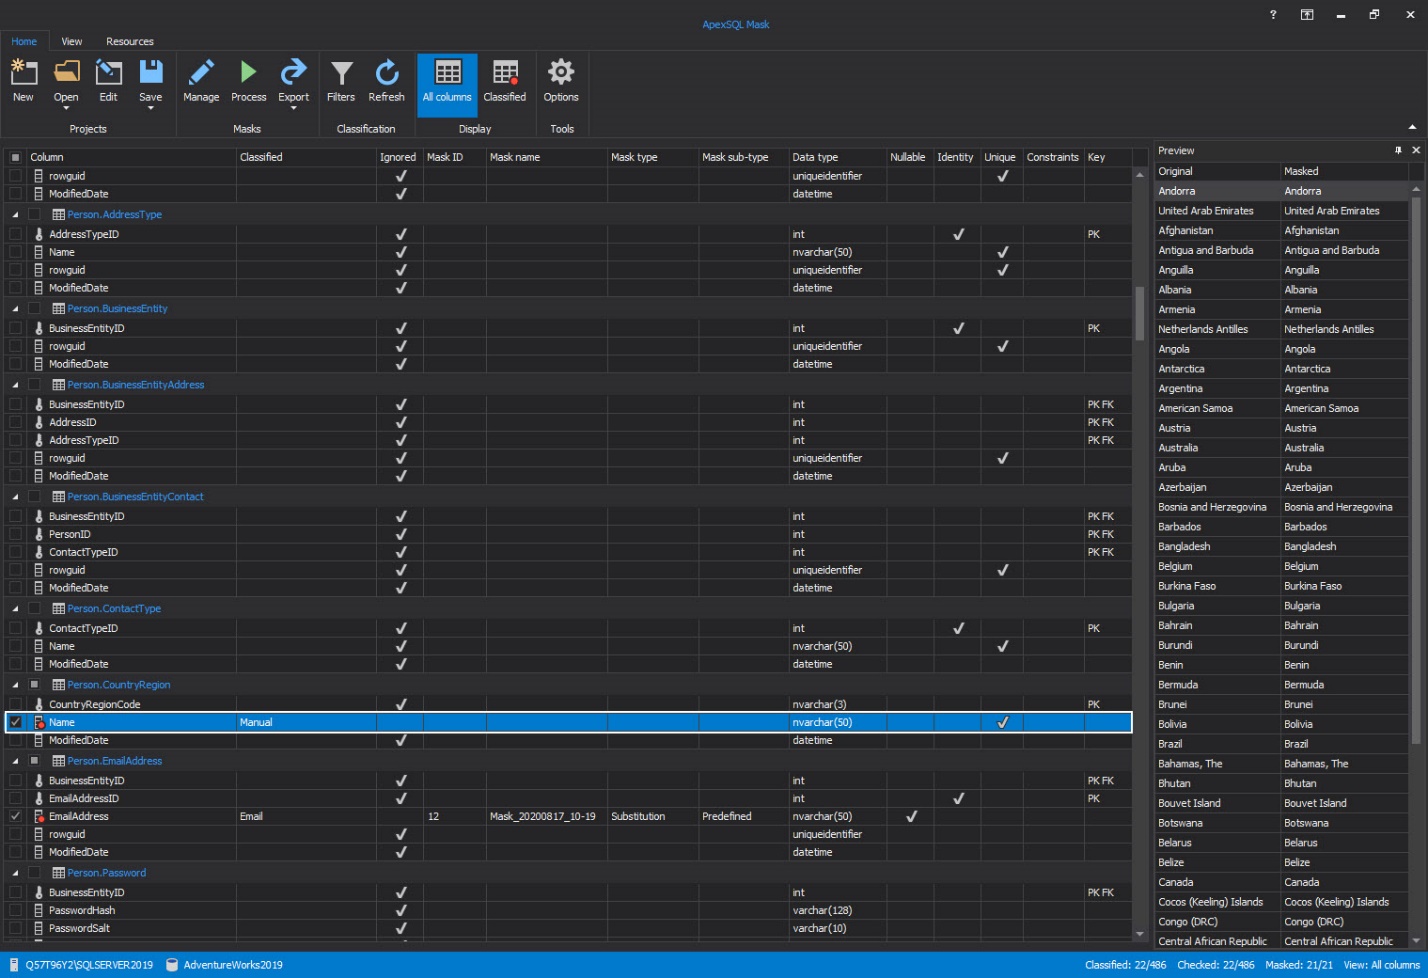
From the panel grid, the column will be chosen by ticking the checkbox in front of the column name. That column will be signified by the red dot and will be prepared to add the mask. For this article, the Name column from the Person. CountryRegion table will be chosen:
When the column for data masking is selected, the next step is to create a new mask and add that newly created mask to the selected column.
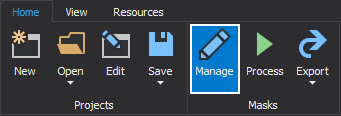
To create a new mask in the Home tab, click on the Manage button:
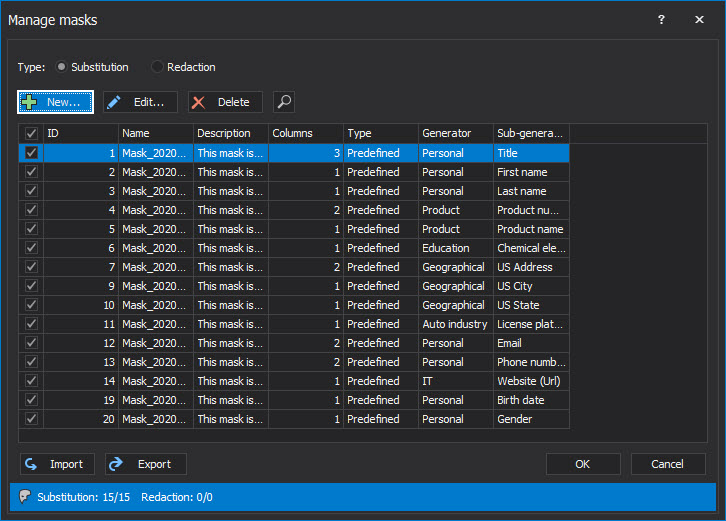
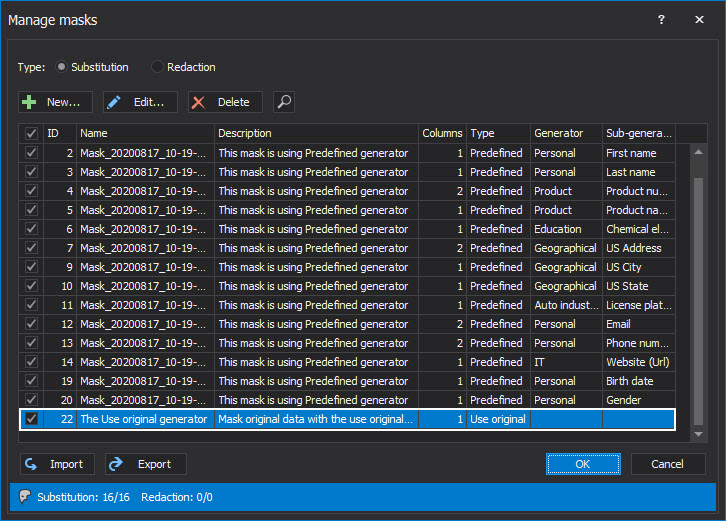
The Manage masks window will be opened with all applied masks. In the Manage masks window, the Substitution mask type is selected by default. The creating of the new mask will start with a click on the New button:
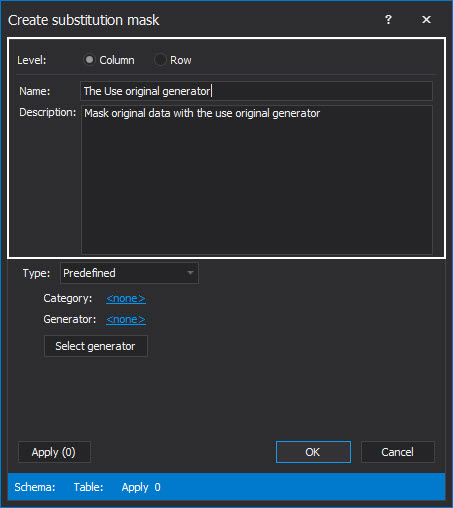
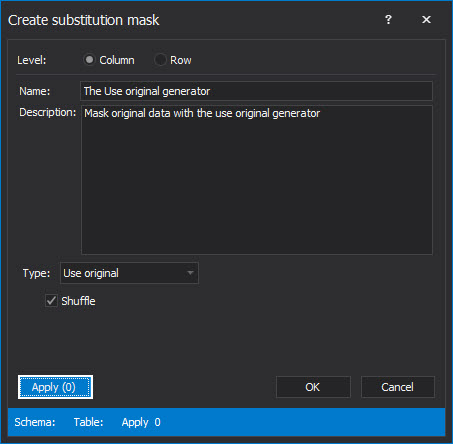
The Create substitution mask window will be shown, with checked the Column level masking by default. First, in the Name text field is necessary to set the mask name, while in the Description text box, the mask description is optional:
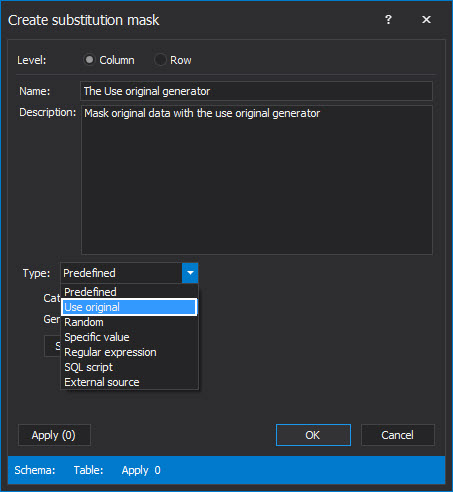
The next step is to select the generator type whose generated data will be used to mask SQL server data. From the Type drop-down list, among all listed generators, there is the Use original generator, which will be selected:
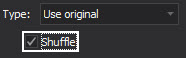
The Use original generator is using the same original data to mask SQL Server data. When the Use original generator is chosen below the Type section, the only option that this generator offers the Shuffle option will be shown. The best practice when using the Use original generator is to check the Shuffle option. When is a Shuffle option is checked, the generator will create mixed original data. For this article, the Shuffle option will be ticked:
The next step is to apply the newly created mask on the selected column. Click on the Apply button in the Create substitution mask window:
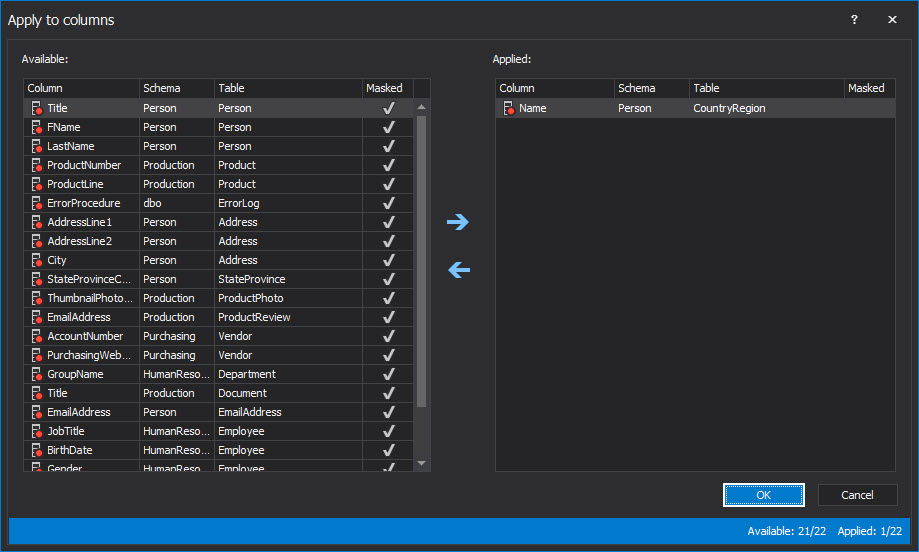
The Apply to columns dialog will be opened, with the Available and Applied grids. In the Available grid, select the column which data will be masked with the Use original generator, and by click on the Right blue arrow, that column will be moved in the Applied grid. By clicking on the OK button, the Apply to columns dialog will be closed:
The Create substitution mask window will be shown again, where the OK button should be clicked to finish a new mask creation and to close the Create substitution mask window. The newly created mask will appear in the Manage masks dialog:
By clicking on the OK button in the Manage mask window, the view will back in the main ApexSQL Mask window. By ticking the previously masked column, in this case,Name column from the Person.CountryRegion table, in the Preview dialog on the right side of the main window, the final result can be seen as shown below:
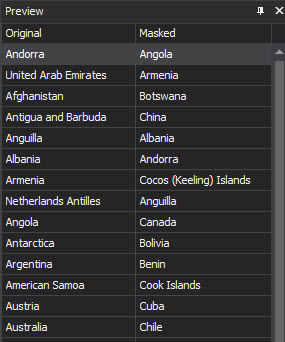
As can be seen from the example explained above, the original data are masked with the original mixed data.
