
Assemble credentials for:
-
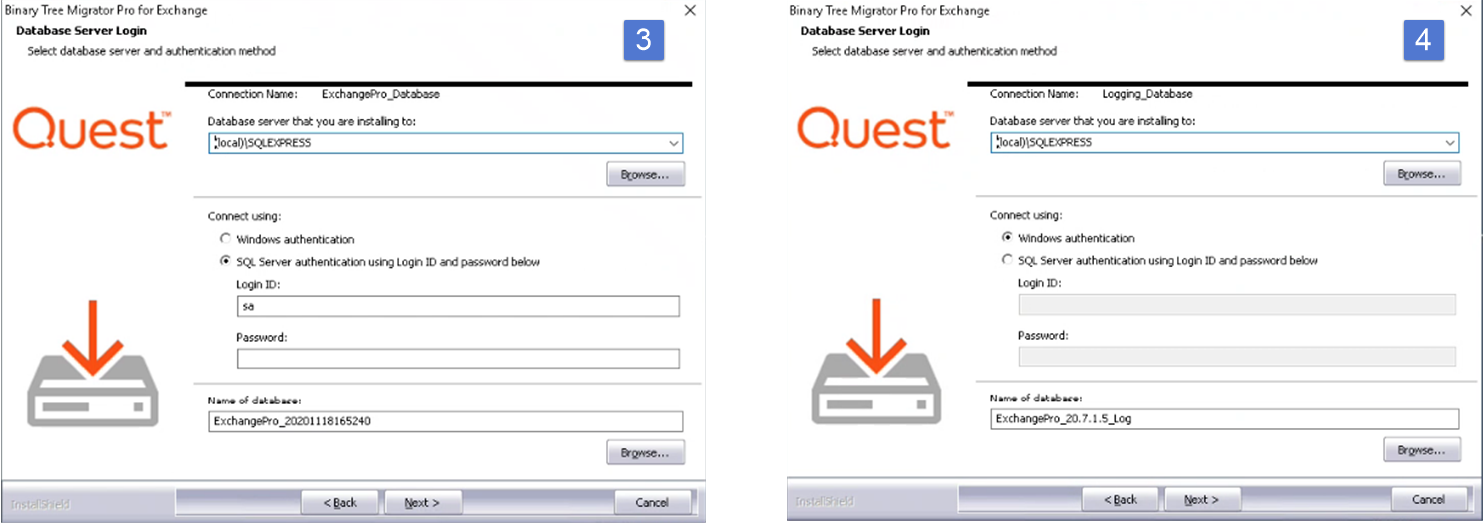
An existing SQL server, if you do not plan to use the optional SQL installation offered as part of the Migrator Pro for Exchange install process.
-
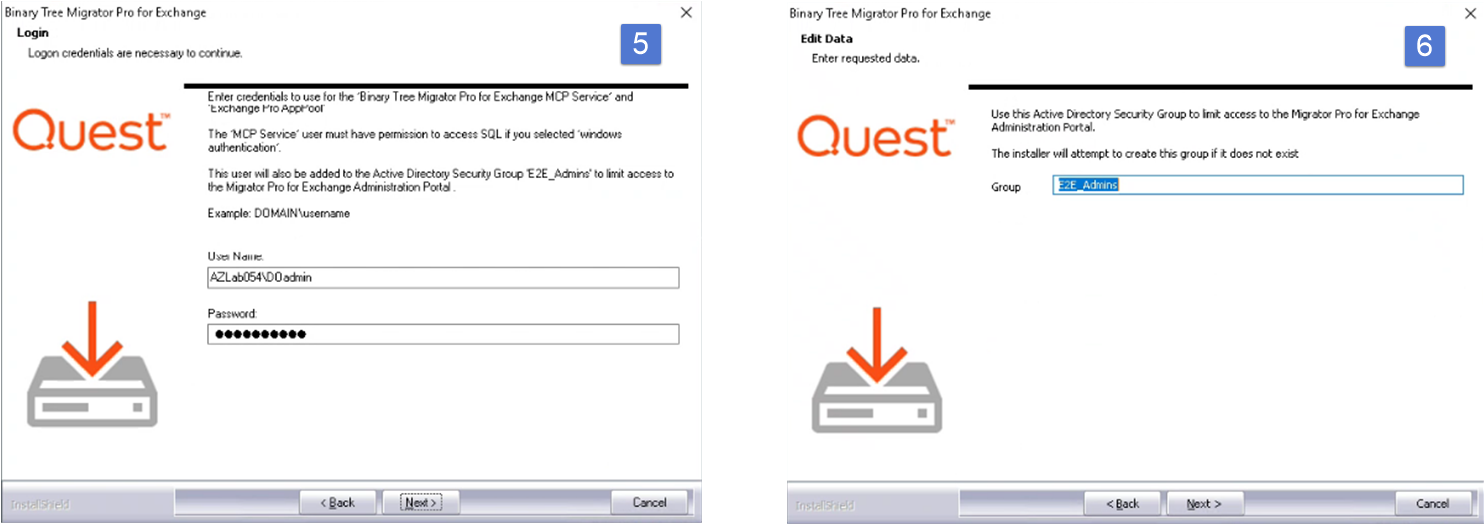
Active Directory (AD), to create some Global Groups, such as “E2E_Admins”
-
Exchange (source and target): accounts with membership in the Exchange Organization Administrators and Organization Management groups, and Global Administrators if migrating to Office365.
-
Local administrator access on the server that will be used for Migrator Pro for Exchange.
-
If you are migrating Public Folders, you will need mailbox-enabled accounts in both source and target, that are members of their respective Public Folder Management Exchange groups.
Prepare the servers:
-
Choose a Windows Server 2012 R2, 2016, or 2019 machine for the Migrator Pro for Exchange installation.
-
If you will migrate Public Folders, you may want to take advantage of Automated Workload Distribution. This will allow you to create a “farm” of worker machines that can process Public Folders. You can choose Windows Server 2012, Windows Server 2012R2, Windows Server 2016, or Windows Server 2019 for the worker machines. You will also need to install Outlook 2016 (32-bit only) or Outlook 2019 for Public Folder migration.
-
Public Folder migration to Exchange 2013 requires Exchange 2013 CU5+.
-
Choose the servers to use as PowerShell hosts.
-
On the PowerShell host servers, you will need to enable PowerShell remoting using Enable-Psremoting
-
You will need to configure authentication on PowerShell hosts using
-
Set-PowerShellVirtualDirectory “<Exchange Server name>\PowerShell (Default Web Site)” –BasicAuthentication $true -WindowsAuthentication $true (for Non-SSL mode)
-
Set-PowerShellVirtualDirectory “<Exchange Server name>\PowerShell (Default Web Site)” –BasicAuthentication $true (for SSL mode)
-
-
If you will use PowerShell in SSL mode, you will need SSL certificates (not self-signed) that are trusted by the Migrator Pro for Exchange server.
-
The date-time format of the operating system must be set to mmddyyyy for Migrator Pro for Exchange to rationalize Office 365 mailboxes.
-
Internet Explorer Enhanced Security Configuration (IE ESC) must be disabled.
-
The registry must be modified to disable User Account Control (UAC). In the registry, navigate to HKEY_LOCAL_MACHINE\SOFTWARE\Microsoft\Windows\CurrentVersion\policies\system, set DWORD EnableLUA to 0, and then reboot.
Install Migrator Pro for Exchange
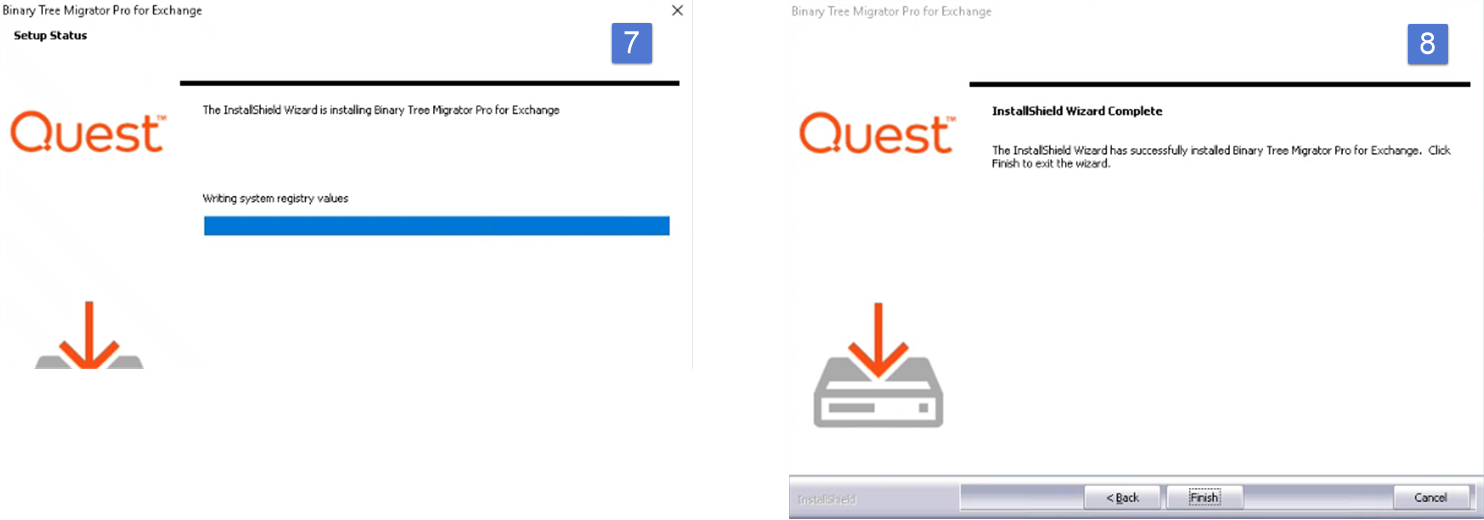
Run the Migrator Pro for Exchange Installation Wizard
You can choose Default or Advanced Installation. The Default Installation takes care of most of the configuration for you, using default options, including the installation of SQL Server Express 2012. If you already have an existing SQL server that you want to use, or if you want to customize any settings, choose Advanced Installation.
Default Installation
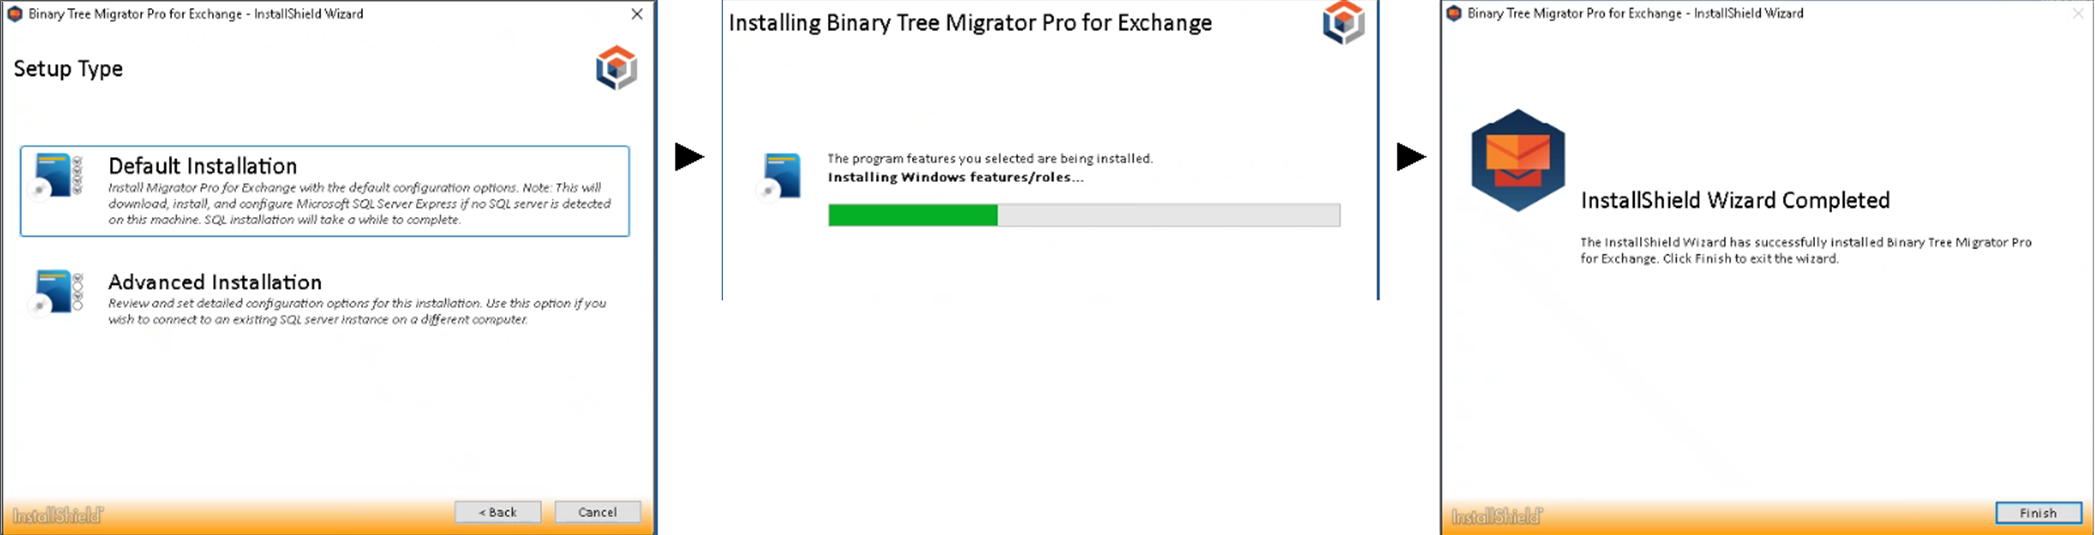
Advanced Installation
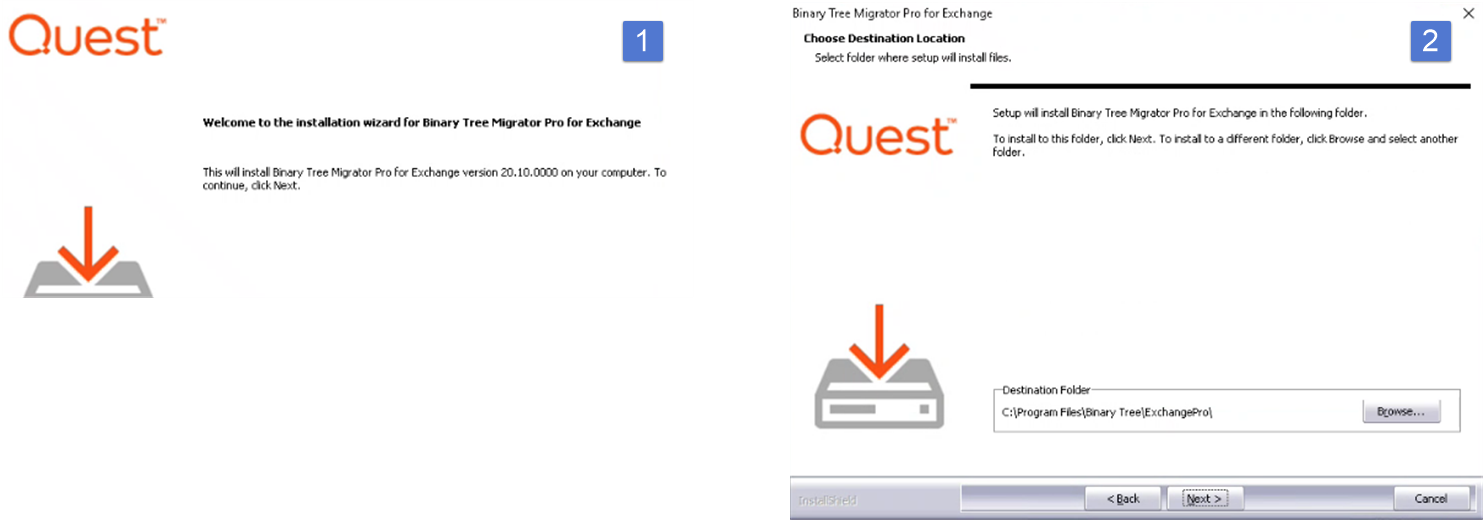
Run the Migrator Pro for Exchange Installation Wizard
You can choose Default or Advanced Installation. The Default Installation takes care of most of the configuration for you, using default options, including the installation of SQL Server Express 2012. If you already have an existing SQL server that you want to use, or if you want to customize any settings, choose Advanced Installation.
Default Installation
Advanced Installation