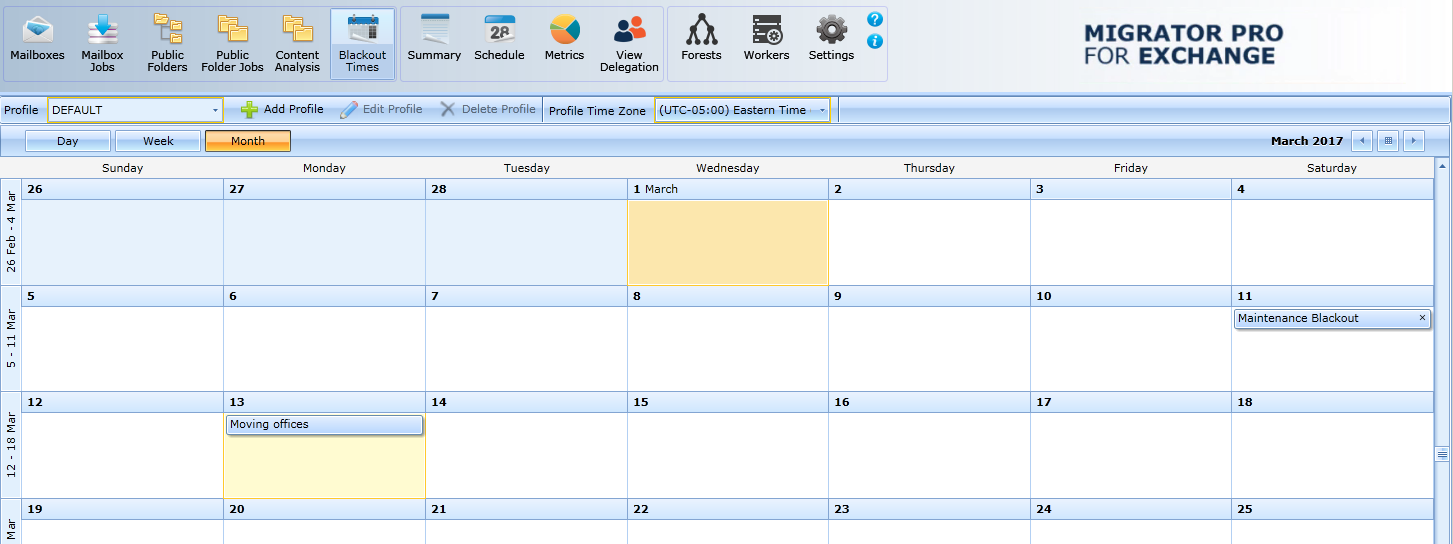
Working in the Mailboxes View
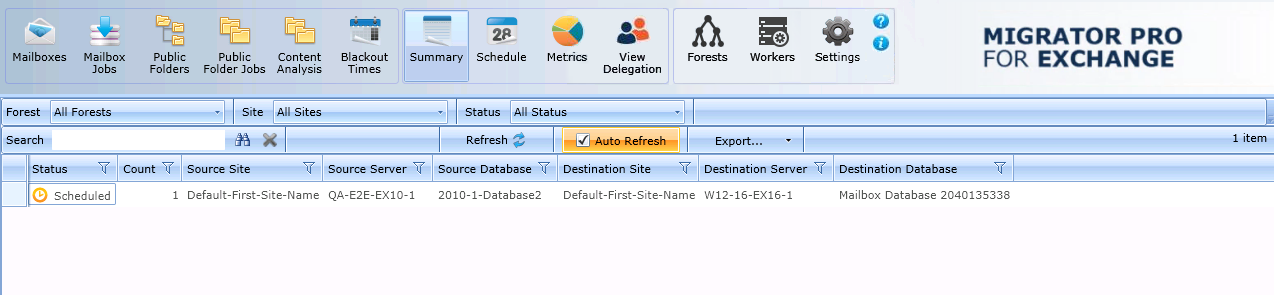
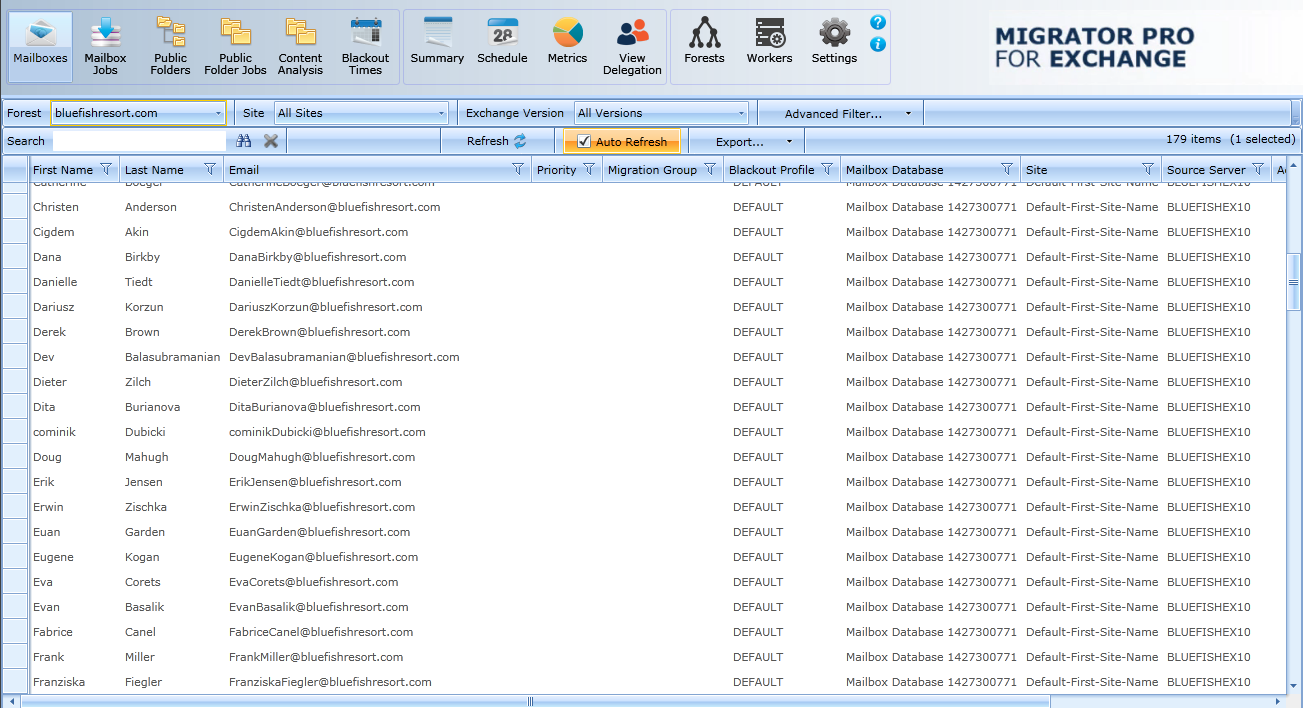
When you launch the Admin Console for the first time, the Mailboxes view displays. This view consists of a list of mailboxes from various Exchange sites and servers. You may recall that while installing, you specified the domain name and when the tool launched, it picked up all the mailboxes from all the Exchange server sites (2010, 2013, 2016, and 2019) in the specified forest.
Administrators typically spend most of their time in this view. From here, they can select mailboxes that can be added to the migration queue. This view provides the administrator all the information that they need to select data for migration.
Before we begin to migrate mailboxes using Migrator Pro for Exchange, let's get familiar with the interface components and how they are used to view migration data.
|
|
NOTE: The Mailboxes view is being used here to explain how to work within a view. The primary format of the data view remains the same for all the other buttons/tabs with few exceptions. |

Adding and Removing Columns
User data is stored in various attributes in AD. Some of the attributes are displayed by default, such as Site name, Source Server, Mailbox Database, and Email address as shown below. Additional attributes can be added to the list as desired.
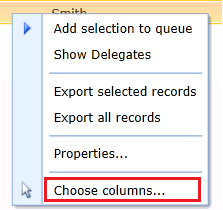
To change the displayed attributes (columns), right-click in the list of user mailboxes:
... and then select Choose columns, to open this dialog box:
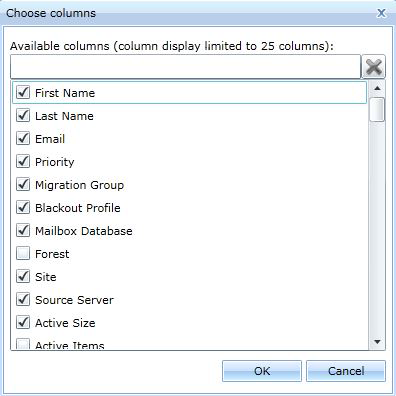
This dialog box shows a complete list of attributes. You can select attributes that are not currently displayed, or deselect attributes to hide them.
Rearranging Columns
You can change the order in which the attributes are displayed in the view simply by clicking a column, dragging, and then dropping it where you wish to place it. For example, you can make the First Name column the first column by clicking it, dragging, and then dropping it in the space before the Site Name column or over the column.
Group Membership
You can choose a group by selecting the Group Membership option under Advanced Filter. The list of available groups displays. You may quickly find a group by typing in the first few characters to filter the list. Selecting a group will limit the display to users possessing that membership.
Sorting Data
By default, the mailboxes are not sorted on any specific column. However, you can sort them by any column that you want.
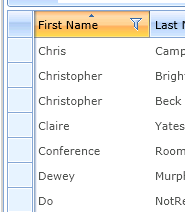
To sort data by their First Name, simply click the First Name column header. When the data is sorted, an inverted triangle appears above the column name. Please notice that the data is now sorted in ascending order in the Data Panel:
To reverse the sort order, just click the same column header again:
To sort by the values in some other column, click on the other column header.
To do a hierarchical sort, sort the data on one column, then hold down the Shift key and click the next column by which you want data sorted. To remove sorting from one of the columns, hold down the Shift key and click the triangle.
Filtering Data
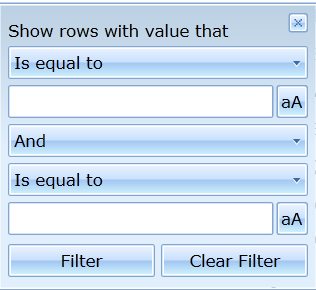
The filter icon 
-
Click on the down arrows in each field to select the filter criteria.
-
Click Filter to begin filtering.
-
Click Clear Filter to clear the filter.
Data Panel

The Quick Filters and Quick Search fields display in the Data Panel section when you select the Mailboxes button. This panel remains the same for all the views, except in some views additional components are available.
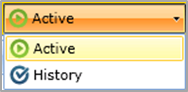
Quick Filters options:
-
Forest: The forest of the mailboxes you want migrated. This is also used to view user mailboxes residing on Exchange Online.
-
Site: Displays the list of AD sites.
-
All Sites: Displays the list of all AD sites.
-
-
Exchange Version: The version of the mailboxes you want migrated.
-
All Versions: Displays a list of all versions.
-
-
Advanced Filter (a Forest must be selected before using an Advanced Filter on the Mailbox Jobs view):
-
Accounts: Provides the functionality to import users from a text file to facilitate search for specific users within the environment.
-
Group Membership: Select a group to limit the display to users possessing that membership. Also provides the functionality to import from a text file to facilitate search for specific users within the environment.
-
Quick Search options:
-
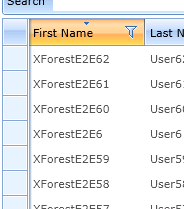
Search: The search engine lets you perform a quick search against any of the mailboxes in the Mailboxes view or from the Mailbox Jobs view. Any columns displayed in the current view are valid search terms. This field will return partial matches of search terms.
-
Refresh: Press Refresh to force a full refresh of the data.
-
Auto Refresh: If the check box is selected, the data is automatically refreshed.
-
Export: This function lets you export data to .csv, .html, .txt, and .xml files from either the Mailboxes view or from the Mailbox Jobs view.
Importing migrated users from a CSV text file
Migrator Pro for Exchange lets you import from a text file to facilitate searches for specific users within the environment. This CSV import feature is also available in the Group Membership feature under Advanced Filter from the Migrator Pro for Exchange Admin Console Mailboxes view.
To import users from a text file:
-
Click Mailboxes in the main toolbar.
-
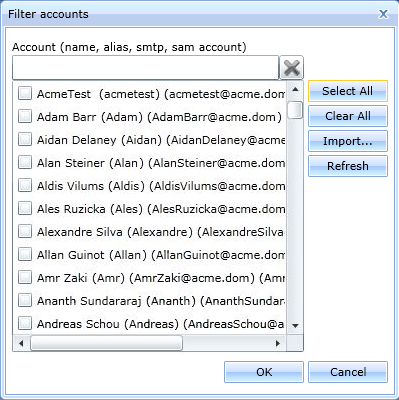
Click the Accounts button to launch the Filter accounts window:
-
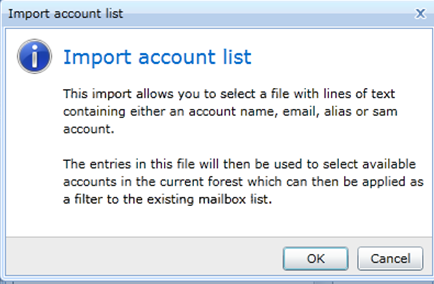
Select the users you want to search on and schedule for migration, and then click the Import button. The Import account list window displays.
-
Read the content and click OK. The navigation window displays.
-
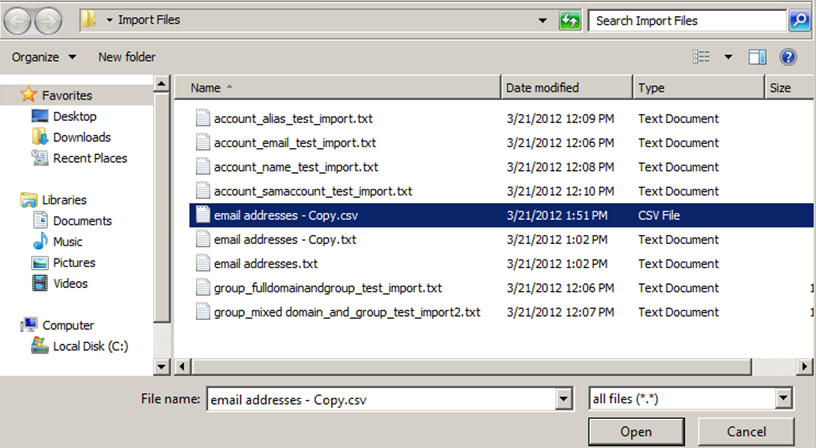
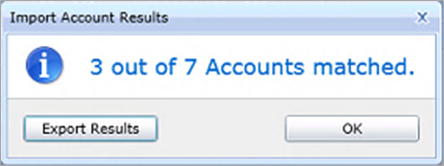
Select the user list file and click Open. The Import Account Results window will appear displaying how many users matched. Click OK to close the window. Click Export Results to save a CSV file of the match results.
-
The Filter accounts menu displays again so that you can select additional users.
-
When you have completed the import process, click OK. The following is an example of the input text file format.
-
In the Mailboxes view, the selection of users has been filtered down to the specific users from the user list file and the manual additions selected in the filter accounts menu.

Exporting data to a CSV file
You can export data to a CSV file from either the Mailboxes view or from the Mailbox Jobs view. To export data to a CSV file:
-
Click either Mailboxes or Mailbox Jobs in the main toolbar.
-
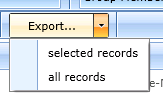
Click the drop-down arrow next to the Export button.
-
If you only want to export certain records to the CSV file, highlight the records you want to export and then choose selected records from the drop-down list.
-
If you want to export all records to a CSV file, choose all records from the drop-down list.
-
Select a location for the file to be saved, and then click the Save button.
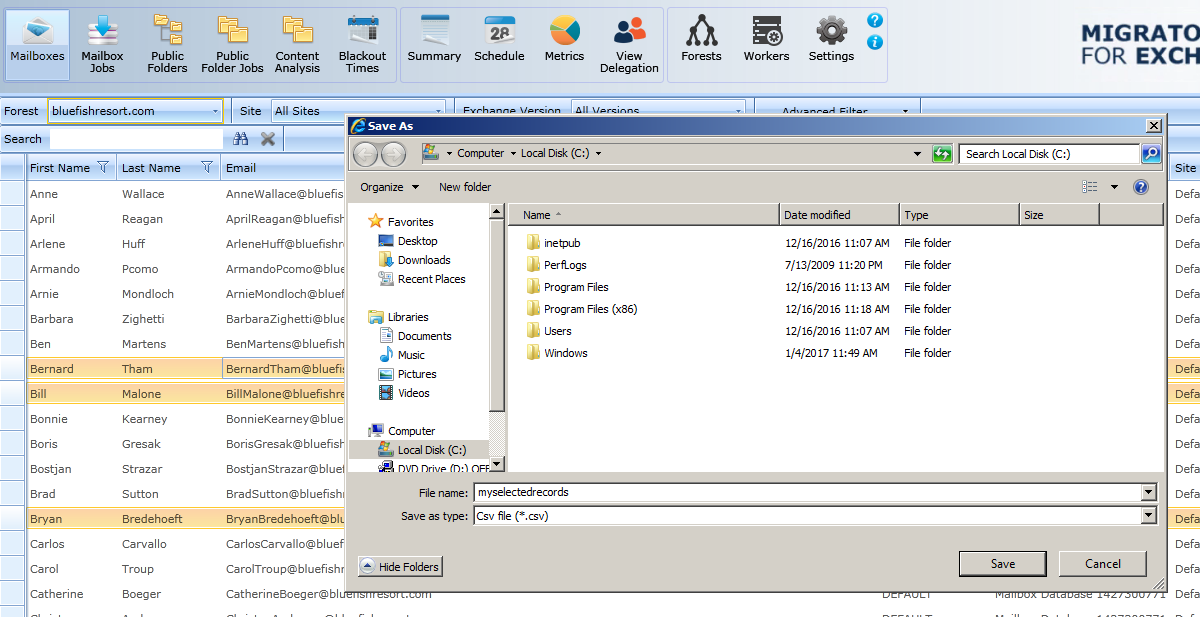
Here’s an example of exported data from the Mailboxes view:

Changing Mailbox Properties
You can change certain properties of mailboxes by using the right-click menu.
-
Click either Mailboxes or Mailbox Jobs in the main toolbar.
-
Select the mailboxes you wish to change.
-
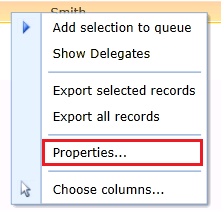
Right-click on the selected mailboxes to open a context menu:
-
Click Properties. A dialog window appears allowing you to change the following properties:
|
|
Mailboxes: |
Migration Group Blackout Profile Priority |
Mailbox Jobs: |
Migration Queue Blackout Profile Priority Do Not Start Before Do Not Complete Before Bad Item Limit Large Item Limit |
-
Check the properties you want to change, change the values and click OK.
|
|
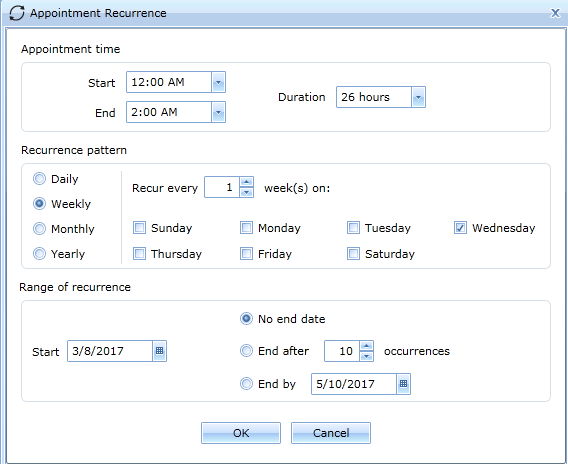
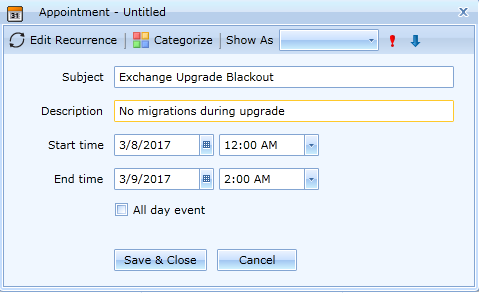
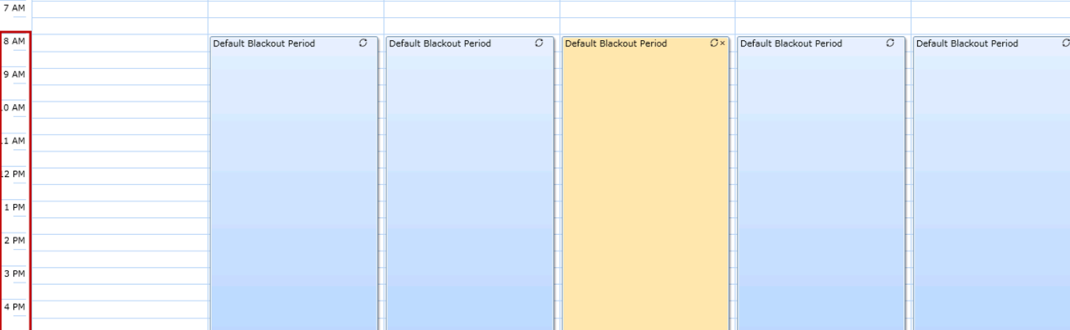
NOTE: Only an existing Blackout Profile property can be added to a mailbox or mailbox job. The Blackout Profile must be created first (see 7. Blackout Times View for information about this feature). The Default Blackout Profile is already applicable to all mailboxes and mailbox jobs. |
Adding Mailboxes to the Mailbox Jobs
Once you have configured settings, and reviewed the data you need to migrate, you are ready to start the migration process. The first step is to add the mailboxes from the Mailboxes view to the Mailbox Jobs.
|
|
NOTE: If your source mailboxes have delegate associations that you want to preserve after the migration (by migrating the mailboxes together), see the topic 11. Migrating Delegation Rights for information about how to accomplish that. You may then either migrate the associated mailboxes by the View Delegation features (as described in that other topic), or return here to view delegation associations from this Mailboxes view and add them to Mailbox Jobs as described below. |
Whether or not you will migrate mailboxes in delegation groups, before adding mailboxes to Mailbox Jobs you should run this command to verify the validity of the target:
Get-MailboxDatabase | ft Name,IsExcludedFromProvisioning,IsSuspendedFromProvisioning
If either returns True, Migrator Pro for Exchange will be unable to use it as a target. In that case, run this command to enable the target:
Set-MailboxDatabase MDB01 -IsExcludedFromProvisioning $FALSE
When you have verified the target, this procedure will add mailboxes to the Mailbox Jobs:
-
Click on Mailboxes in the main toolbar.
-
Select the mailboxes from a site that you wish to migrate. You may consider using a view filter to limit the scope of the mailboxes in the list—to view mailboxes based on their Mailboxes Database name or the Source Server name, or you can use the Show Filter tool.
-
To select multiple mailboxes from non-adjacent regions, click the first item in the range; hold down the Ctrl key as you click other items in the range.
-
To select multiple mailboxes from adjacent regions, click the first desired item in the range; hold down the Shift key as you click the last item in the range.
-
-
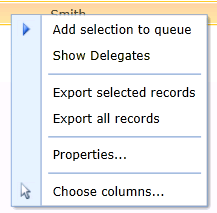
Right-click on any of the selected mailboxes to view this pop-up context menu:
-
If you want to view any mailboxes that have been designated as delegates for the selected mailboxes, click the Show Delegates option, and then add to the selections any delegate mailboxes you want to migrate in the same migration job. Then right-click on a selected mailbox to view the context menu again.
-
Select the Add selection to queue option.
If these mailboxes are scheduled to migrate at a future time, such as the start of a weekend, mailboxes will be migrated based on priority group when the future time begins. The smallest mailboxes within a priority group are migrated first.
If these mailboxes are scheduled to migrate immediately, the migration will begin as soon as the mailboxes are the highest priority in the migration queue, unless another mailbox is already being migrated (in which case this new migration will begin when the in-progress migration completes).
The Add mailboxes to migration queue dialog box displays:
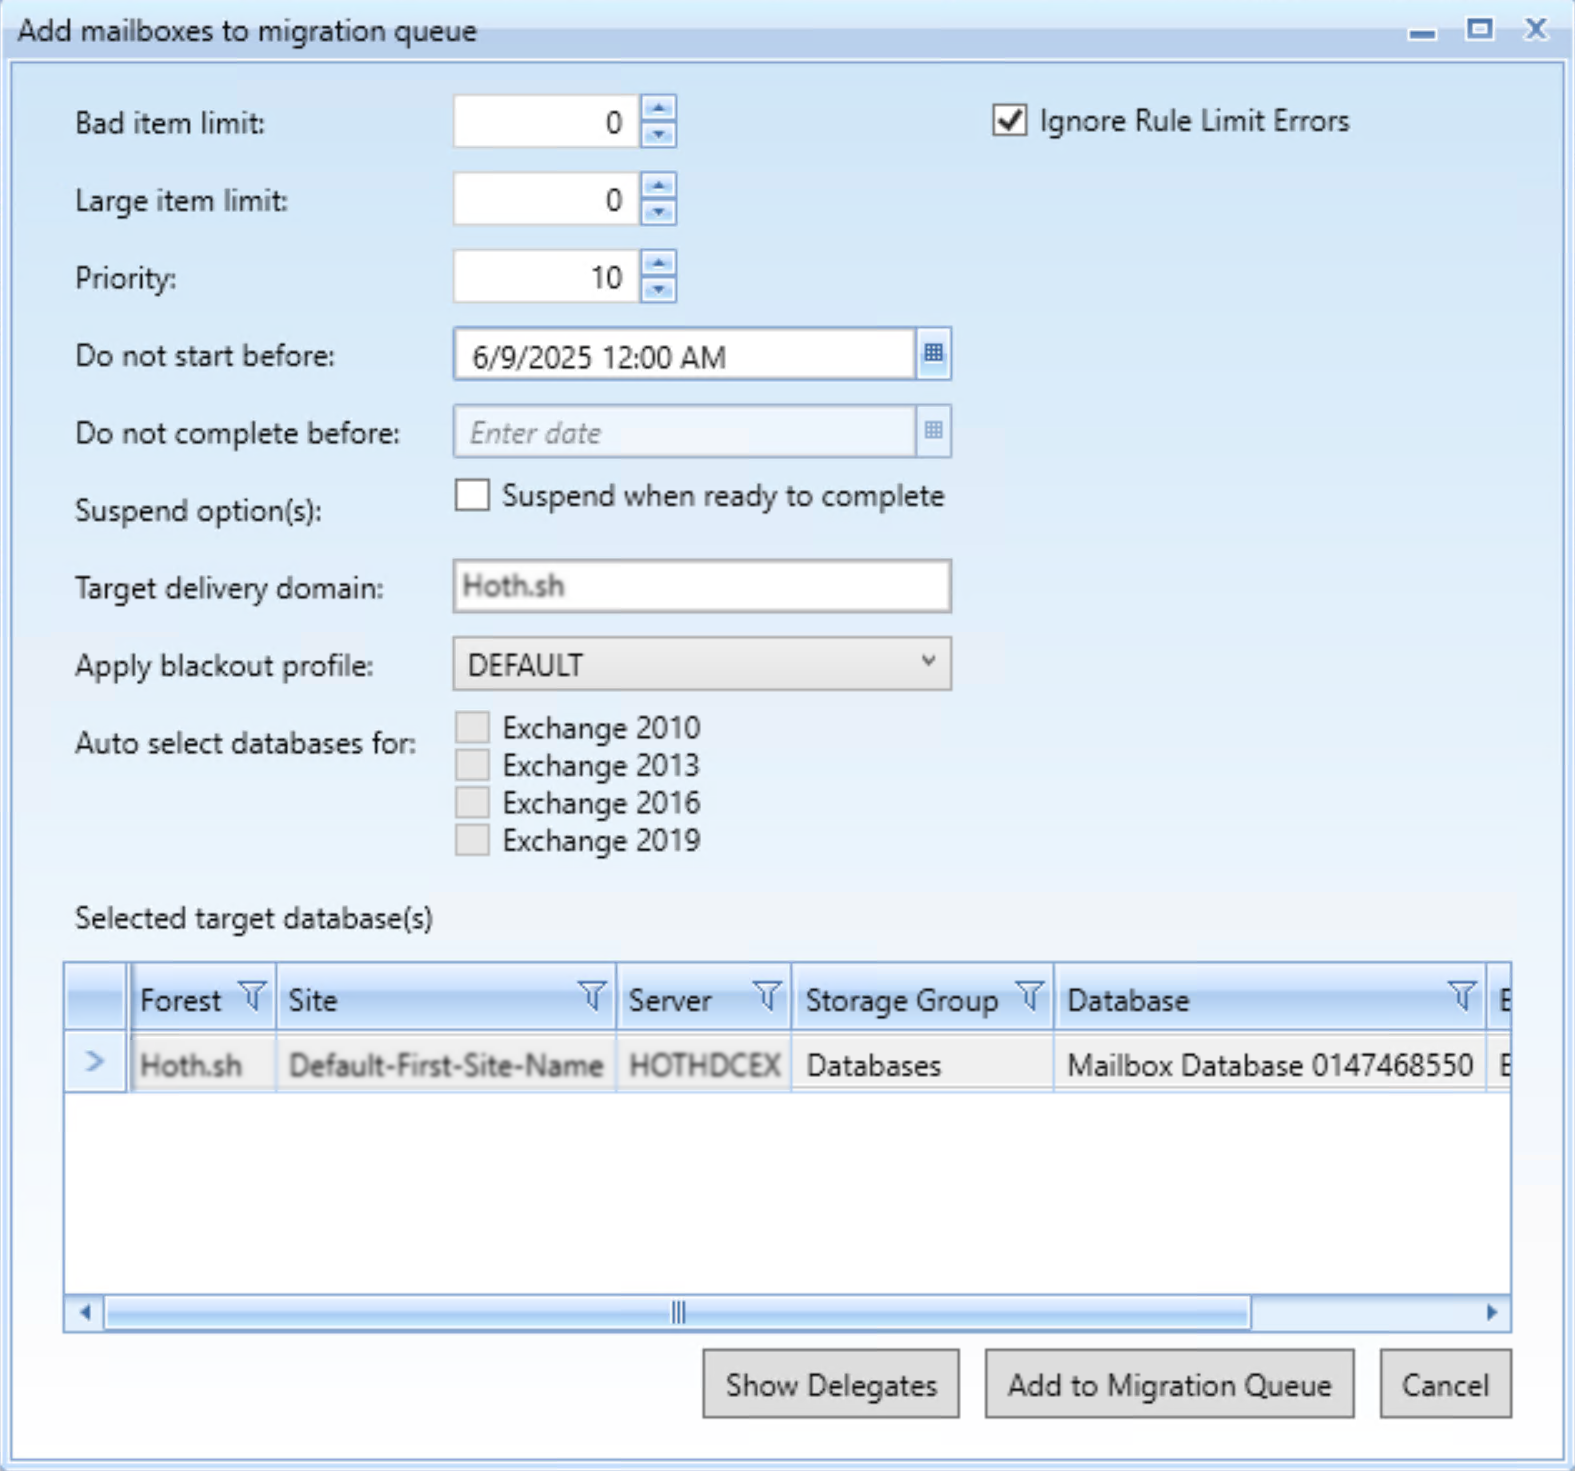
The options in the Add mailboxes to migration queue dialog box:
-
Bad item limit: You can assign a limit to the number of bad items that are acceptable for the migration to keep running. A bad item is one that cannot be successfully migrated. The default number is zero and means no bad items will be skipped. The valid input range is from 0 through 2147483647. If a value above 50 is entered for the Bad Item Limit, Migrator Pro for Exchange will automatically pass a True value for the AcceptLargeDataLoss parameter for the New-MoveRequest.
-
Large item limit (only displays when migrating to Microsoft 365 or Exchange 2013, 2016, or 2019 on-premises): You can assign a limit to the number of large items that are acceptable for the migration to keep running. We recommend setting this limit to allow mail items larger than 25 MB to be migrated. If a value above 50 is entered for the Large Item Limit, Migrator Pro for Exchange will automatically pass a True value for the AcceptLargeDataLoss parameter for the New-MoveRequest.
-
Priority: The priority of the migration. The lower the number, the higher the priority. The Priority setting is secondary to the Do not start before and Do not complete before values. Valid values are 1-100, with 10 as the default. This setting does not apply to migrations to Microsoft 365.
-
Do not start before: You can select date and time by clicking on the calendar icon. Setting this value instructs the migration engine to NOT submit mailboxes to the destination Exchange server until after the specified date and time. Use this to manage when a group of users will be migrated.
-
Do not complete before: Setting this value instructs the migration engine to NOT complete the migration (cutover) before the specified date and time.
-
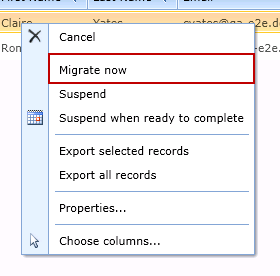
Suspend when ready to complete: Check this box to suspend the item when ready to complete. This allows administrators to migrate mailboxes 95% of the way, and then complete the final cutover at a later time which can be set by the Do not complete before option or manually triggered by the administrator. This allows you to pre-stage the mailboxes, and then cut them over all at the same time. Note that if you override a blackout and scheduled mailbox migration with the Migrate Now option, the migration will complete without suspending the item.
-
Apply blackout profile: Dropdown list lets you select a Blackout profile to apply to this migration job. The list of available profiles is drawn from the CMTEUP_Blackout table, and also offers a None option (the default). The selection here will supersede any existing blackout values set on the mailboxes subject to the migration action.
|
|
NOTE: A Blackout Profile must be created before it can be applied (see the 7. Blackout Times View for information about this feature). The Default Blackout Profile is already applicable to all mailboxes and mailbox jobs. |
-
Target Delivery Domain: Displays the name of the domain to which the mailboxes are being migrated. This option is enabled only in cross-forest (inter-org) migrations.
-
Auto License (appears only for Office 365 Exchange Online): Set this feature to optionally activate a mailbox for an end user. Mailbox migration will fail if the user is not activated. You can also apply an existing SharePoint and Lync/Skype for Business license by reviewing the Office 365 License section on the Migrator Pro for Exchange Settings tab. Click on your license for options.
-
Override usage Location (appears only for Microsoft 365 Exchange Online): Check this box and enter a different location to override the default usage location set in the Tenant Forest General Settings.
-
Auto select databases for: Check the boxes to automatically rotate among Exchange 2010, Exchange 2013, Exchange 2016, and Exchange 2019 databases. (If you want to exclude a specific database, use this PowerShell command:
Set-MailboxDatabase <NAME> - IsExcludedFromProvisioning $TRUE) -
Select target database(s): Displays a list of destination sites, servers, databases, and Exchange servers. (Databases that are excluded from provisioning are grayed out and cannot be selected.)
-
Show Delegates (button): This button lets you open the Delegate Mailboxes window for the selected mailboxes.
When the settings in this Add mailboxes... dialog box appear as you want them, click Add to Migration Queue.
Within a few seconds, the selected mailboxes disappear from the Mailboxes view as they are moved into the Mailbox Jobs view. If a large number of databases then display in the selection window, you can reduce the size by clicking on the appropriate filter icon.
Migrator Pro for Exchange utilizes the New-MoveRequest PowerShell command to migrate mailboxes. The Microsoft Exchange Mailbox GUID value is used as the identity parameter.
A CSV file of mailbox migration jobs can be imported from the command line. See Appendix E: Migrator Pro for Exchange Mailbox Job Importer for more information.
Permissions that are inherited (set at the Exchange Org\Server level) are not read from the source or migrated to the target mailbox.