With Forest Recovery Console Configuration Backup and Restore you can backup your Forest Recovery Console settings and project files.
With a backed up RMAD console configuration file you can install a new Recovery Manager for Active Directory Disaster Edition Forest Recovery console on a new host. This is useful for adding another RMAD console, recovering from a RMAD console failure and/or disaster recovery. Once restoration completes successfully, the RMAD console configuration will contain:
Ability to open Recovery Manager console.
See the registered secure storage servers from previous console.
Be able to refresh and register secure storage server backups and copy them from the servers.
Browse cloud storages and recent upload sessions.
See and use Forest Recovery projects in the folder set when starting restoration.
Open Forest Recovery projects, verify them and run the recovery.
| NOTE |
There are powershell cmdlets, Backup-RMADFEConsoleConfiguration, Restore-RMADFEConsoleConfiguration, Set-RMADFEConsoleConfigurationProjectFiles, and Set-RMADFEConsoleConfigurationBackupSchedule available to perform the console configuration backup. See the Management Shell Guide for more information on the cmdlets. |
Your console configuration will be stored in a backup file along with Forest Recovery Project file(s) as it is mandatory to add at least one project file to the backup. This backup can then be install on another console with the configuration and project file(s).
| NOTE |
Project files are not added to the backup list automatically. If you create a new project and want it included in the console configuration backups, then the project file must be added using the steps in Manage backing up projects below. |
NOTE: The password used to secure the backup file below, must meet the following password complexity requirements. If the password fails to meet the complexity requirements you will be notified.
Password must be at least 8 letters long
Password requires at least one upper-case letter
Password requires at least one lower-case letter
Password requires at least one special character
Password requires at least one digit
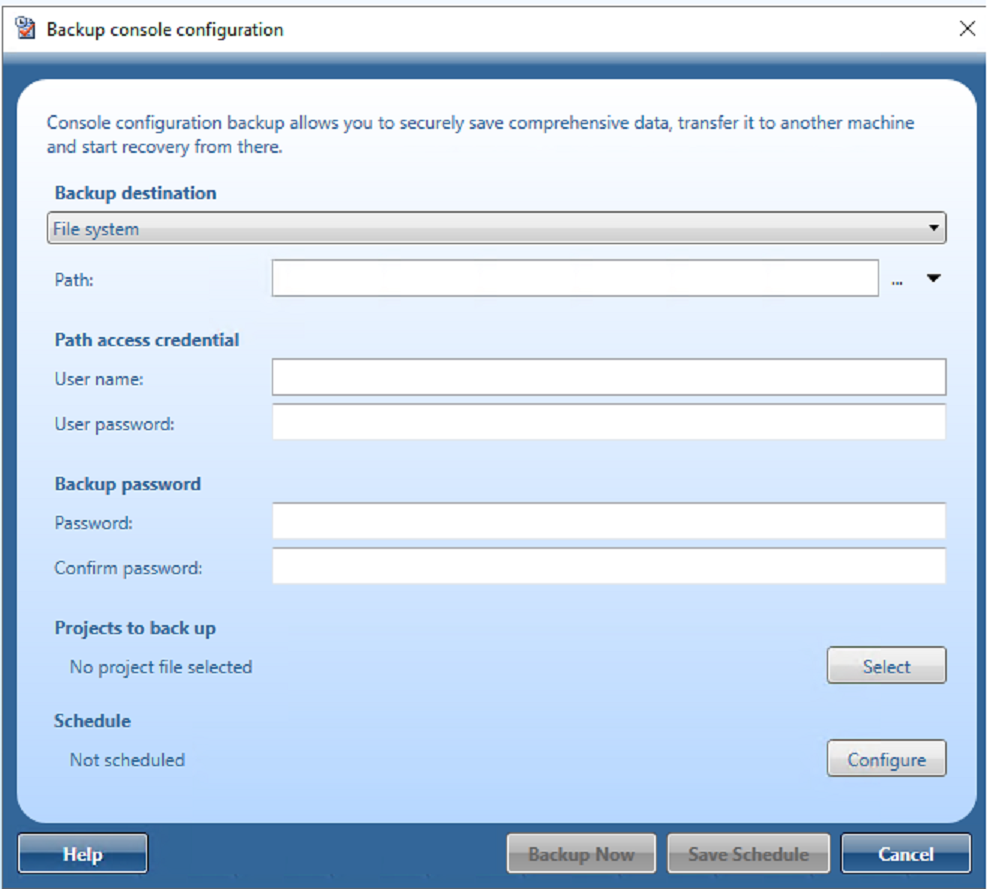

Using the Backup destination of File system enter a path to store the console configuration backup file. Click on the … on the right side of the Path field to open a browser window to help you choose a location.
You can add the console name and the date/time to the file name by selecting the drop down box to the right of the Path.

In Path access credential enter a user name and password, if needed, to access the path you enter in the Path field.
In Backup password, enter a password to protect the backup file and then confirm the password. See the password complexity requirements above.
Using the Backup destination of Secure storage server you can specify a server to store the configuration backup. If more than one secure storage server is available select the server you wish to use from the drop down. Secure storage servers are configured in the RMAD console.
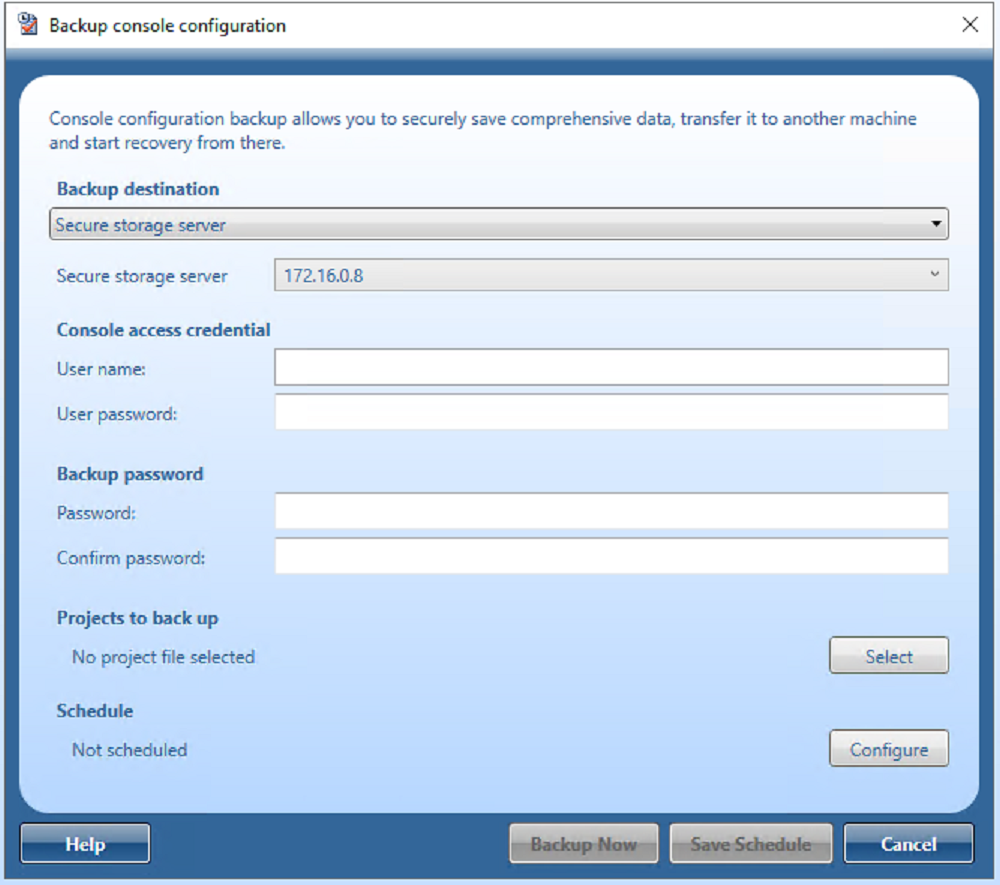
Enter the user name and password used to connect to the Secure storage server.
In Backup password, enter a password to protect the backup file and then confirm the password. See the password complexity requirements above.
Using the Backup destination of Cloud storage you can specify any cloud storage, Azure or AWS, that you are using to store the backup of the console configuration on.


| NOTE |
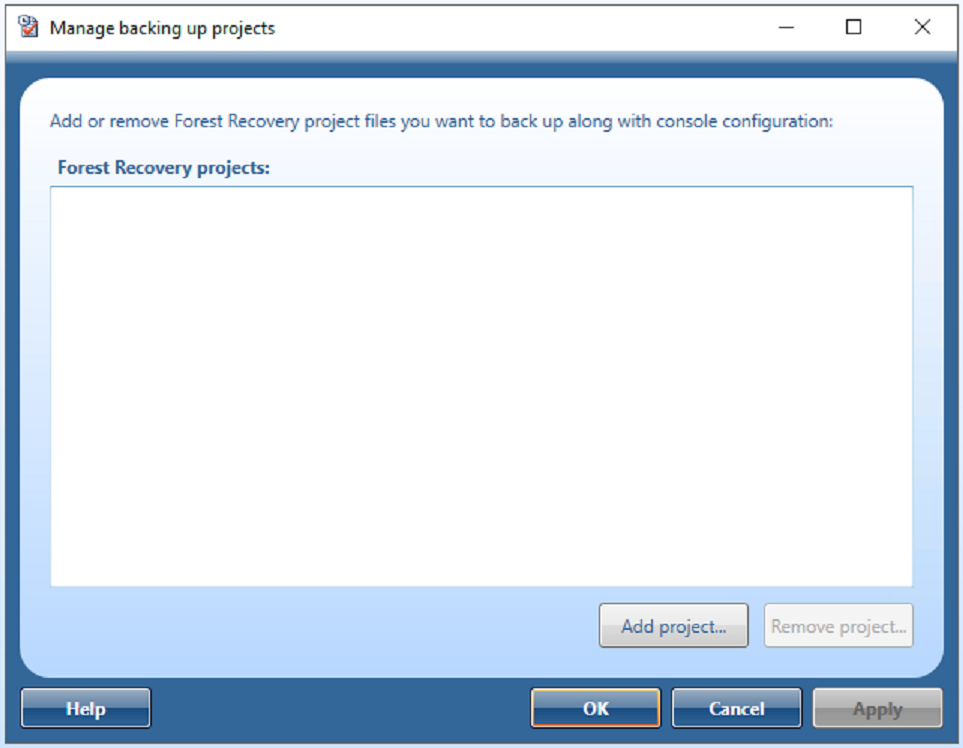
Project files that have the yellow warning symbol beside them are no longer available to be backed up and should be removed. |
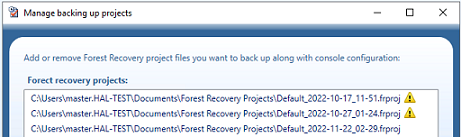
To remove a project file(s) click on the file or hold down the Ctrl and select multiple files and then click the Remove project… button. The files will be removed from the dialog.
Click the Apply button and then OK to save the settings. The project file(s) are saved with the Console configuration backup the next time it is run.
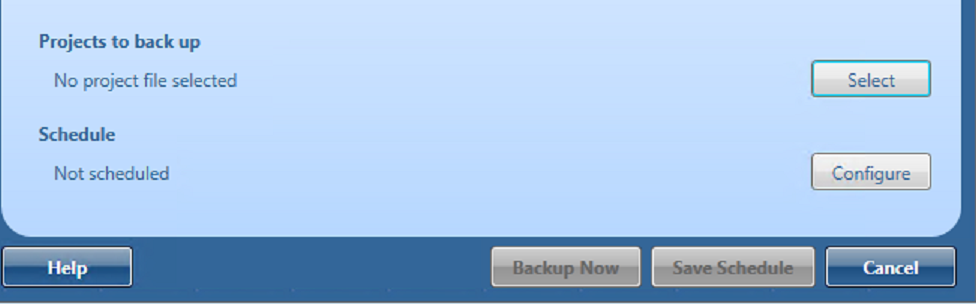
On the menu bar, click Tools | Console configuration backup | Backup configuration, the Backup console configuration opens.
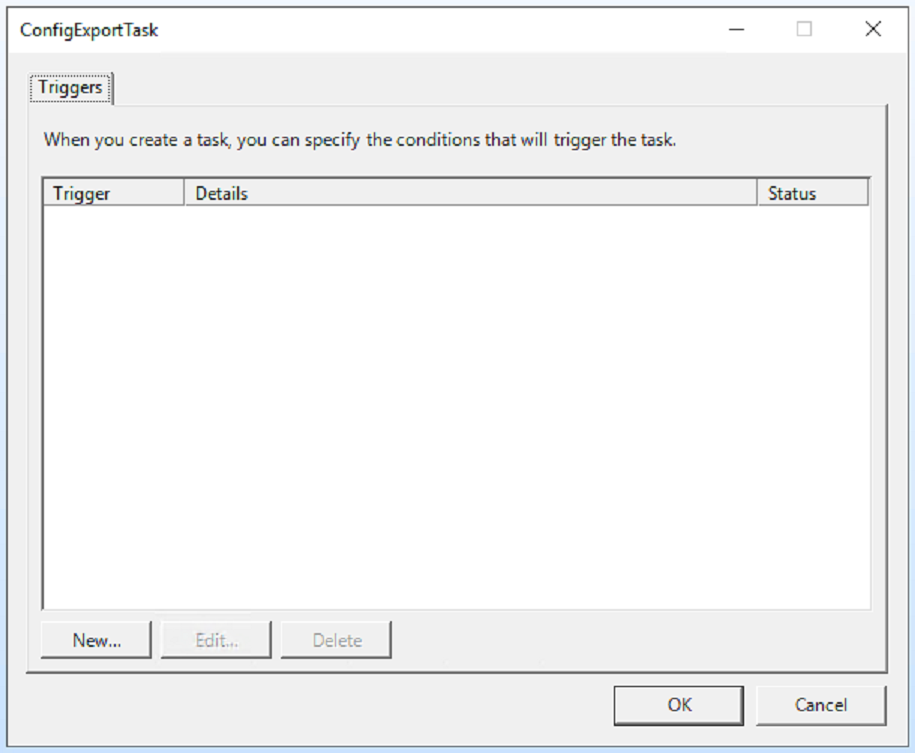
In the dialog that appears, select Configure in Schedule.
To change the schedule, select the Trigger and click Edit…
In the dialog box that opens, configure the new schedule and click OK.
Click OK to save the changes in the Backup configuration schedule dialog.
On the menu bar, click Tools | Console configuration backup | Backup configuration…, the Backup console configuration opens.
In the dialog that appears, select Configure in Schedule.
Select the Trigger and click Delete.
Delete any schedule associated with the backup and click OK.
Click OK to save the changes in the Backup configuration schedule dialog.
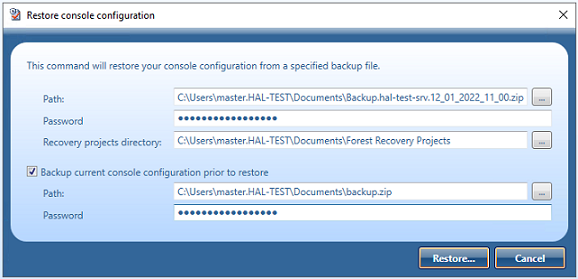
If the console configuration files is located on a Secure storage server or Cloud services then you must copy the file to a location that can be access by File access, as this is the only option available for the restore.
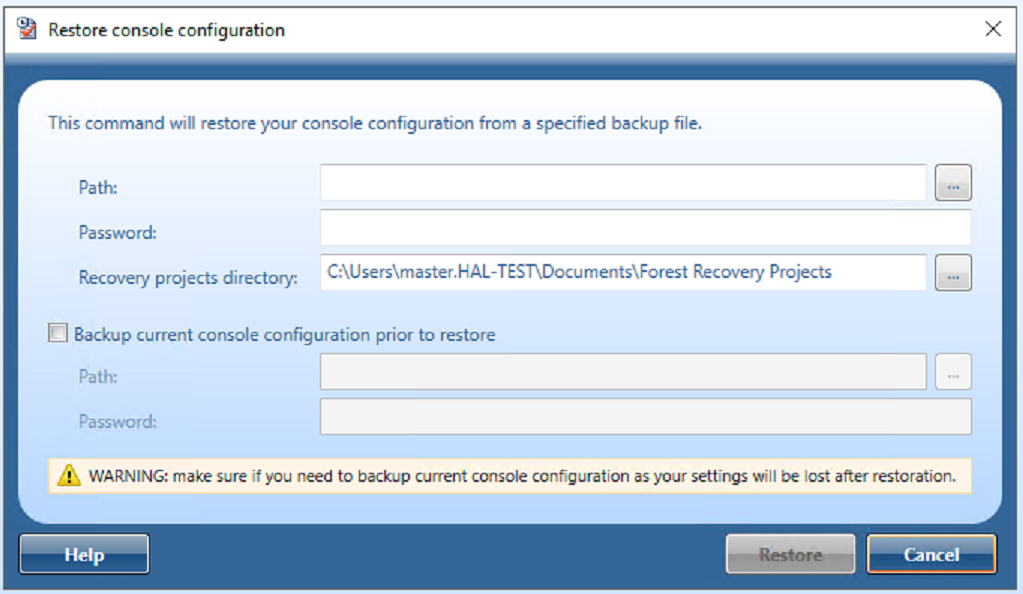
Enter the path to the backed up console configuration file.
Enter the password for the file.
In Recovery projects directory, confirm the location for the project files.
It is recommended that you select Backup current console configuration prior to restore to protect your current configuration in event of an issue. Enter a path and password for the current configuration.

A recovery project is where you manage the recovery of the entire Active Directory® forest or specific domains. Each recovery project contains a list of domain controllers to be recovered and their recovery settings, such as recovery method and access credentials. You can specify individual recovery settings for each domain controller in a recovery project. A recovery project also has a number of project-specific settings you can modify.
Each recovery project is saved to an individual project (.frproj) file. A project (.frproj) file holds information about the contents and settings of the project and the recovery settings specified for the DCs in the project.
You can perform sequential recovery against multiple forests (each forest in a separate project file) from a single Forest Recovery Console. Parallel recovery is possible only if you use several instances of Forest Recovery Console on separate machines.
In this section:
To create a new recovery project, you can use a New Recovery Project Wizard. This wizard helps you retrieve the Active Directory® forest infrastructure information and save it in a recovery project (.frproj) file.
The wizard offers you the following methods to retrieve the forest infrastructure information:
Retrieve the forest infrastructure information from an Active Directory® backup registered with Recovery Manager for Active Directory.
Connect to any available live domain controller in the forest to retrieve the forest infrastructure information.
On the menu bar, select File | New Project.
On the Retrieving the Forest Infrastructure page of the wizard, click one of the following:
Select a Backup. Allows you to retrieve the forest infrastructure information from an Active Directory® backup registered with Recovery Manager for Active Directory. You can register the backup using Recovery Manager Console or directly from this page. For that, click the Register Backup option.
Connect to Forest. Allows you to connect to a live domain controller and retrieve the forest infrastructure information from the Active Directory® database held on that domain controller.
On the The following forest information has been collected step, specify the domains you want to include in the recovery project.
On the next step, specify the project file and protection password for the file.
Click Finish to complete the project creation.
The title bar of the Forest Recovery Console displays the name of the project (.frproj) file you have created.
| Note |
Each recovery project must be protected with a password. When prompted, set a protection password for your project and make sure you keep the password for your records. |
On the menu bar, select File | Open Project.
Browse to select the project (.frproj) file you want to open, and then click Open. The title bar of the Forest Recovery Console displays the name of the project (.frproj) file you have opened.
