The Waste tab allows you to configure the settings for determining resources wasted in your environment. These include powered-off VMs, checkpoints, and potential zombie VMs:
|
• |
Determine as waste if area: A resource is considered wasted if one of the following settings is met: |
|
• |
VM has not been used for more than [x] Days. Defines when a powered-off VM is wasting resources in your environment by not being used. |
|
• |
Checkpoint has not been accessed for more than [x] Days. Defines when a checkpoint is wasting resources in your environment by not being accessed. |
|
• |
Determine as a potential zombie if area: A VM is considered a zombie VM if the following five settings are met: |
|
• |
Time period used for average calculation is [x] Days. Defines when a resource is considered a zombie VM, by looking at the period used for average calculations. |
|
• |
Average Resource Utilization—Deviation. Defines when a resource is considered a zombie VM, by looking at the CPU, memory, disk throughput, and network utilization values. |
To save any changes made to the Waste settings, click Save at the bottom of the tab.
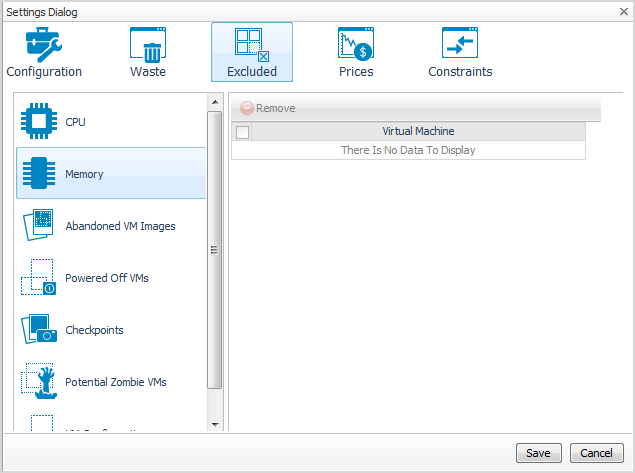
The Excluded tab allows you to remove a VM from the list of excluded objects.
For information about how to add a VM to the list of excluded objects, see Excluding objects.
The Excluded tab includes the following information:
To remove VMs from the list of Excluded objects, select the check boxes for these VMs and click Remove.
To save any changes made to the Excluded settings, click Save at the bottom of the tab.
The Excluded tab can also be accesses by clicking Show Excluded Items on the Reclaiming Savings bar. For more information, see Viewing excluded objects.
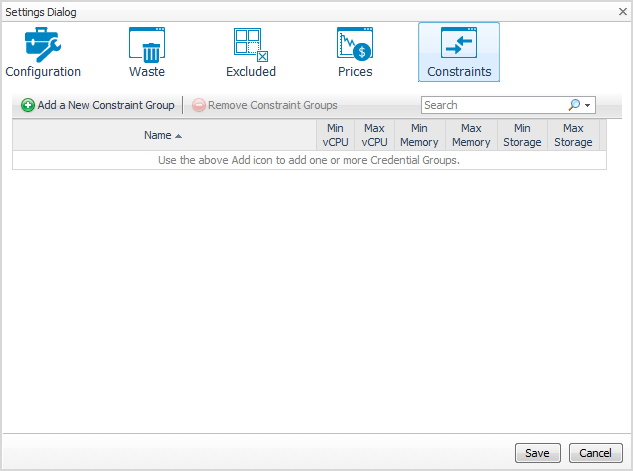
The Constraints tab allows you to set custom thresholds for select objects in the environment. These recommendations are displayed in the Optimizer tab > VM Configuration/ CPU/ Memory/ Storage views > Modify Recommendation column. Use this tab to add, edit, and remove constraints groups.
|
1 |
|
2 |
In the Constraint Group Name field, type in name of the new group. |
|
3 |
In the List of Related Object area, define the objects that are related to this constraint group. Click Add Services or Add Virtual Machines, and select the objects from the available lists. |
|
4 |
In the Constraints area, select the options or type the values you want to assign to this group. |
|
5 |
Click Save. |
|
6 |
|
1 |
|
2 |
Click the Edit icon at the right end of the constraint group you want to modify. |
|
4 |
Click Save. |
|
5 |
|
1 |
|
2 |
Select the check box for the constraint group you want to delete, and click Remove Constraint Groups. |
|
3 |
To proceed with the operation, click Confirm. |
|
4 |
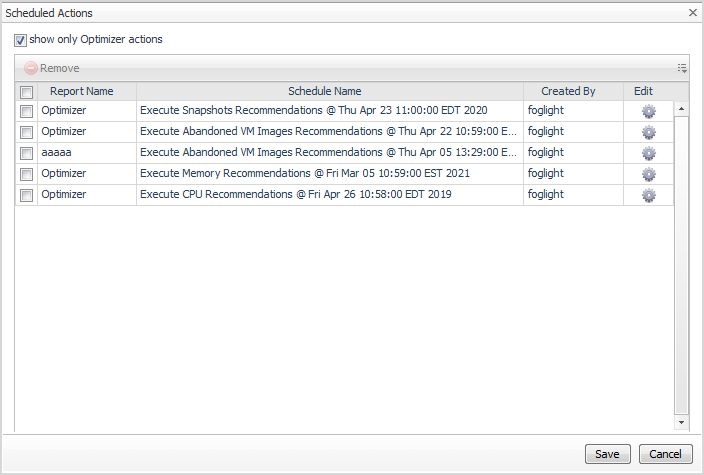
Use the Scheduled Actions menu to access the list of operations scheduled to be run at a particular time in the future.
The Scheduled Actions dialog shows the list of operations scheduled to be run at a particular time in the future, and allows you to edit or remove any scheduled actions. To view only the actions specific to Foglight Resource Optimizer, select the “show only Optimizer actions” checkbox. When the checkbox is not selected, the dialog shows all actions scheduled for your virtual environment.
|
1 |
In the Scheduled Actions dialog, click the Edit icon at the right end of the action you want to modify. |
|
3 |
Click Apply. |
|
4 |
|
1 |
In the Scheduled Actions dialog, select the check box for the action you want to delete, and click Remove. |
|
2 |