|
2 |
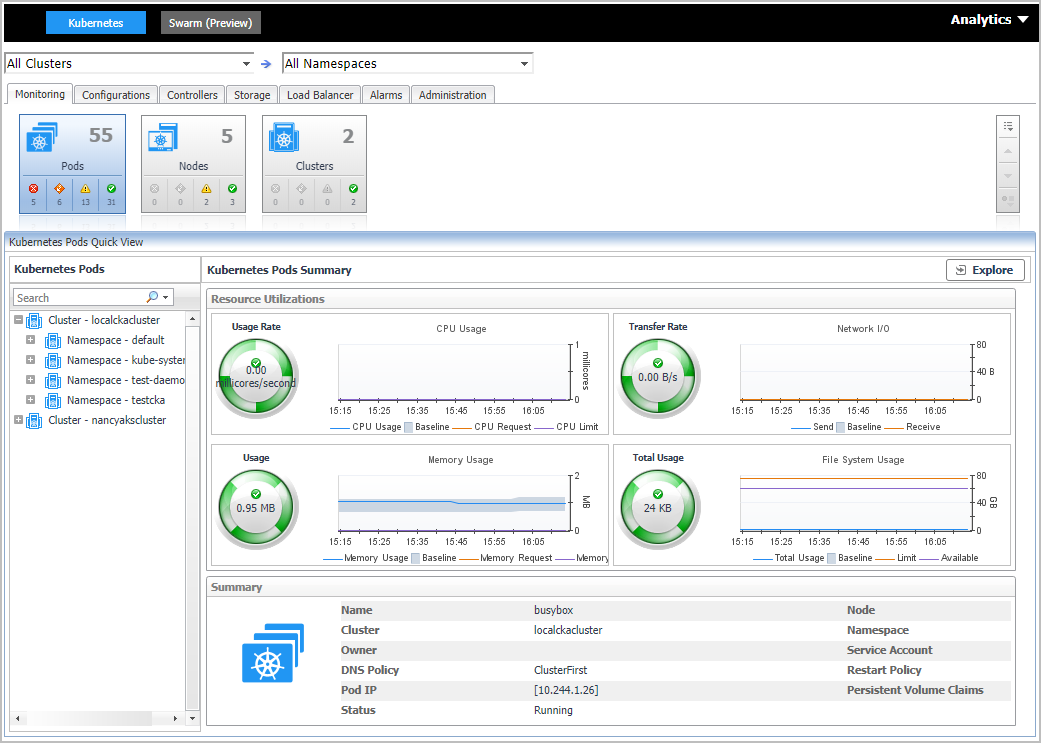
On the navigation panel, from Standard View click Container Environment or from Expert View click Dashboards > Container. Then the Container dashboard will display as below. |
|
3 |
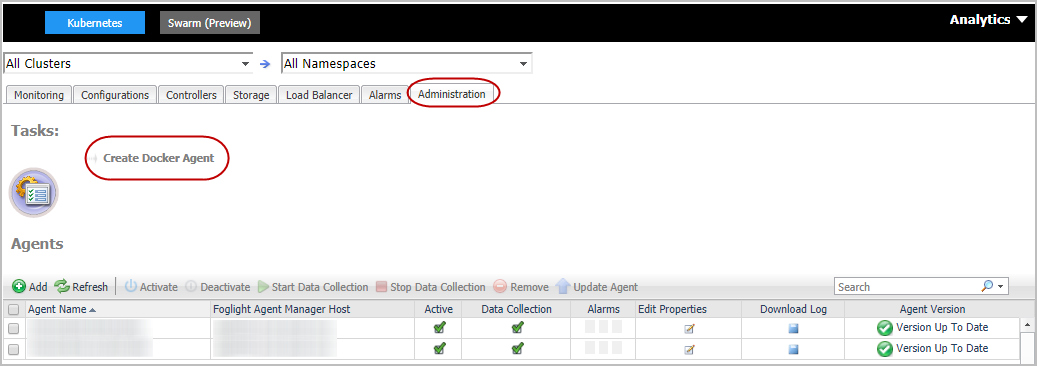
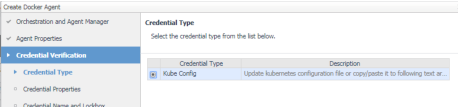
In the Container dashboard, click Administration tab, and then click Create Docker Agent. The Create Docker Agent wizard opens. |
|
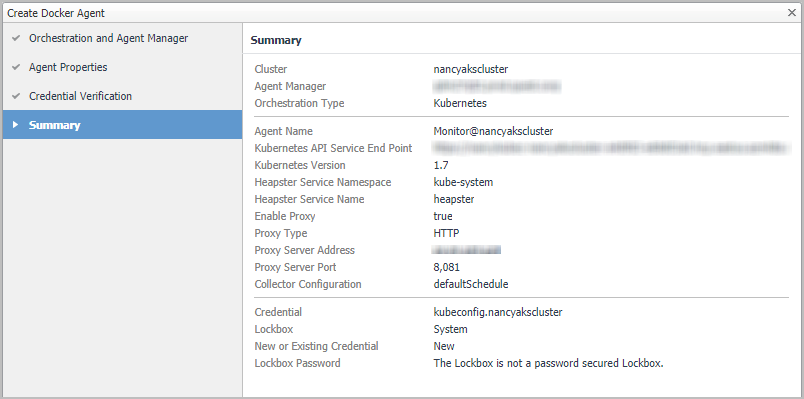
4 |
|
• |
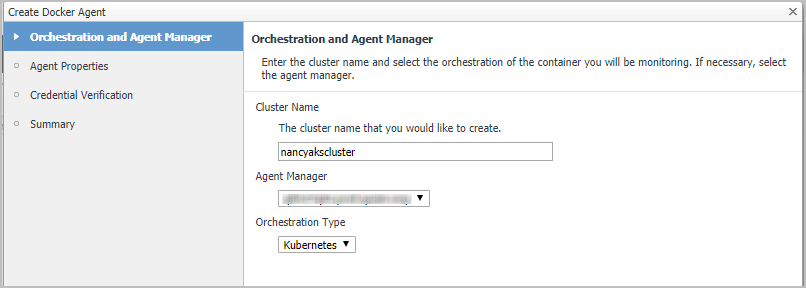
Cluster Name: unique name for the monitored cluster. |
|
• |
Agent Manager: select an Agent Manager which manages the agent. |
|
• |
Orchestration Type: container orchestration. |
|
• |
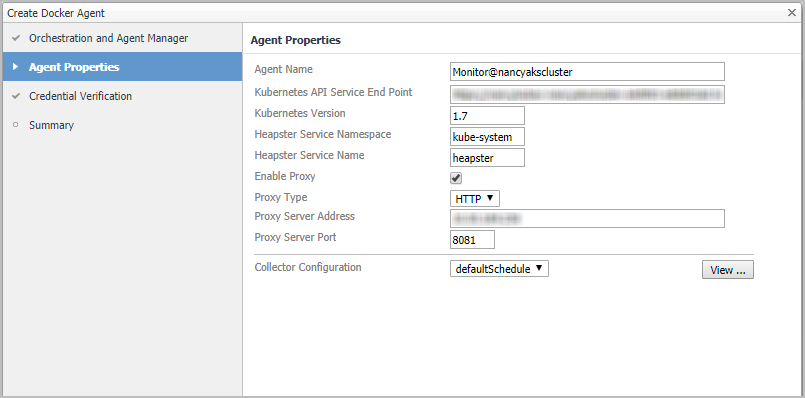
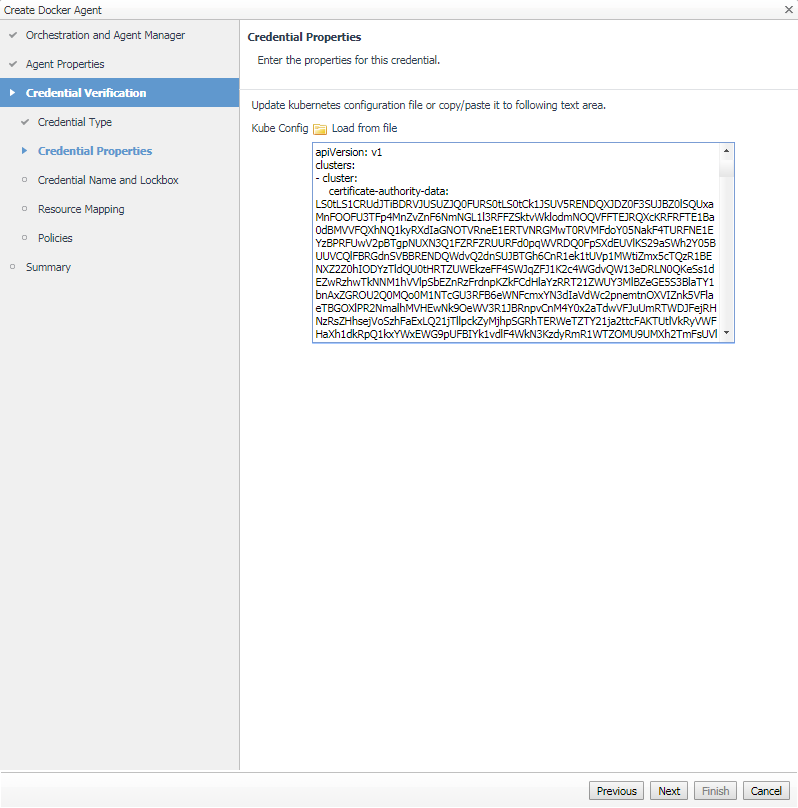
Kubernetes API Service End Point: Get this information from the KubeConfig file. For more information, see Enabling Heapster service in monitored environment . |
|
• |
Heapster Service Namespace/Heapster Service Name: Get both values from the Heapster service configuration. For more information, see Enabling Heapster service in monitored environment . |
|
• |
HTTP: Namespace of Heapster should be <heapster service namespace> and Heapster Service Name should be <heapster service name>. |
|
• |
HTTPS: Namespace of Heapster should be <heapster service namespace> and Heapster Service Name should be https:<heapster service namespace>:. |
|
• |
Enable Proxy: To enable the proxy, select the checkbox. Enter the Proxy Server Address and Proxy Server Port information. |
|
• |
|
• |
|
• |
Resource Mapping: click Next. |

|
• |
Resource Mapping: click Next. |

|
7 |
To create a Docker Swarm agent on a monitored host:
|
2 |
|
3 |
|
4 |
Host Selector: Select the monitored host that you want to monitor with the Docker Swarm agent instance that you are about to create, and then click Next. |
|
5 |
Agent Type and Instance Name: Specify the following values, and then click Next. |
|
• |
Agent Type: Select DockerSwarmAgent from the agent type list. |
|
• |
Agent Name: Specify the name of the agent instance that you are about to create using either of the following approaches: |
|
• |
Generic Name: This option is selected by default. A generic name is a combination of the host name and the agent type and uses the following syntax: agent_type@host_name. |
|
• |
|
6 |
|
7 |
On the Agents table, select the Docker Swarm Agent that you create, click Edit Properties, and then click Modify the private properties for this agent. |
|
8 |
In the Agents properties view, check if the following values have been configured based upon your environment: |

|
• |
Name: give a name to the monitored docker host, it should be unique. |
|
• |
Host Name: IP address or host name of the monitored docker host. |
|
• |
Docker Remote API End Point: Docker Remote API endpoint of the monitored docker host. For more information, see Enabling Docker Remote API for monitored docker host . |
|
• |
Swarm Name: specify the swarm cluster name for display. If the swarm name is kept as “default”, then the cluster name will be displayed as “default (cluster ID)” on the dashboard. If a customized name is input here, then the customized cluster name will be displayed on the dashboard. |
|
9 |
Return back to the Agents table, select the above property changed Docker Swarm Agent, and then click Activate. |
|
1 |
|
2 |
On the Agent Status dashboard, select the Kubernetes agent that you use to monitoring the container environment, and then click Edit Properties. |
|
3 |
|
• |
Inventory Collector: Specifies the interval for collecting components. |
|
• |
Metrics Collector: Specifies the interval for collecting metrics. |
|
5 |
Click Save. |
|
• |
|
• |
|
• |
