戻る
-
タイトル
How to create an Elastic Pool Azure SQL agent -
説明
The ability to create Elastic Pools database agents are included in the 6.1.5 Azure SQL database cartridge.
How can a user create an Elastic Pool database agent? -
対策
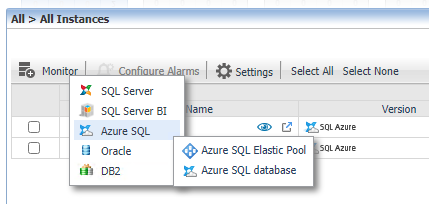
To add a new Azure SQL Elastic Pool database agent:- From the Global View Databases dashboard click the Monitor button, followed by Azure SQL and then click on the Azure SQL DB sub menu item
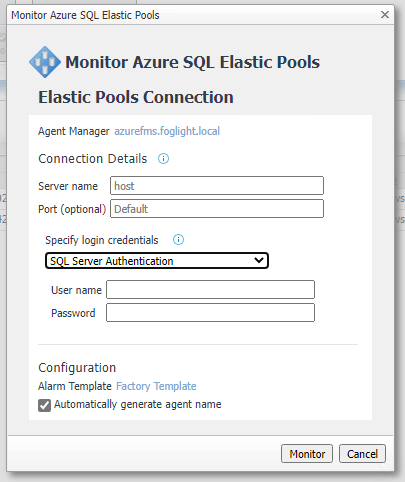
- The Monitor Azure SQL Elastic Pool dialog box will be displayed.
- Choose the Agent Manager to install the new agent on, or accept the default agent manager displayed.
- In the Server name field, enter the logical server name (i.e. the logical server that hosts the Elastic Pool full name). The agent always connects to the master database so there is no need to fill in a database name
- Entering a value in the Port field is optional. If it is left empty it will default to 1433.
- Choose either SQL Server Authentication or Azure Active Directory (AD) Authentication under Specify Login Credentials.
- Azure Active Directory (AD) Authentication is a login through Azure Active Directory account. Enter the user name in email format (for example JDoe@Example.com).
- SQL Server Authentication is a login through a SQL Server Account
- Enter the username and password
- In the Configuration area, Select the alarm template to determine what level of alarms the system will store and display for this instance or choose the default template displayed.
- Choose to automatically generate a new database agent name, or uncheck the box to override the value with a custom agent name.
- Click the Monitor button to create the agent or Cancel to abort the installation.
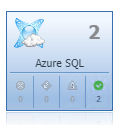
- Click the Azure SQL tile
- Click the Elastic Pool tab and after a few minutes the Azure SQL Elastic Pool agents should be visible in the Global View dashboard
The following video provides a brief instruction on creating a new Elastic Pool agent
- From the Global View Databases dashboard click the Monitor button, followed by Azure SQL and then click on the Azure SQL DB sub menu item


