Tchater maintenant avec le support
Tchattez avec un ingénieur du support

Foglight for Integrations 5.9.0 - User and Reference Guide

CI Properties View

The CI Properties view lists all the properties that can be included on a Configuration Item. Supplied Properties are provided by default when the cartridge is installed. The properties that users add are Added Properties. Once defined, properties can be included in the XML for a Configuration Item.

This view allows you to add properties for a Configuration Item, so you can customize an installation to meet the needs of the customer. Users can define a (limited) data type for the property, along with a flag indicating whether many values are supported.

This view is located in the navigation panel of the Foglight user interface, under the Integration > Property Administration dashboard.

For more information about how to add configuration item properties, see Adding Configuration Item Properties .

Name

A required field that assigns a unique Configuration Item property name.

Type

String: Can include numeric characters, alphanumeric characters, and symbols


Boolean: True or False


Integer: A whole number between the values of -2147483648 and 2147483647


Long: A whole number with a range larger than Integer


Float: A 32-bit floating point number


Double: A 64-bit floating point number
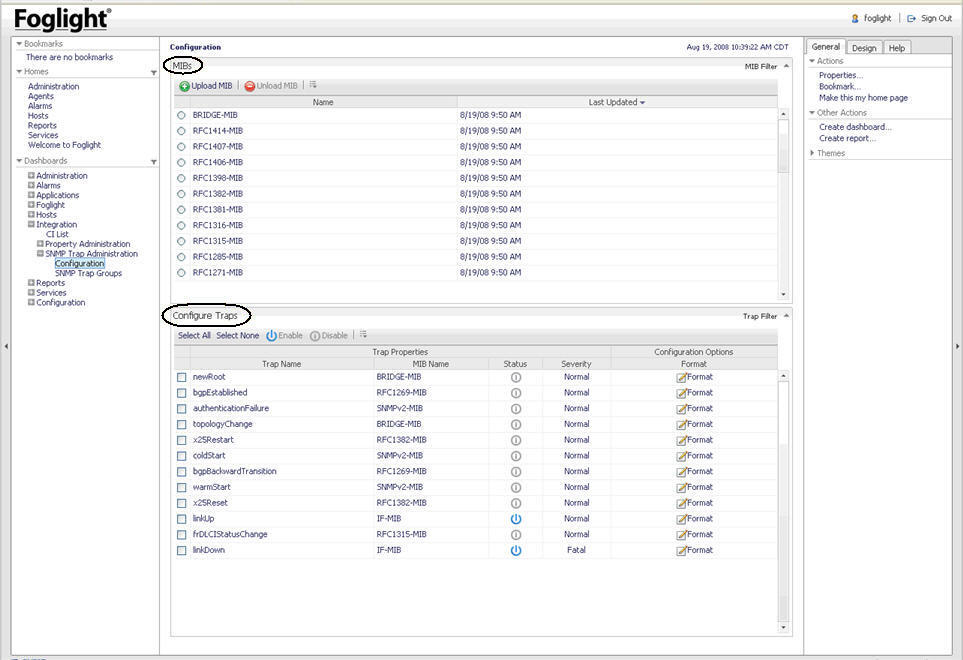
Is List

True — Set the property to allow multiple values

False — Set the property to allow only one value

Configuration View

Use the Configuration view to quickly review the MIBs loaded in Foglight. The MIBs table and the Configure Traps table are displayed in this view.

The MIBs table lists the name of the MIB and the date the MIB was last updated. MIBs can be uploaded using the Upload MIB button. When updating, the user is prompted to locate the MIB file. Any errors found while loading MIBs is presented in the user interface.

In the Configure Trap table, a list of subsequent trap definitions associated with the loaded MIBs appears. This table provides a list of traps and their associated MIB name. It also includes the status indicating if the trap is enabled or disabled and the severity of the traps. The Format link allows you to format the alarm information being fed into Foglight.

This view is located in the navigation panel of the Foglight user interface, under Integration > SNMP Trap Administration > Configuration dashboard.


Trap Name

The name of the trap that is provided in the MIB file used to load the trap.

MIB Name

The name of the MIB file that contained the trap.

Status

The status of a trap. The status can be either Enabled or Disabled.

Severity

The severity that is given to an alarm that is created when this trap is received.

Format

The configuration options for a Trap.

Trap Variables:

Description:

OID:

Message Format:

The message format that is provided on the alarm sent into Foglight based on the trap information. Trap variables can be specified in the message. For example, if the trap variable ifIndex is included in the message, it would be written ${ifIndex}. You can use the variables ${host} ${trapname} and ${technologyMonitor} in the message format. The ${host} is where the trap came from.

Trap Duration:

Forcing an end time on the event sent into Foglight. The end time would be the start time of the trap with the duration added to it. Setting the Trap Duration to zero keeps the trap alarm open until it clears.


For more information about how to work with SNMP traps, see Receiving SNMP Traps .

SNMP Trap Groups View

The SNMP Trap Group view allows you to group related traps together in order to manipulate alarms associated with the state of an object. Once a trap group is added, you can then add traps to the trap group.

If you choose to edit an SNMP Trap Group, a view of the Traps In Group table and the Ungrouped Traps table is displayed. The Traps In Group table is used to assign variables to make the traps specific to an object. The Ungrouped Traps table lists all traps that were loaded in Foglight. The trap can be included in the trap group by selecting the box next to the trap. When selected, the trap is removed from the Ungrouped Trap list and placed in the Traps in Group table.

This view is located in the navigation panel of the Foglight user interface, under Integration > SNMP Trap Administration > SNMP Trap Groups.

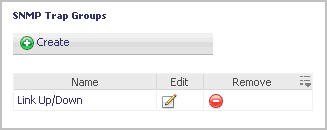
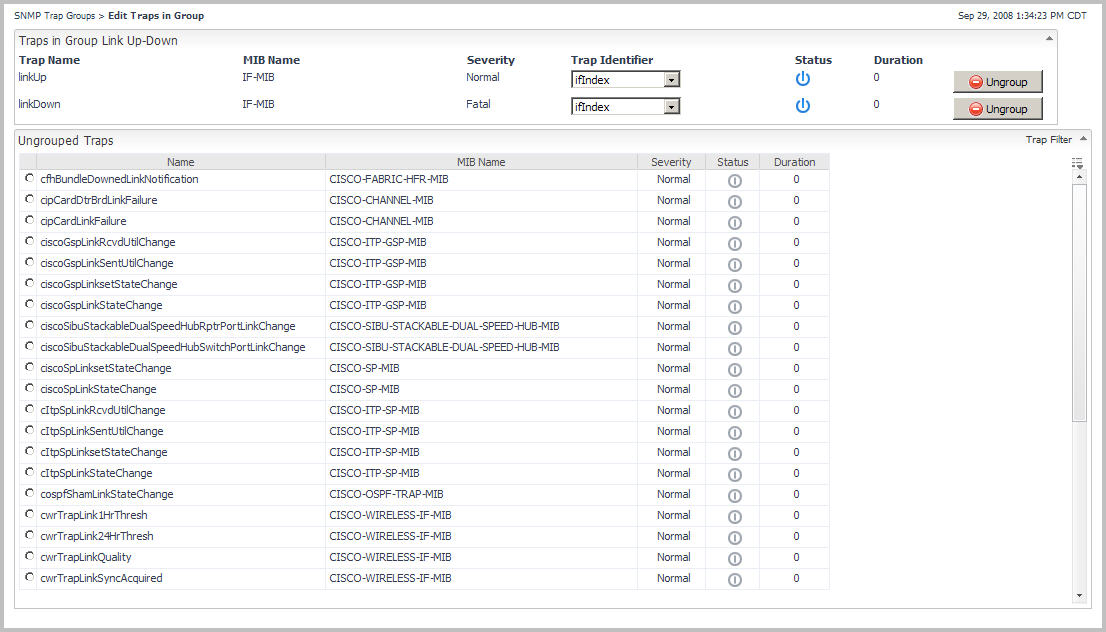
For more information about how to work with SNMP traps, see Grouping SNMP Traps .


Documents connexes

The document was helpful.

Sélectionner une évaluation

I easily found the information I needed.

Sélectionner une évaluation