Hello and welcome to the ApexSQL Mask general overview video. ApexSQL Mask is a standalone application capable of masking sensitive SQL Server data.
Besides masking sensitive data, the application offers the following features:
Let’s get started. By starting the application, the Connect to SQL Server window will be shown, where first will be set the SQL Server from the Server drop-down list:
After that, select the Authentication type, and for this video, the Windows authentication will be selected:
Choosing the database from the Database drop-down list is the next step:
When all is set in the Connect to SQL Server window, click on the Connect button:
ApexSQL Mask will be connected to the selected database, and the view will migrate to the main window of the application. By default, on the left side of the main window, in the grid panel, the automatically classified columns that contain sensitive data with intended masks will be shown:
By click on one of the table columns in the grid panel, on the right side of the main window from the Preview panel can be seen how data looks before and after masking:
Besides automatically listed table columns, ApexSQL Mask can mask the data of any column in the selected database. By click on the All columns button in the Home tab, all columns in the database will be listed in the grid panel:
Let’s show on one table column how the data will be masked. First, we will check the listed table column in the main grid:
To add any of the predefined masks to the selected column, right-click on it and choose the Add mask command, then Substitution where all predefined masks will be listed:
ApexSQL Mask, besides already predefined masks, provides the ability to create a new mask, or to edit, and delete the existing masks. To do any of this click on the Manage button from the Home tab:

The Manage masks window will be opened, where will be presented all masks that are applied to the selected database:
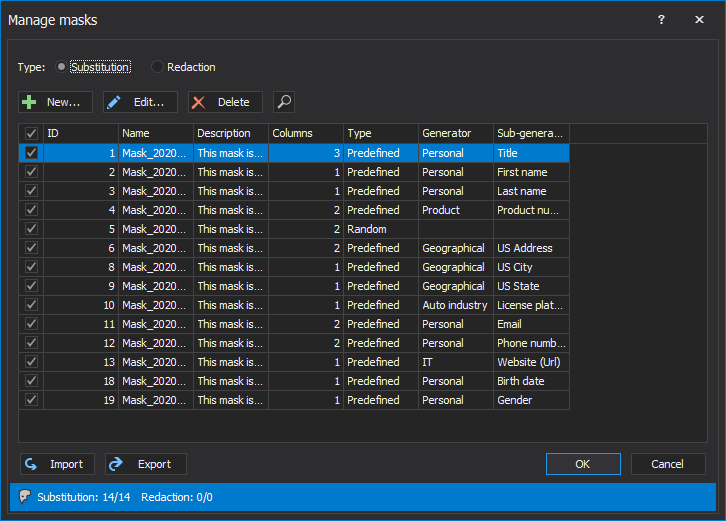
To create a new mask in the Manage mask window first step is to choose the type of mask. Two mask types are available:
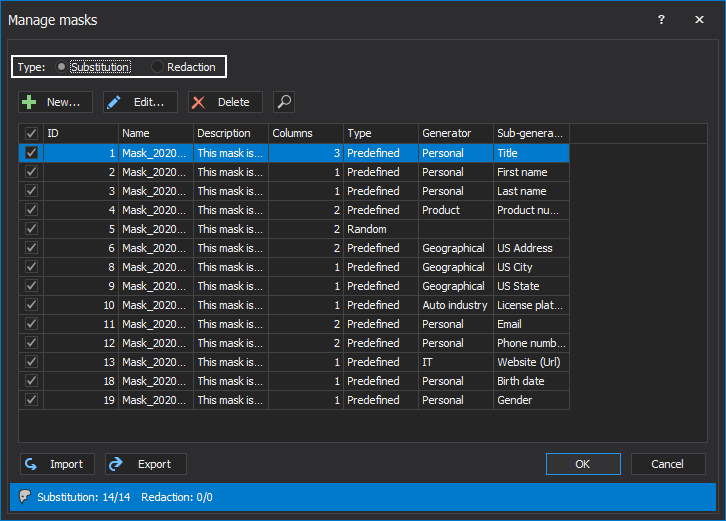
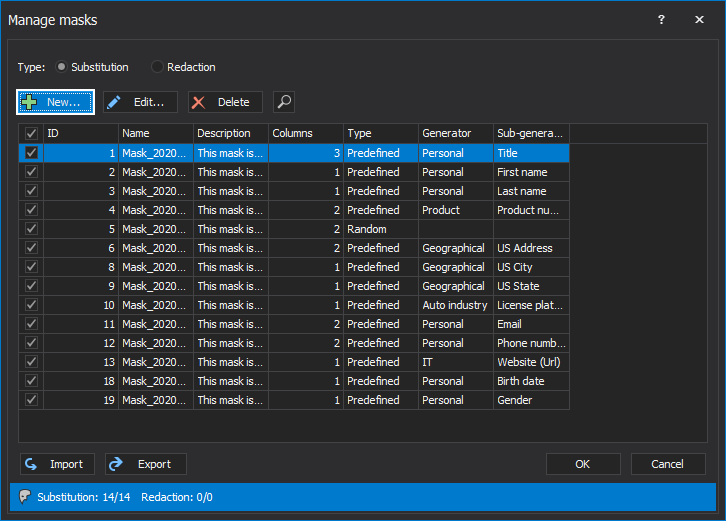
In this video, we will explaine how to create the substitution mask type. When the type of mask is selected, the next step is to click on the New button:
The Create substitution mask window will be opened:
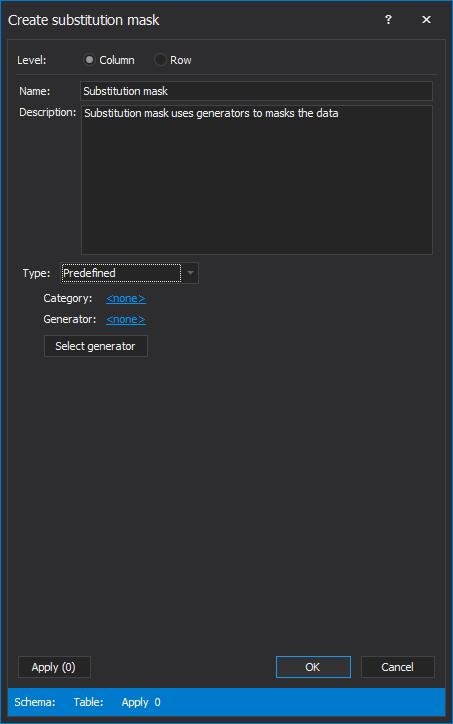
From the Level section of the Create substitution mask window can be chosen the Column or Row level of masking. We will choose the column level masking:
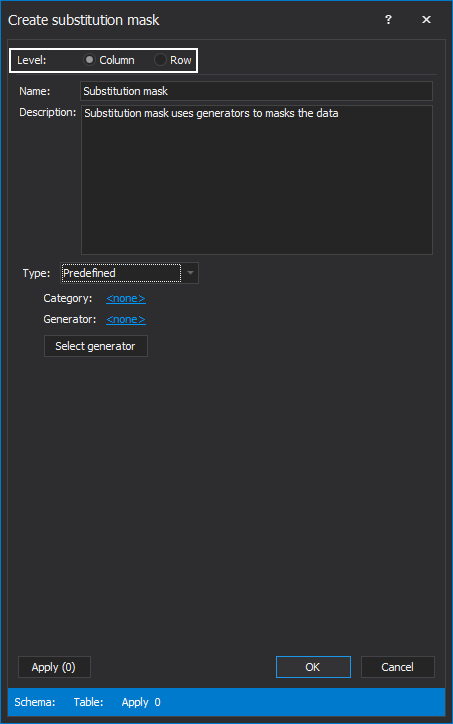
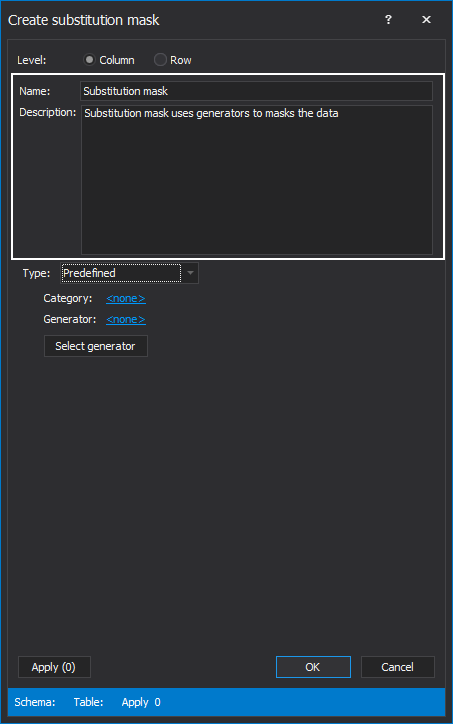
In the Name field, a name for the new mask will be written.
The Description field is optional but we will add a description for our mask:
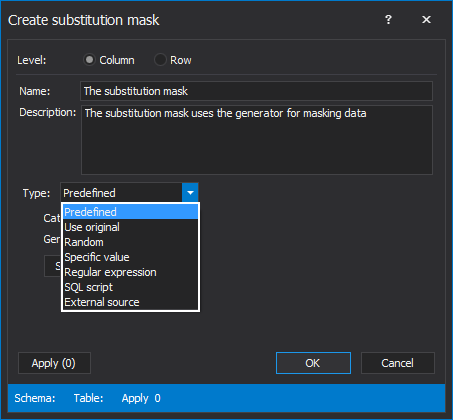
The next step is to choose the generator, that defines which data will replace the original data in the column. In the Type drop-down list can be found next types of the generators:
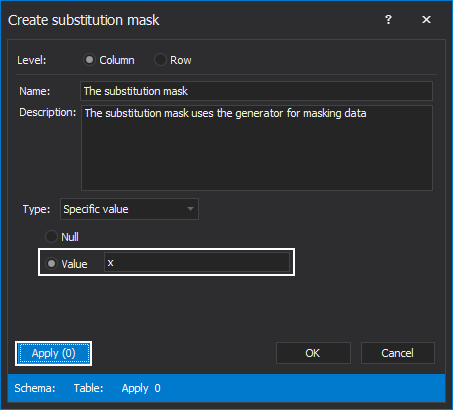
We will use the Specific value generator type for masking original data. Choose the Value option, type in any character, in our case it will be X, and all data will be hidden with that character. When all is set, click the Apply button:
The Apply to columns window will be opened. Here the columns from the loaded database tables that data masking will be done must be chosen. From the Available section, select the column for masking and click the right blue arrow to move wanted column to the Applied section on which the newly created mask will be applied. Click the OK button will close the window and confirm the changes:
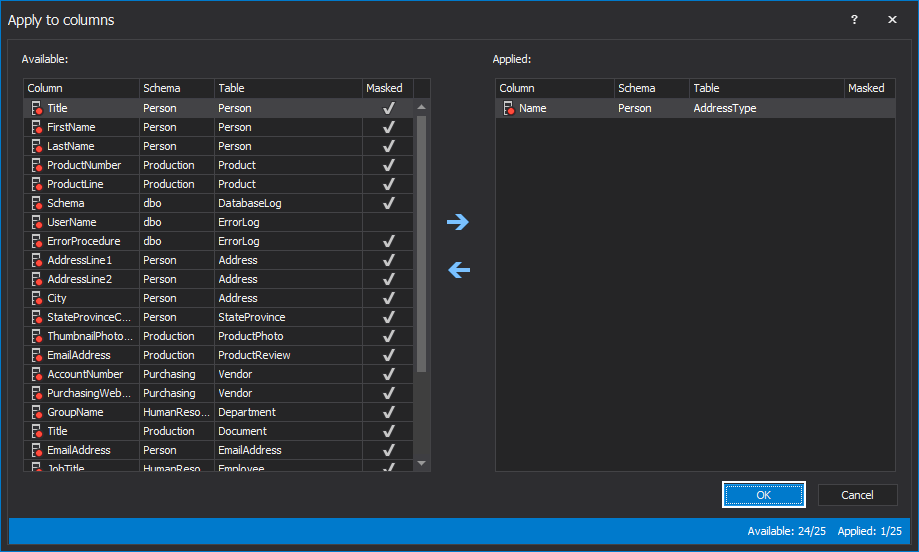
The view will back to the Create substitution mask window. Click the OK button and the newly created mask will be shown in the Manage masks window:
The Manage masks window will be closed by click on the OK button and the primary grid of ApexSQL Mask will appear. When the newly masked column is clicked in the grid panel, in the Preview window can be seen the compare of the original data and the masked data:
When everything is set, to proceed further click the Process button from the Home tab:

The Process mask window will be shown with the Job summary data, where all the summary details and warnings can be seen:
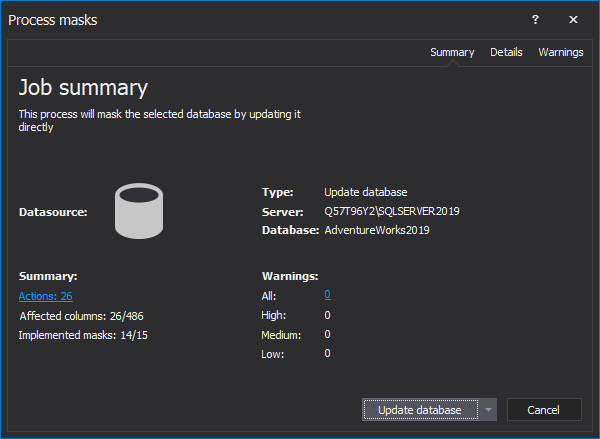
The Process masks window offers two options. By choosing the Update database option masked data will be updated directly into the SQL database, but if the Create script option is selected ApexSQL Mask will create the script and that script can be run whenever is needed:
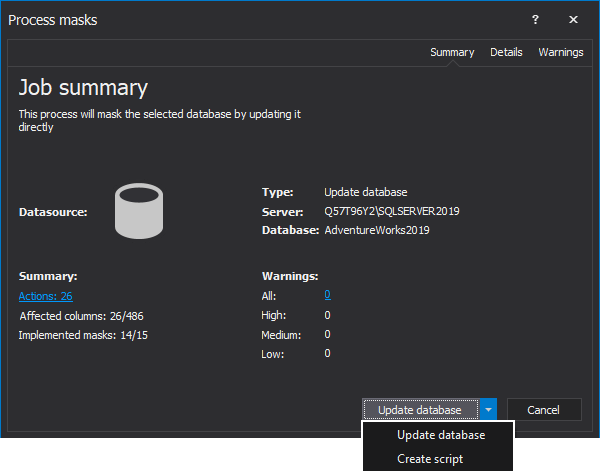
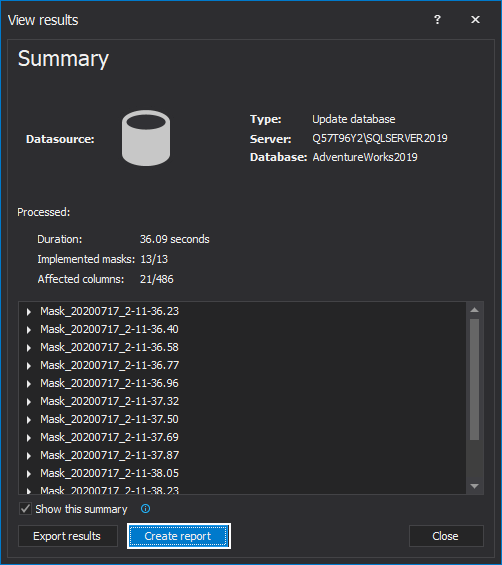
Let’s click the Update database option for this video. When the update process is finished, the View results window will be shown with the complete summary of how many masks are implemented, and the number of the affected columns. Also, the View result window offers the possibility to Create report and to Export results:
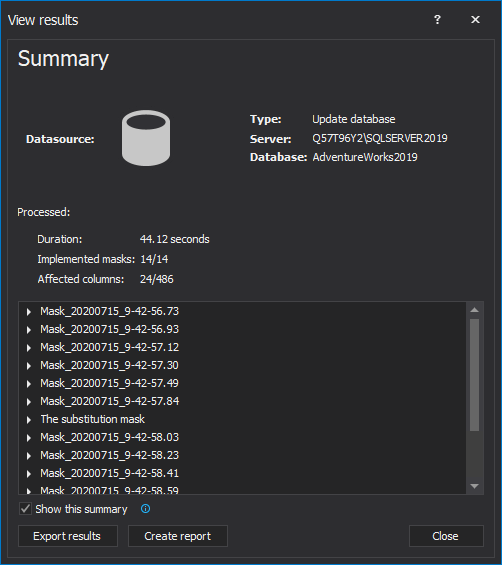
Let’s review how to create a report. To create a report click the Create report button:
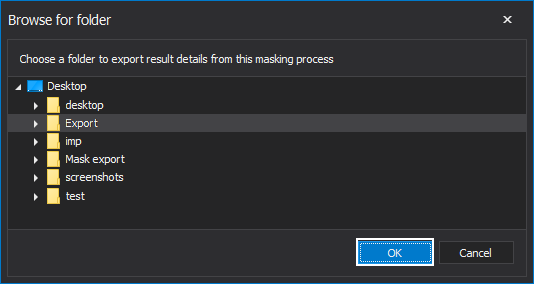
In the Browse for folder window choose the location where the report will be saved and click the OK button:
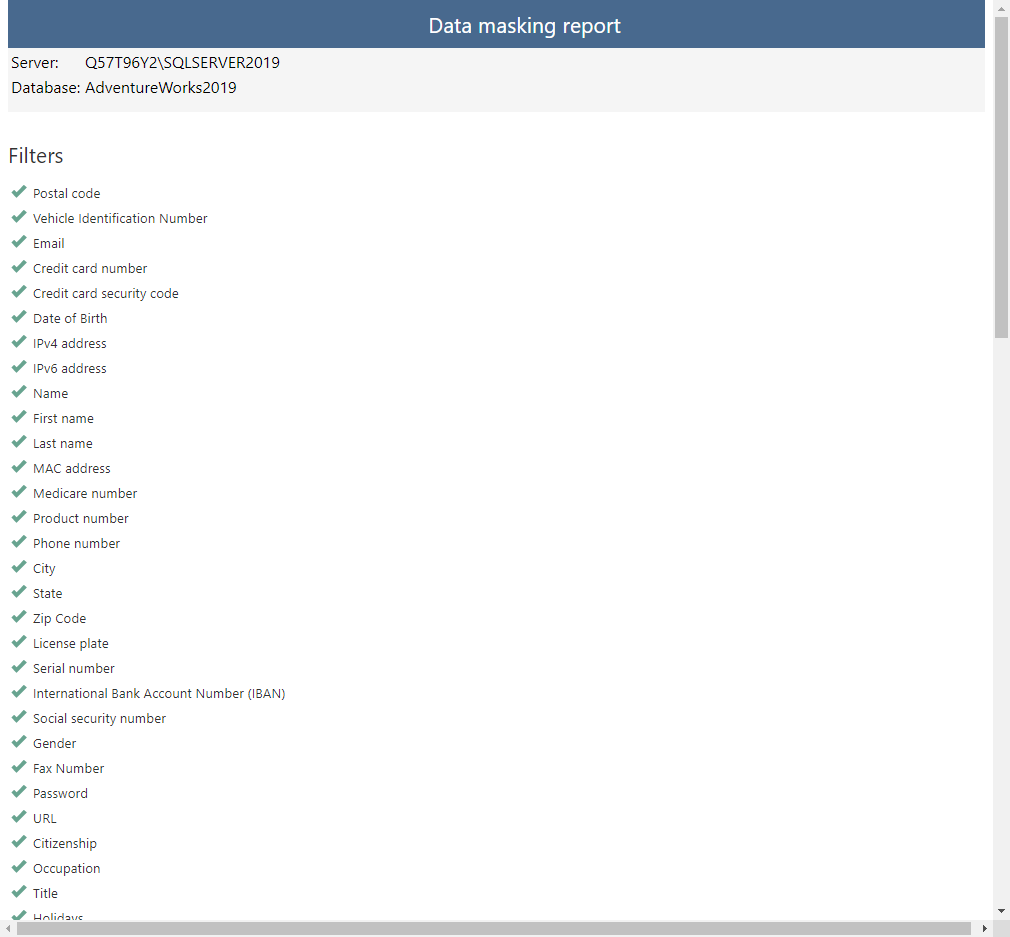
The report will be saved in the HTML extension and it will look like this, with all filters and substitution mask rules and a number of masked columns:
Thanks for watching. For more information please visit www.apexsql.com