Using Exclusion Lists
Objects can be added to the exclusion list. Objects on the exclusion list will not be displayed unless the Show Blacklisted button is selected. Most actions cannot be selected for blacklisted objects.
To add objects to the exclusion list:
- Select one or more objects in the list.
- Select Add to Exclusion list in the Actions menu and click the Apply Action button. The selected objects are removed from the displayed list.
- Click the Show Exclusion listed button to view the exclusion listed objects.
To remove objects from the exclusion list:
- Click the Show Exclusion listed button to view the exclusion listed objects.
- Select one or more objects in the list.
- Select Remove from Exclusion list in the Actions menu and click the Apply Action button. The selected objects are removed from the displayed list.
- Click the Hide Exclusion listed button to view the non-exclusion listed objects.
Filtering, Searching, and Sorting Tables
The data table can be filtered, searched, and sorted by column.
Filtering
To filter the data table by Synchronization Profile:
- Select a profile from the Profiles drop-down list. The table is updated to display only objects associated with the selected profile. By default, objects from All Profiles are displayed.
To filter the data table by Migration Wave:
- Select a Migration Wave from the Migration Wave drop-down list. The table is updated to display only objects in the selected Migration Wave. By default, objects from All waves are displayed.
Searching
To search the data table:
- Enter text in the Search box.
- Click the Search icon. Fields are only searched if that column is selected to be displayed in the table.
SORTING
To sort the data table by column headers:
- Click on a column header to sort the table by that column in ascending order.
- Click the column header again to sort the table by that column in descending order.
Customizing Columns
The default data tables do not display every available column. However, the displayed columns can be customized.
To choose displayed columns:
-
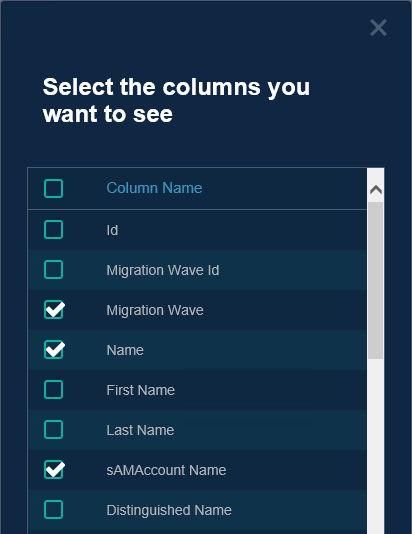
Click the Gear icon in the table header. The Select columns window appears.
- Select the columns to display in the table.
- Click OK. The table is updated with the selected columns.
Triggering a Sync
Use the Run Sync button to sync the data currently displayed in the table. If All Profiles is selected, all of the Synchronization Profiles will be synchronized. Select a Synchronization Profile before starting a sync to synchronize only that profile. If a Synchronization Profile has been set to synchronize on a schedule, manually starting a sync is not necessary.
 |
Only objects marked as "Sync Enabled" will be synced to the target. |
To sync the data displayed in the table:
- Click the Run Sync button.
-
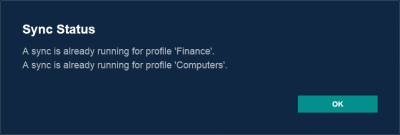
After clicking the Run Sync button the following confirmation for the sync of the selected Synchronization Profiles will be displayed.