
-
标题
NM: Installing Office 365 ProPlus (2016) so it works correctly Notes Migrator -
说明
Office 365 Pro Plus (2016) is installed on a Notes Migrator worker as this version of Outlook is now supported with Notes Migrator 19.09 but there are issues such as autodiscover connection issues and or Outlook errors indicating there is something wrong with the installation. The connectivity connector does connect without any errors.
Error in the log include:
Error: Log on Failed 80040111
Error: OpenMsgStore Failed: 8004010f
Error: Autodiscover result has no EXCH protocol
Running a repair on the outlook installation and then removing outlook and reinstalling it did not work. -
解决办法
When installing Office 365 ProPlus (2016), you should follow the exact steps below steps to install the Outlook ProPlus (2016) client to have it function properly with Notes MigratorInstall Office 2016 from Office 365
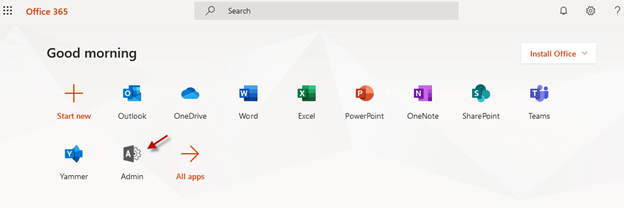
Open the Office 365 Portal (https://portal.office.com) in a browser and log in with your tenant administrator account.
Note: for Office 365 region specific portals the URL may be different. Request this from Microsoft Support if needed.
Access the Admin Center and locate your migration Outlook account(s) using the search.
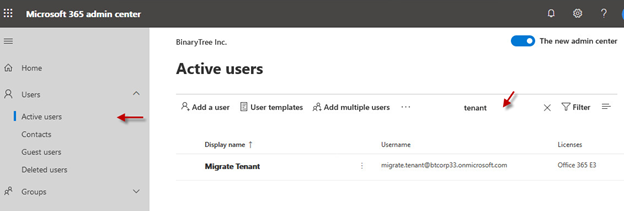
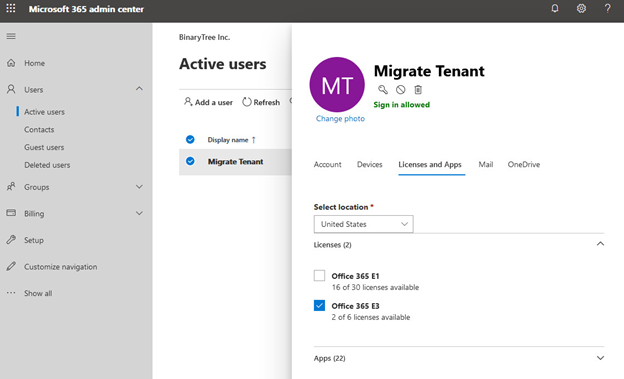
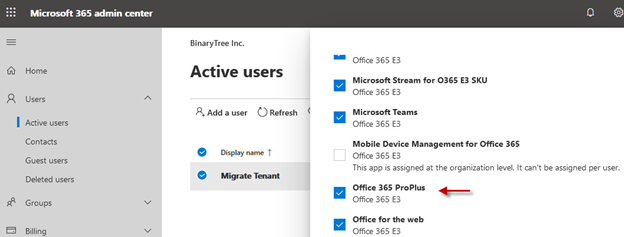
Click to open the migration account(s) and verify that these are Licensed and have the option for Office 365 Pro Plus.
Note: this does require an Enterprise license to be applied to the account(s), for example E3. License types such as Kiosk, Home, Student are not supported for migrations.
Then log in to the migration worker(s) that Office 2016 will be installed on.
Verify that Office is not installed through Control Panel – Programs and Features. Remove the install if present and restart the workstation.
Open the Office 365 Portal (https://portal.office.com) in a browser and log in with your Outlook Migration Worker account.
This is the account that will run the migrations for the Outlook connection. The account would be configured in the Binary Tree worker installation configuration and can be viewed in the Connectivity Tester on the workstation.
Note: for Office 365 migrations Binary Tree do recommend multiple Office 365 tenant accounts to be created and included in an Office 365 FullAccessAdmin mail enabled security group. This allows for a migration Outlook account to be configured for individual migration workers to prevent Office 365 throttling during migrations.
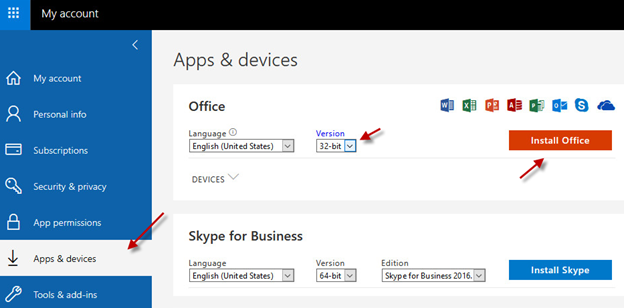
Select to Install Office and choose Other install options.

Open the App & devices tab and select the Office Version to be 32-bit and click on Install Office.
This will open the dialog to begin the install. Follow the instructions and use the Need help installing option if required.
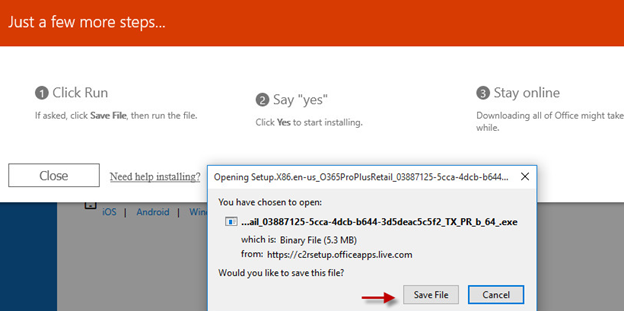
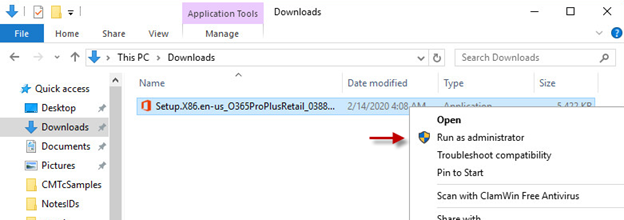
If the option to run the install immediately was not available and the setup executable had to be downloaded by Save File open Windows Explorer and select the Downloads folder.
Right click the Setup file and choose Run As Administrator if the option is available (if not then just run).
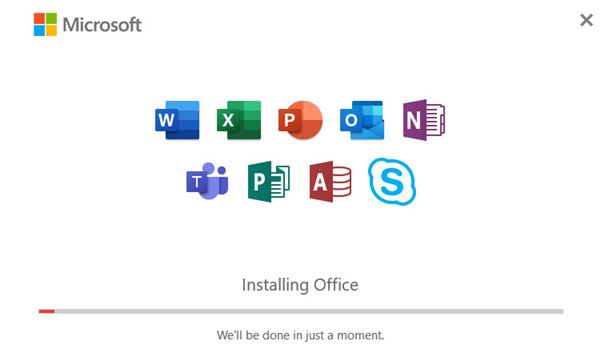
This will begin the Office ProPlus 2016 installation and complete the setup.
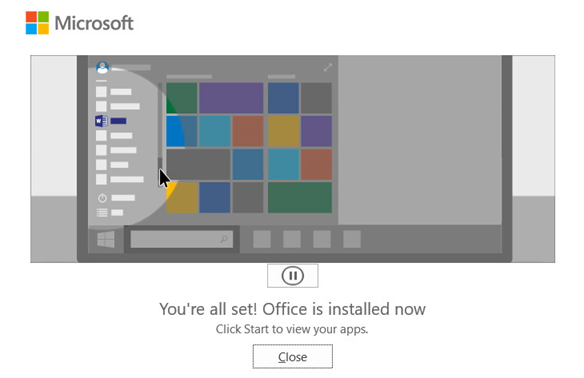
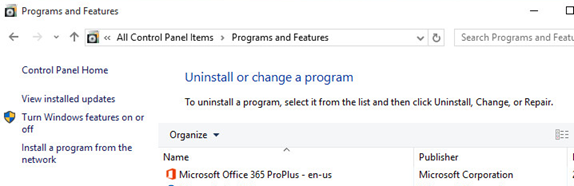
After this completes got to Control Panel – Programs and Features to verify the install completed.
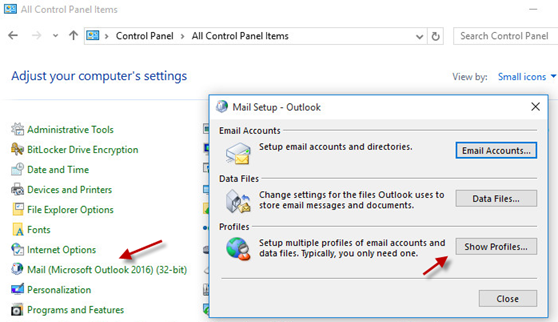
Go back to Control Panel and verify that the Mail (Microsoft Outlook 2016) (32-bit) option is available.
Note: if this is not present then restart the workstation to verify. If it is still not available, then raise a case with Microsoft Office 365 support to assist.
Click on the Mail (Microsoft Outlook 2016) (32-bit) and then on Show Profiles.
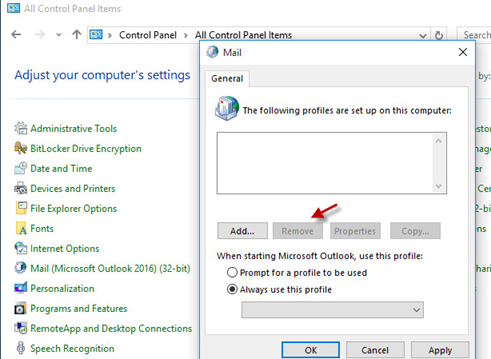
Verify that there are no existing mail profiles on the workstation. IF there are then click the profile name and click to Remove and then OK the dialog.
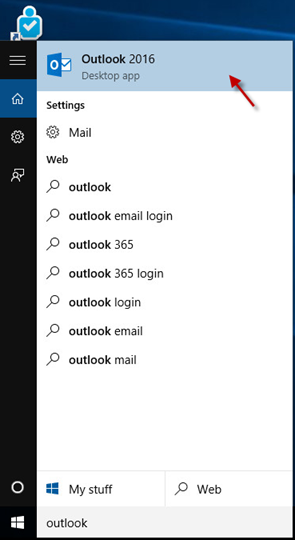
Open Outlook 2016 on the workstation.
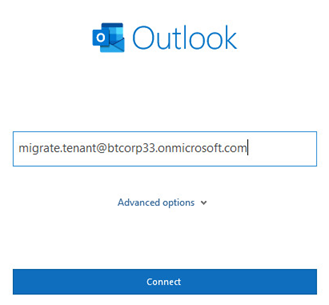
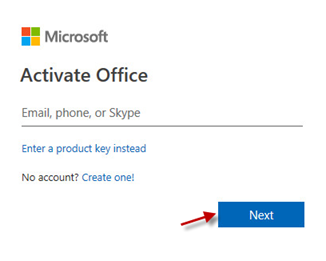
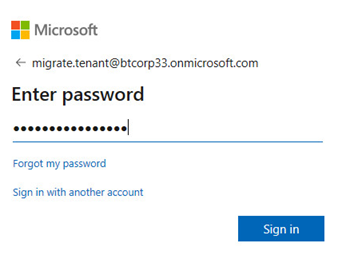
Configure Outlook to use your migration account for the worker (this the Office 365 account that would be entered into the Connectivity Tester application).
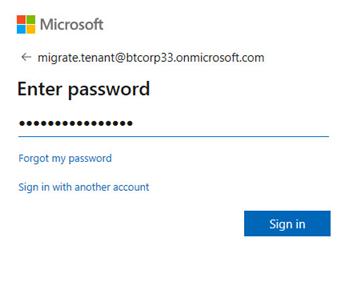
Sign in to Outlook with your migration account.
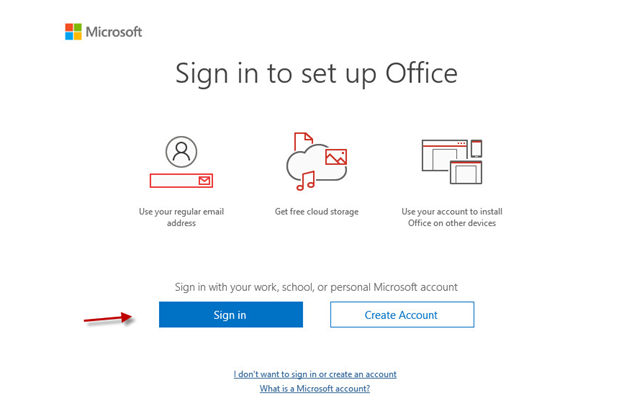
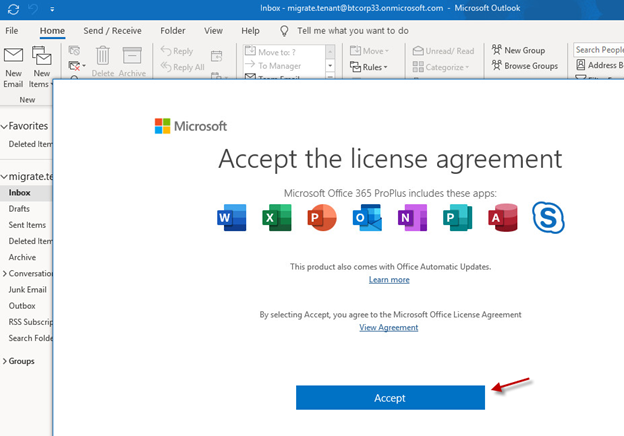
Once Outlook is open activate it using your migration account (same account as it was set up with).
Note: if Outlook does not activate raise a case with Microsoft Office 365 support for assistance if needed.
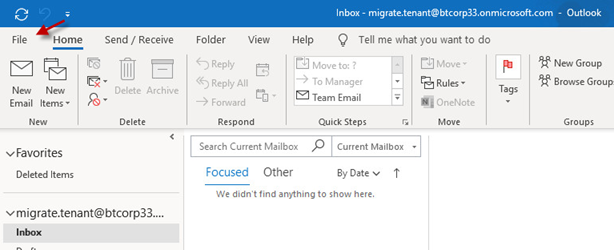
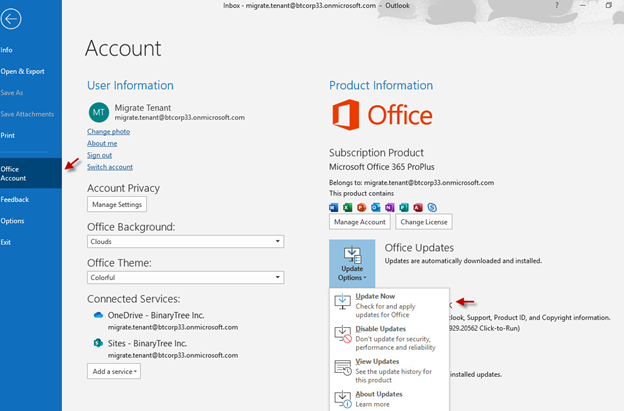
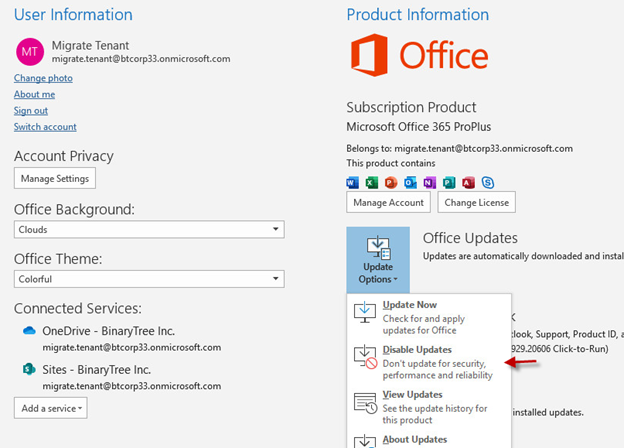
After Outlook is activated proceed to patching Outlook.
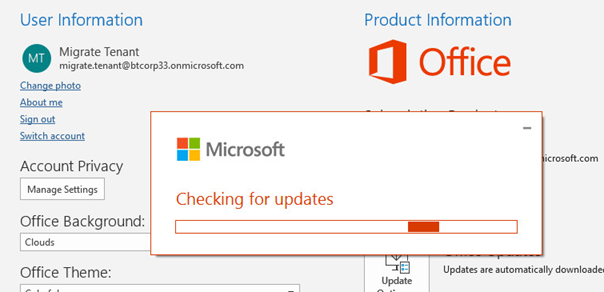
This is done through the Files menu – Office Account tab. Click on Update Options – Update Now.
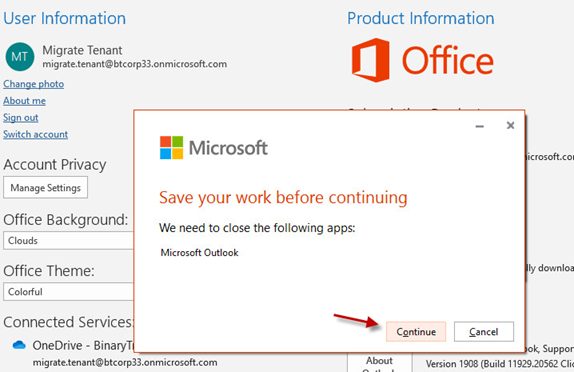
Allow the update to complete, this will close Outlook.
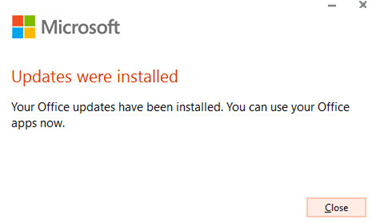
After the patch updates are completed open Outlook again. The automatic patching can now be disabled to prevent Outlook restarts during migrations which will result in migration terminations.
Note: Outlook can still continue to be patched but the recommendation is to do this as a planned maintenance activity without migrations running.
To disable automatic updates, go back to the Files – Office Account tab and click on Update Options – Disable Updates.
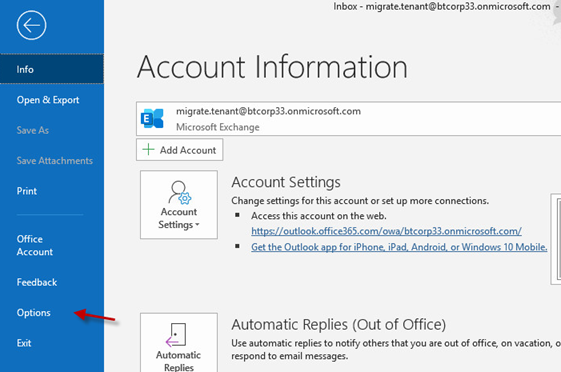
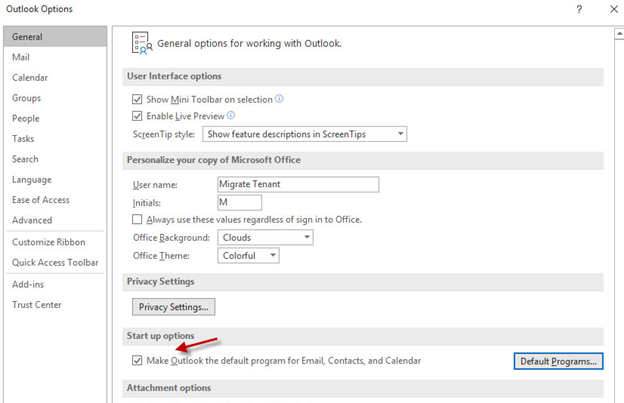
After the updates are disabled verify that Outlook is the Default Mail Client for the Workstation.
This is set under the Options – General tab with the Start ip option to make Outlook the default mail client selected.
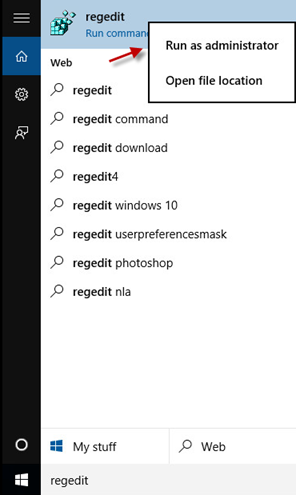
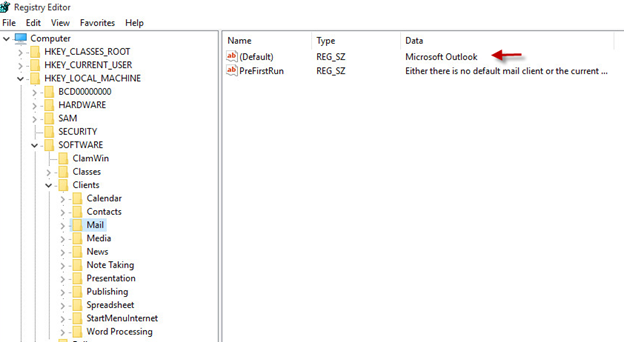
For additional validation that Outlook is the default mail client open Regedit on the workstation and confirm that the registry key for HKey_Local_Machine\Software\Clients\Mail has the (Default) key set to Microsoft Outlook.
Note: if this is not correct then edit the Key and enter Microsoft Outlook then close the registry editor.
Note: The Office 365 ProPlus version (2016) is only supported for Notes Migrator 19.03 or higher.
Note: In lab testing Outlook 2016 has performed slower than Outlook 2013 SP1 Professional. This has resulted in through puts for migration being approximately 20% lower and, in some instances, higher than 20%.
Microsoft have confirmed that this is expected behavior with Outlook 2016 due to enhancements made in the product which cannot be reverted. The recommendation provided to Binary Tree from Microsoft is to use Outlook 2013 SP1 where possible if higher throughput is required.