
Domain Mappings
|
Navigation: Configuring Copying Options > Mapping Options > Global Mappings > Domain Mappings |
In addition to allowing you to map individual users explicitly, Metalogix Content Matrix allows you to map all users from one domain to another, across both SharePoint on premises and SharePoint Online environments.
Domain Mapping can be used in conjunction with explicit user mapping. For example, you can map all users across a domain, and then map specific users into other user accounts.
NOTE: Domain mappings can also be imported using the Import mappings from XML option, but Quest recommends the use of the UserMappingCLI utility as the most powerful way to generate, configure, and import user mappings for a variety of scenarios.
IMPORTANT: If you want to migrate an AD group to an Office 365 group that does not already exist on the target site, then you must use the Import mappings from XML option to map the source AD group SID to the target Office 365 group ID.
|
|
Domain Mapping supports the following connection types on both source and target: ·SharePoint on premises local and remote (MEWS) Object Model ·SharePoint Online CSOM and the Import Pipeline. |
|---|

NOTE: If you do not specify an extension for an online domain, .com will be used.
EXAMPLES:
·If you have an on premises source domain called quest, and you map it to a SharePoint Online target domain called questsoftware.com, you could enter the mapping as shown below.
In this example, users would be migrated as follows:
quest\amahfudh -> amahfudh@questsoftware.com
quest\doconnor -> doconnor@questsoftware.com
quest\fsullivan -> fsullivan@questsoftware.com
quest\gbond -> gbond@questsoftware.com
and so on.
·If you have an on premises source domain called quest, and you map it to a SharePoint Online target domain called questsoftware.net, you would enter the mapping as shown below.
In this example, users would be migrated as follows:
quest\amahfudh -> amahfudh@questsoftware.net
quest\doconnor -> doconnor@questsoftware.net
quest\fsullivan -> fsullivan@questsoftware.net
quest\gbond -> gbond@questsoftware.net
and so on.
·If you have an online source domain called questsoftware.com and you map it to a target domain called questsoftware.net, you could enter the mapping as shown below.

In this example, users would be migrated as follows:
amahfudh@questsoftware.com -> amahfudh@questsoftware.net
doconnor@questsoftware.com -> doconnor@questsoftware.net
fsullivan@questsoftware.com -> fsullivan@questsoftware.net
gbond@questsoftware.com -> gbond@questsoftware.net
To map domains:
1.In the Specify Global Mappings dialog select the Domain Mappings tab.
2.Click New to display the Create Domain Mapping dialog.
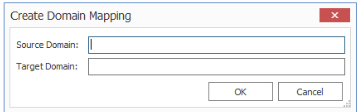
3.Enter the Source Domain name and the Target Domain name. Use the information in the following table for guidance.
|
Source |
Target |
Format/Example |
|---|---|---|
|
On Premises |
On Premises |
Source Domain: quest Target Domain: questsoftware NOTES: When migrating Claims-enabled accounts, remember to include the Claims prefix. For example: i:0#.w|quest -> i:0#.w|questsoftware. |
|
On Premises |
SPO |
Source Domain: quest Target Domain: questsoftware (or questsoftware.com) |
|
SPO |
On Premises |
Source Domain: questsoftware (or questsoftware.com) Target Domain: quest |
4.Click [OK].
URL Mappings
|
Navigation: Configuring Copying Options > Mapping Options > Global Mappings > URL Mappings |
Metalogix Content Matrix can set explicit mappings for URLs which can be used with link correction. While link correction only applies to the content that exists within the scope of the migration, URL mapping can help by-pass this issue for any mappings that are specifically set.
For example, if there is a link within some content that is being migrated, and this link points to a URL location that is outside of the migrating content, a URL mapping can be set up for it. Then after migration, this link will point to the URL that the mapping was set up for, despite the target URL being outside the scope of the migrating content. If there are any other links to content that exists under the location that the URL is mapped to, the links to that sub-content will be corrected as well. For example, if a URL mapping is set to a document library in a location that is outside the scope of the current migration, the URL mapping will correct the links that point to this document library. In addition, any links within the migrating content that are pointing to any folders or documents within the document library will also be corrected. Links that point to that document library's site, or other lists in the same site, will not be corrected.
The URL mapping behavior may change if the URLs being mapped exist within the scope of the migration. In this case the link correction within Metalogix Content Matrix will likely override the URL mapping, if the source link has a mapping created for it through the normal link correction process.
You have the option of using the Sites, Lists, and Folders renamed on target option. This option allows you to specify any sites, lists, or folders that may have been renamed during migration. This is only used for link correction purposes, and will not actually rename any sites, lists, or folders
For example, if a site was renamed during migration, this renaming would be entered here so that the link correction would be able to correctly identify the site and correct all the necessary navigation links for it, during the navigation copy.
You can add as many additional mappings as desired. You can also map a single source URL to multiple target URLs.
URL mappings can also be imported using the Import mappings from XML option.
To map URLs:
1.In the Specify Global Mappings dialog select the URL Mappings tab.

2.In the Source Address column enter the URL for the source location.
This must be a full URL, and cannot be a relative URL. For example, "http://OldServer/Sales/FactsAndFigures" would be a valid URL value, while "./Sales/FactsAndFigures" or "www.OldServer/Sales/FactsAndFigures" would both be considered relative or invalid URL values.
3.Enter a value in the Target Address column.
This is the same relative address as the Source Address, but using the location of the target side URL.
NOTE: Metalogix Content Matrix will check to see if any entered values in the URL mappings window are valid. This check will ignore any letter case differences or encoding (meaning that "encoding space" and "encoding%20space" are viewed as the same). It should also be noted that spaces in the hostname of the URL are not considered valid. This check applies to both the Source Address and Target Address columns.
4.Click [OK] to return to the Specify Global Mappings dialog.
GUID Mappings
|
Navigation: Configuring Copying Options > Mapping Options > Global Mappings > GUID Mappings |
While this feature is not required in most migration cases, there are some scenarios that may require GUID mapping for successful migration of SharePoint objects, like classic web parts. GUID Mapping will replace the specified GUID from the source with a different GUID on the target SharePoint environment.
Metalogix Content Matrix will check the GUIDs to see if any entered values in the GUID mappings window are valid. This check will ignore any letter case differences or brackets ("{}").A warning message will be given for any entered GUID values that are not valid.
NOTE: One source GUID can be mapped to a single target GUID, or multiple source GUIDs can be mapped to a single target GUID.
GUID mappings can also be imported using the Import mappings from XML option.
NOTE: If you are using GUIDS Mappings to migrate Managed Metadata, it is recommended that you first Migrate Term Stores to the target.
To create GUID Mappings:
1.From the Specify Global Mappings dialog, select the GUID Mapping tab.
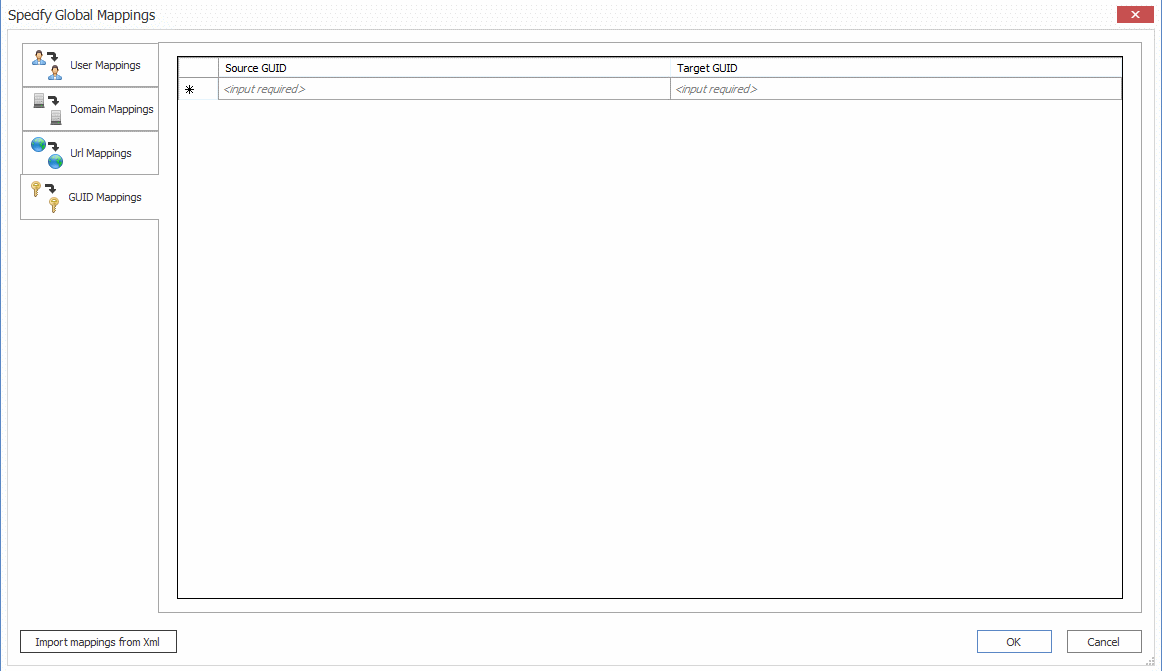
2.For each GUID you want to map:
a)In the Source GUID column enter a valid GUID from the source location.
b)In the Target GUID column, enter the replacement value for the target side.
3.When you have finished mapping GUIDs, click [OK].
When running a migration, if the migration action itself creates a mapping for a GUID value that is already mapped (though the GUID Mappings tab), the mapping from the migration will be used instead of the manually set mapping.
Importing Mappings from an xml File
|
Navigation: Configuring Copying Options > Mapping Options > Importing Mappings from an xml File |
Metalogix Content Matrix can import any desired user mappings from an XML file. Importing user mappings from an XML file involves creating an XML file with the desired mappings, then importing that file. This option is generally used if migrating from an environment that has a large number of users/groups.
A single XML file can include: User mappings, Domain mappings, URL mappings, and GUID mappings. However, each type of mapping must have its own child node. The format for these child nodes is:
·User Mapping - <Mapping Source="Domain\User1" Target="Domain\User2" />
·Domain Mapping - <DomainMapping Source="Domain1" Target="Domain2" />
·URL Mapping - <URLMapping Source="URL1" Target="URL2" />
·GUID Mapping - <GuidMapping Source="GUID1" Target="GUID2" />
NOTE: If you want to migrate an AD group to an Office 365 group that does not already exist on the target site, then you must use the Import mappings from XML option to map the source AD group SID to the target Office 365 group ID.
To Import Mappings from an XML file:
1.Create a file, with any name, that contains any desired user or permissions mappings.
The file must be an XML file, and must contain a root level node named Mappings, and have one child node for every mapping that you want imported. Each child node must contain two attributes: Source and Target.
EXAMPLE:
In the case of a mapping, The Source is the Login Name of the source side user, and the Target attribute is the Login Name of the target user that is being mapped to.
Note that if you are mapping AD groups, you must use the group's SID in the mapping:
<Mappings>
<Mapping Source="Metalogix\User1" Target="Metalogix\User87" />
<Mapping Source="Metalogix\User2" Target="Metalogix\User254" />
<Mapping Source="[SID]" Target="[SID]" />
</Mappings>
IMPORTANT: If you want to map an AD group to an Office 365 group you must also add [IsDomainGroup = "True"]to the last line of the xml, as shown below. Otherwise, the error User Not Found. Error: The remote server returned an error: (404) Not Found will be generated.
<Mapping Source="[SID]" Target="[O365 Group ID]" IsDomainGroup = "True" />
2.From the Specify Global Mappings dialog, click [Import mappings from XML] to open the Select xml file to import dialog.
3.Browse to and select the xml file you want to import, then click [Open].
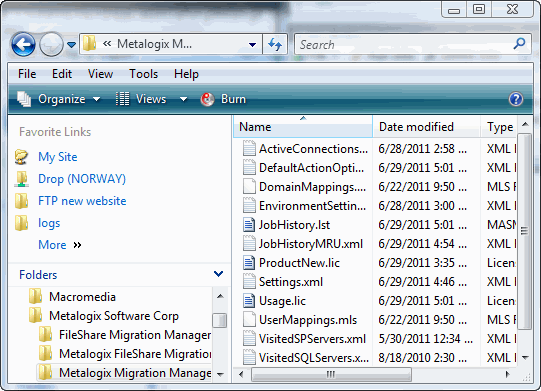
The mappings will be sorted and appear in the appropriate tabs of the Specify Global Mappings dialog.