
About This Guide
This document provides new users with the opportunity to evaluate Metalogix Backup for SharePoint within their own SharePoint environment. It will lead users through a variety of common Metalogix Backup for SharePoint use case scenarios from a simple farm backup and scheduled backup, to granular restoration of items, and the mounting of content databases.
Prerequisites
In order to perform the evaluation scenarios for Metalogix Backup for SharePoint, outlined in this document, you must first install Metalogix Backup for SharePoint and configure it with an activated license, and connected to at least one farm. See the Metalogix Backup for SharePoint Advanced Installation Guide for instructions about the installation and configuration of Metalogix Backup for SharePoint.
The scenarios in this document require you to prepare your environment as follows:
·Metalogix Backup for SharePoint is installed.
·Metalogix Backup for SharePoint is connected to at least one SharePoint farm that also has a web front end.
·SharePoint web applications should have the following items on them:
·List Item or Document
·List or Library
·Folder
·Website or Site Collection
Performing a Metalogix Full Farm Backup
|
|
NOTE: A Metalogix full farm backup is a backup performed with the Metalogix Backup for SharePoint product which is not the same as a full farm farm backup created with SharePoint. Only users who are members of the farm administrators group can perform farm backups. |

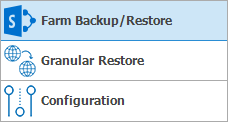
1.From the Metalogix Backup for SharePoint Management Console workspace selector click Farm Backup/Restore.
2.In the Farm Backup/Restore pane, click any server name (to backup individual server components) or All Servers (to backup all databases and components) for any farm.
3.Click the Backup tab.
4.In the Select farm components to back up pane, select the check boxes for the items to include in the backup. From the ribbon, you can perform the following actions:
a.Click the Select All to select all farm components.
b.Click Unselect All to clear the selection of farm components.
c.Click Refresh to get the latest set of farm components.
5.From the ribbon, click Full Backup. The Backup Wizard starts.
6.On the Welcome to the Backup Wizard page, click Next.
7.On the Backup page, review the items that the backup includes. You can review and revise the farm component selections here.

8.Click Next. The Options step appears.
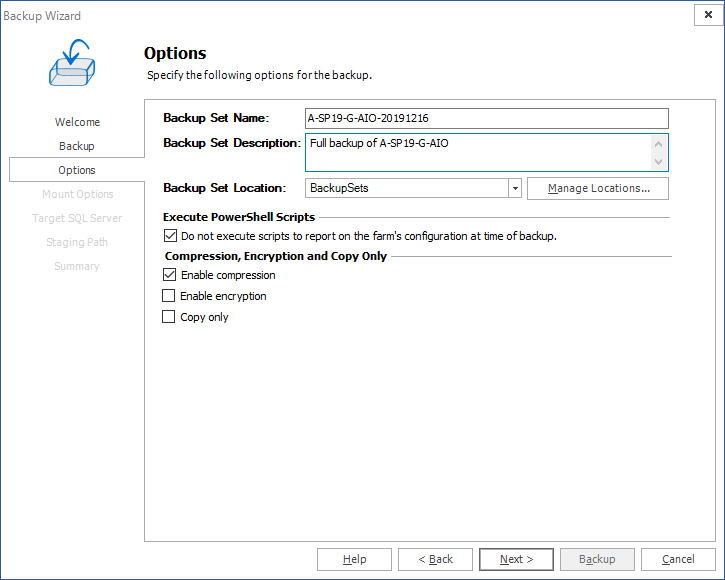
a.Enter the information as described below:
b.Backup Set Name - Specify a name for the backup set. The name appears on the Restore tab when you select the backup set to review and restore.
c.Backup Set Description - Enter notes about the backup set.
d.Backup Set Location - Select a location for the backup set from the drop-down list. You can click Manage Locations to open the Backup Service Preferences window and configure the backup locations.
e.Do not execute scripts to report on the farm's configuration at time of backup - Select the check box to prevent Metalogix Backup for SharePoint from providing the farm's configuration at the time of the backup. If the check box is not selected, then users will be able to select the "view farm configuration" option for the backup set.
f.Enable compression - Select the check box to compress the backup set.
g.Enable encryption - Select the check box to encrypt the backup set. If you enable encryption, you must also specify a password for the backup set. You must supply the same password when you restore from the backup.
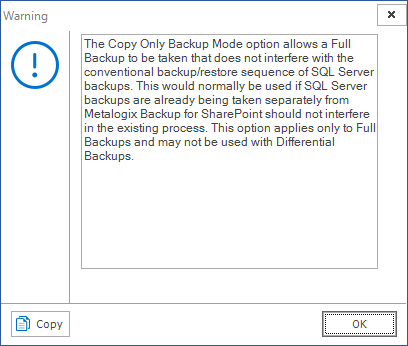
h.Copy Only - Select the check box to allow a full farm backup that does not interfere with the conventional backup/restore sequence of SQL Server backups. This option is normally used if SQL Server backups are already being taken separately.
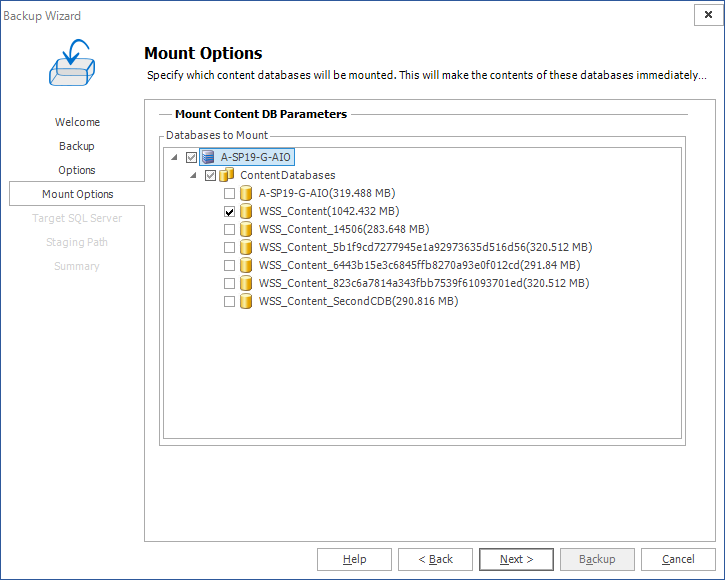
9.Click Next. The Mount Options step appears. Select which content database, you would like the backup to mount.
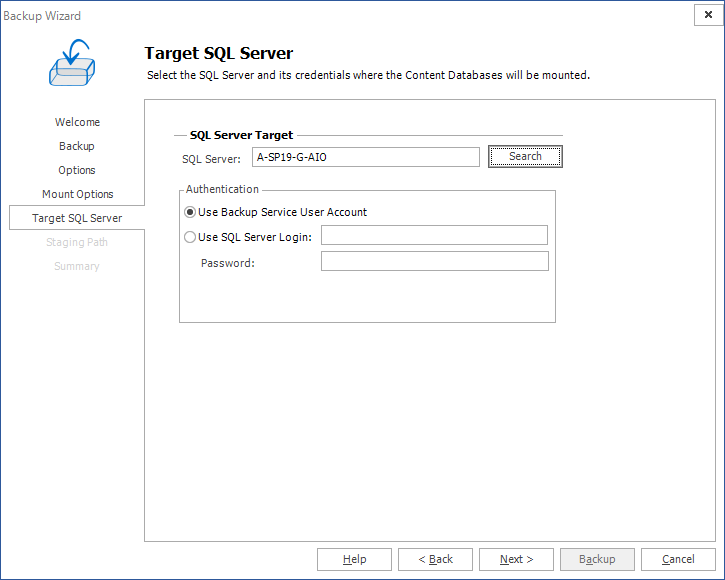
10.Click Next. If you did not choose a content database in the previous step, Target SQL Server step is ignored. If you chose a content database in the previous step, then the Target SQL Server step appears. Enter the information for the server on which you want to mount the backup.
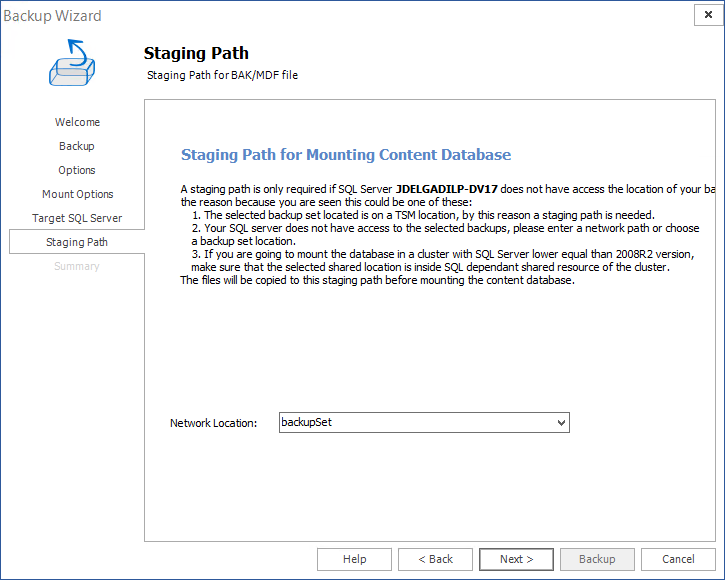
11.Click Next. The Staging Path step appears only if a TSM location is selected as the Backup Set Location in the Options step.
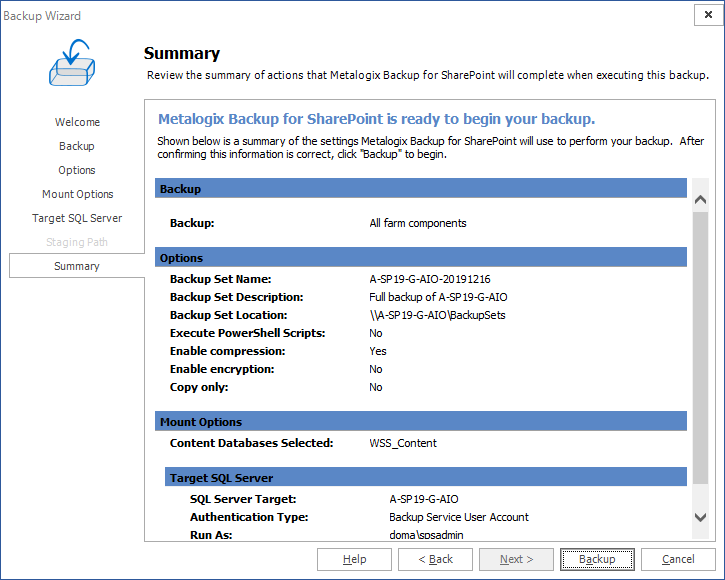
12.The Summary step appears. Review the information and click Backup to start the backup.
Confirmation
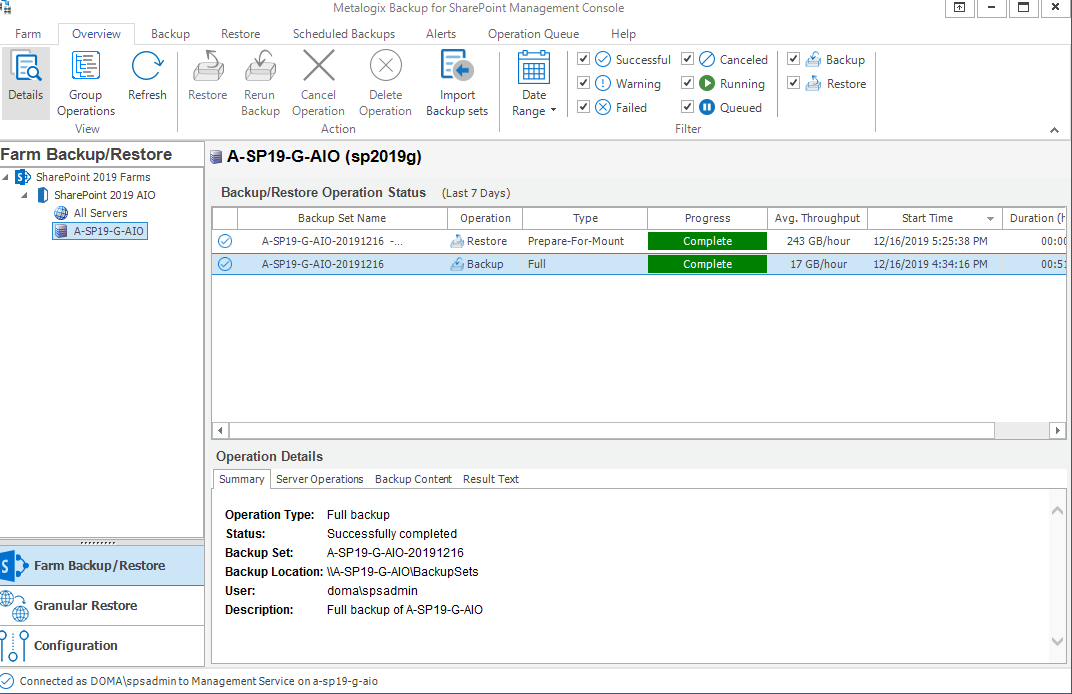
1.You can view the completed backup operation on the Overview tab. Notice that another operation of Type Prepare-For-Mount was also completed. You will see this operation if you selected a content database in the Mount Options step in the Backup Wizard.
Granular Restore
This section will review how to import and mount a content database, and then run through various scenarios that will allow you to perform granular restore operations.