
Express Installation
Express installation installs Metalogix Archive Manager for Files on a standalone server with the full set of primary components: Archive Manager for Files, Hierarchical Storage Manager (HSM) and ArchiveWeb. The server also contains the Archive Manager Database instance that contains the configuration databases for various features and components. If you do not have a dedicated file store, HSM uses the local hard drive for storing archived messages.
·Worksheet for this installation
·Steps to install Metalogix Archive Manager for Files
·Steps to verify the Express installation
Worksheet for this installation
The following information will be required through the installation process. Sample values are provided here as a guidance.
|
Item |
Description |
Example |
|
License Key |
The license key that you received from Quest. If you don't have a license key, contact your Quest representative. |
894K5-3M448-M544E-A594A-7K8Z7 (Sample only. This key is neither an active nor an expired license key) |
|
Archive manager for Files server |
The computer name where the Archive Manager for Files will be installed. |
AMFSERVER |
|
Installation folder |
Full path of the folder where the application files will be installed. |
C:\Program Files (x86)\Metalogix |
|
HSM Store folder |
Full path of the folder that will contain the archived files. |
C:\HSM |
|
Database Authentication method |
Type of database authentication: Integrated Windows Authentication or SQL Authentication. |
Integrated Windows Authentication |
|
UserLogin |
Username if SQL Authentication is selected. |
democorp\domadmin |
|
Password |
Database password if SQL Authentication is selected. |
************** |
|
Database server |
The database serve instance name where the databases for Archive Manager for Files will be installed. |
AMFSERVER |
Steps to install Metalogix Archive Manager for Files
1.Run the Metalogix Archive Manager Installation Package EXE file and extract the files to a folder.
2.If the installer does not start immediately, run the MAMInstaller.exe from your install media folder. The Welcome window opens.
3.From the navigation panel on the left, click PLANNING. The Planning window opens.
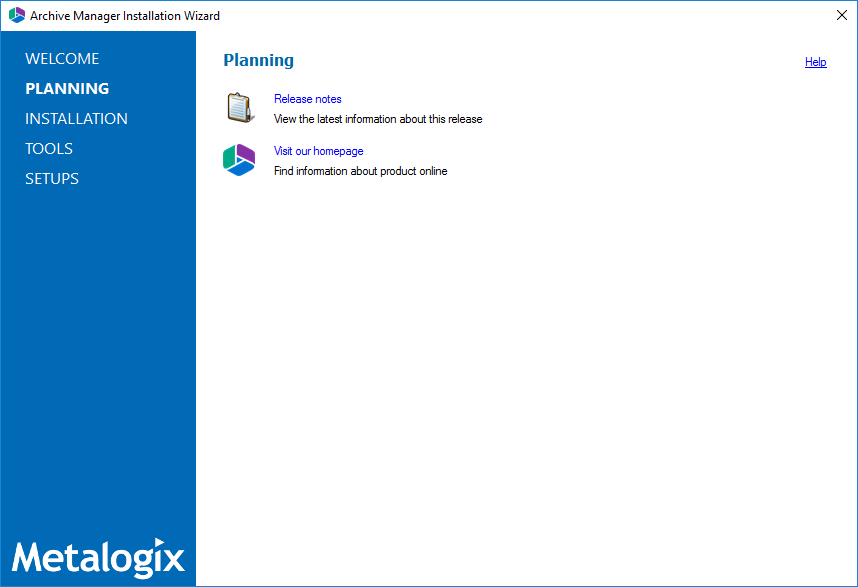
4.Review the requirements and release notes. If necessary, visit the Quest website for more information.
5.From the navigation panel on the left, click INSTALLATION. The Server Installation window opens.
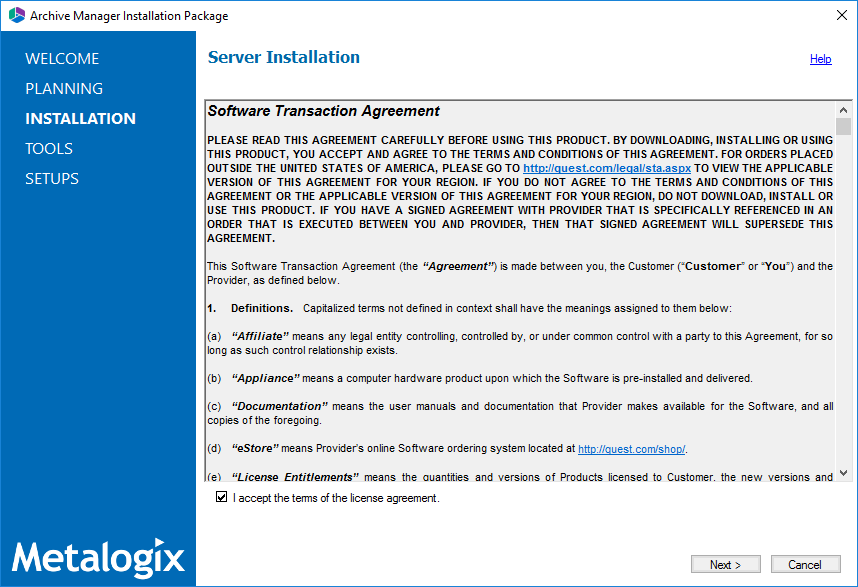
6.Read the Software Transaction Agreement. If you wish to proceed, select the I accept the terms of the license agreement check box.
7.Click Next. The Installation Mode window opens.

8.Select the Express installation option and click Next. The Installation Components window opens.
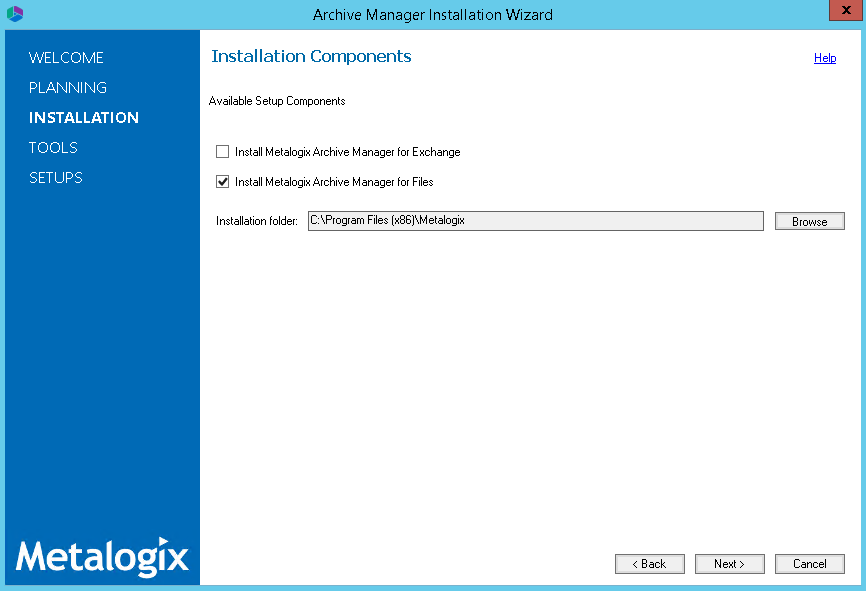
9.Select the Install Metalogix Archive Manager for Files check box. If you want to change the default installation folder, click Browse and select and existing folder.
10.Click Next. The Database Engine selection window opens.
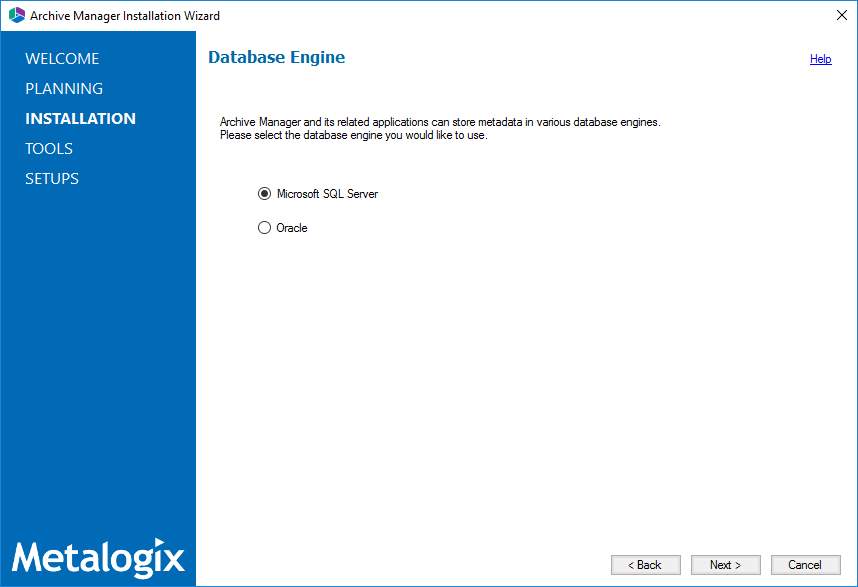
11.Select either Microsoft SQL Server (for on-premise MS SQL Database Server or Azure SQL Database) or Oracle.
12.Click Next. The Checking Prerequisites window opens.
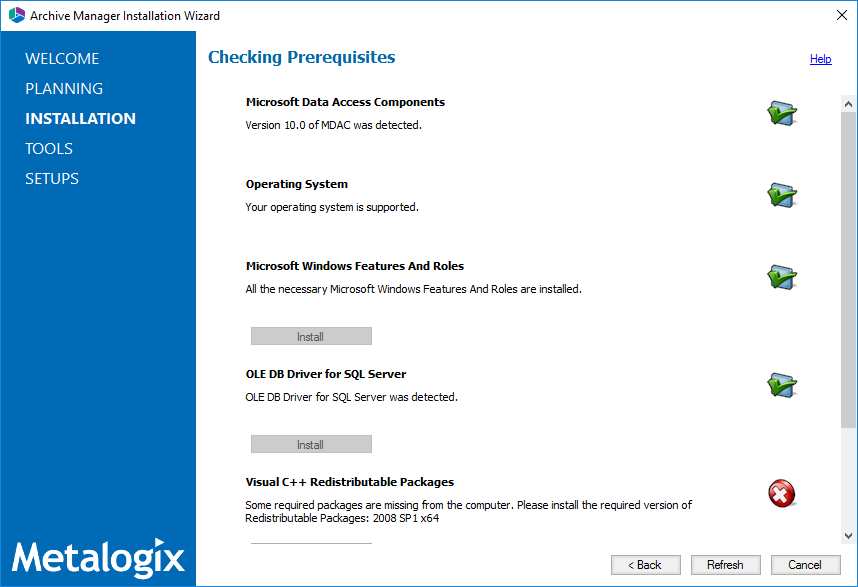
13.Notice that some prerequisites are missing and the Next button is deactivated. Click Install for each prerequisite to install the missing components. Scroll down to expose and install all the prerequisites.
14.Scroll down to the bottom of the window. Click Validate your license. The Activate License Key dialog appears.
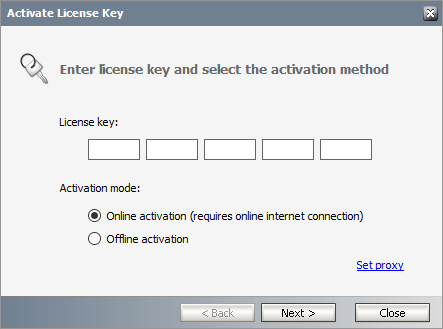
15.If you are connected to the internet, select Online activation or see Appendix for more license activation options. Click Next.
16.When your license is activated, you will see a confirmation message and the license details. Click Finish to close the Activate License Key dialog. This completes the prerequisite checks.
17.In the Checking Prerequisites window, click Next. The Superuser Account window opens.
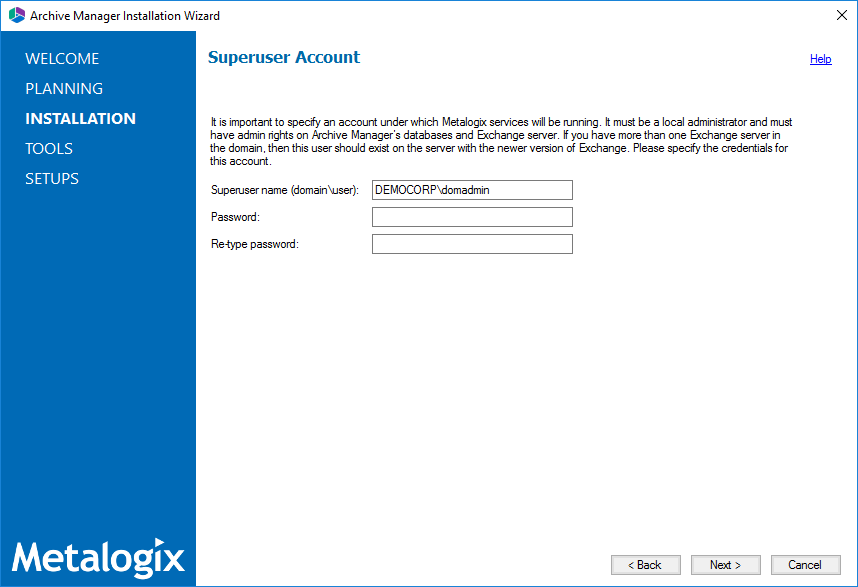
18.Specify the Superuser name and Password. Enter the password again in the Retype password field.
19.Click Next. The Database Server Connection window opens.
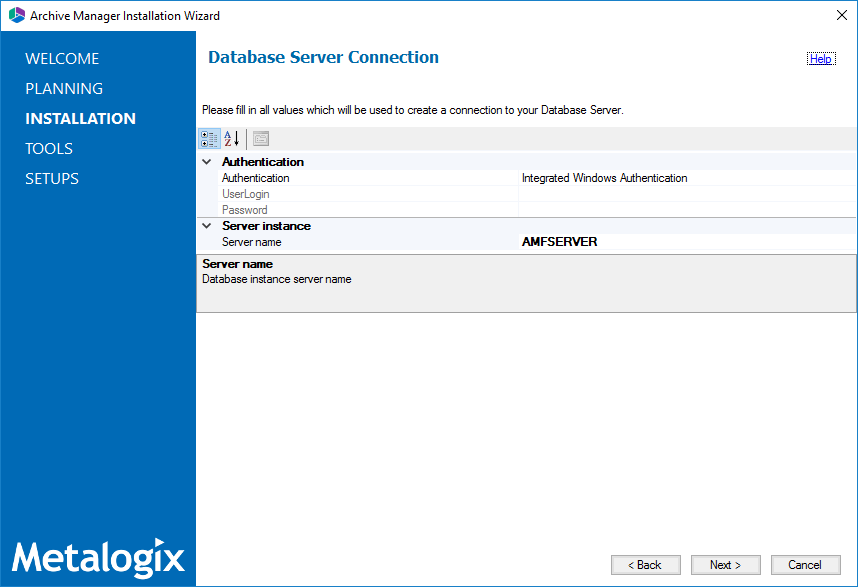
Specify the connection properties as explained below:
a.Authentication - the type of database authentication. From the drop down, select either Integrated Windows Authentication or SQL Authentication.
b.Password - password of the user (if SQL Authentication is selected)
c.UserLogin - user name (if SQL Authentication is selected)
d.Server name - name of the SQL Server. For example AMFSERVER
20.Click Next. The Hierarchical Storage Manager Settings window opens.
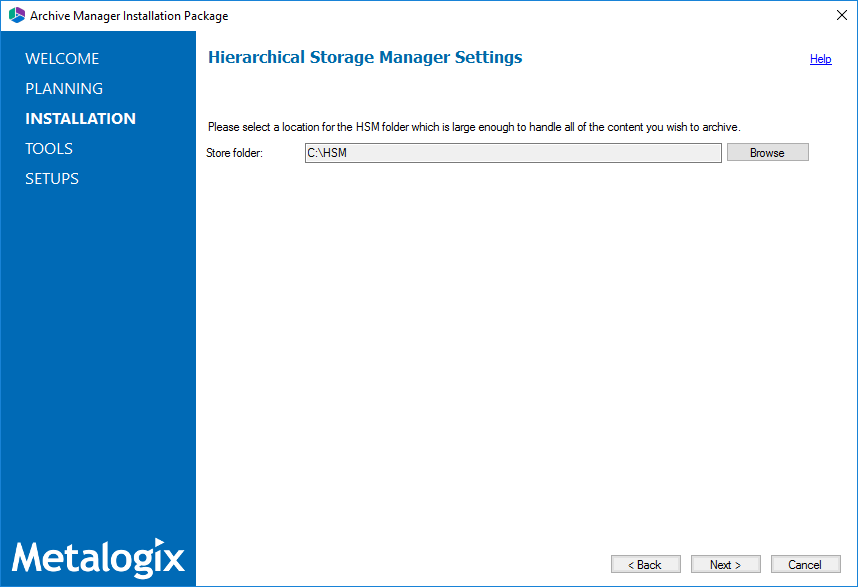
21.If you want to change the default folder, click Browse and select a location that has ample space to store archived files.
22.Click Next. The Firewall Settings window opens.
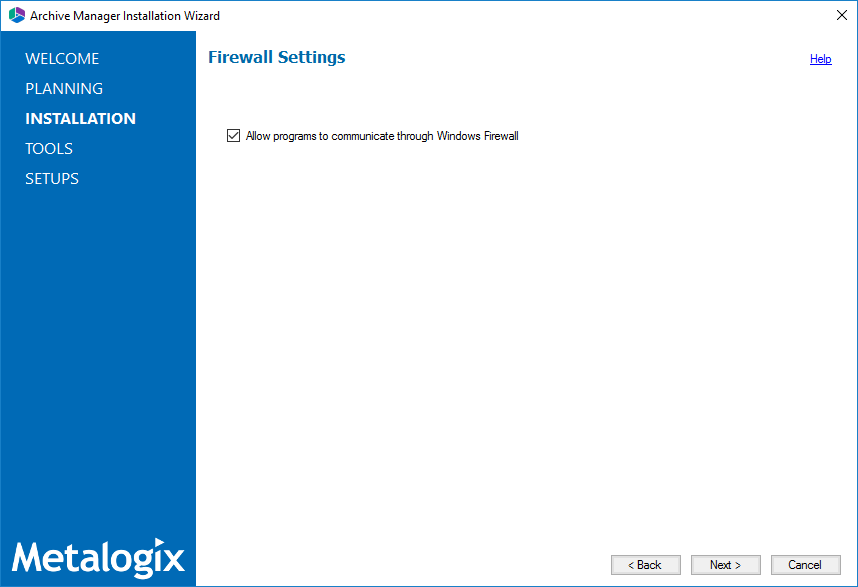
23.Select the Allow programs to communicate through Windows Firewall check box. Metalogix Archive Manager for Exchange components will be then able to communicate through the firewall.
24.Click Next. The Summary Installation window opens. The installation summary displays settings you have specified in previous steps.
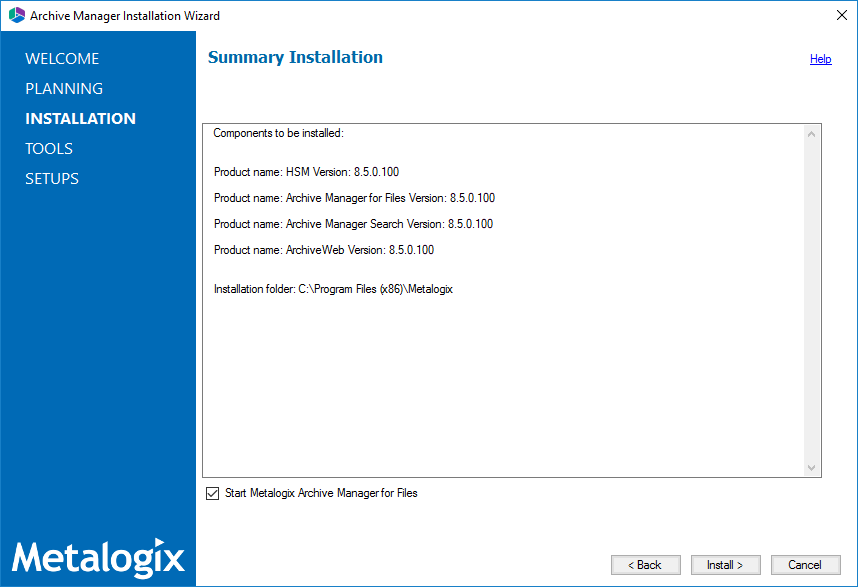
Select the check box Start Metalogix Archive Manager for Files to open the Archive Manager for Files Administration Center (AMAC) when the installation completes.
25.Click Install to start the installation.
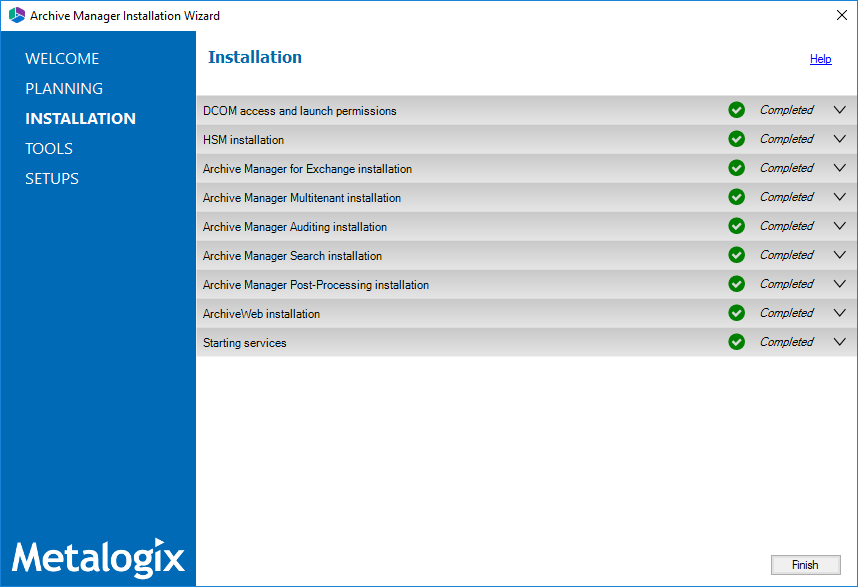
26.The installer proceeds to install all the components. If a component installer completes with a warning, expand the the row to view the warning(s).
27.Click Finish to complete the installation step.
Steps to verify the Express installation
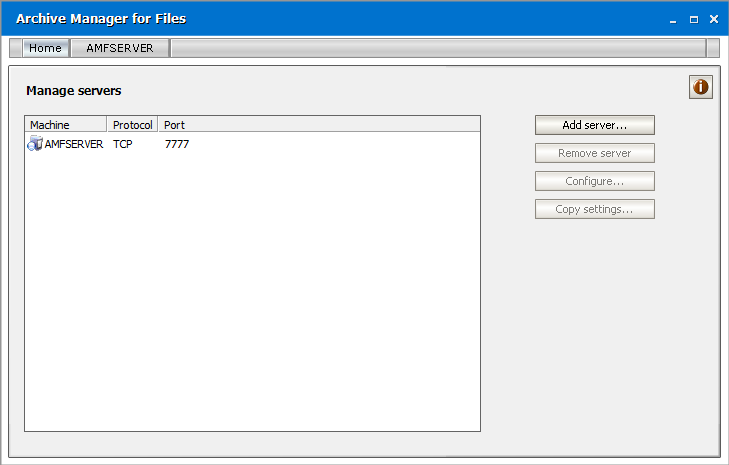
The Archive Manager for Files Administration Center (AMAC) should open automatically if the check box Start Metalogix Archive Manager for Files was checked in the Summary Installation step of the installation wizard. To manually open the AMAC follow the steps described below:
1.Click Ctrl + Esc to display the list of windows programs.
2.Expand the Metalogix folder and click Archive Manager for Files.
3.The AMAC opens.
Maintenance
There are three maintenance options offered in the installer for each component.
·Modify - helps you to change basic settings or constituent components.
·Repair - helps you to reinstall the component.
·Remove - helps you to uninstall the component.
The steps to modify the HSM component is described below as an example. All components use a similar maintenance wizard.
|
|
NOTE: For Express installations, it is recommended that you do not change any settings when you attempt to modify or repair a feature. If you intend to modify a feature, see the corresponding documentation which provides more information about the feature. |

Steps to modify the HSM component
1.Double-click the installer for the HSM component (for example, C:\Metalogix\Archive Manager Installation Package\HSM\HSM Setup.exe). The Welcome window of the HSM maintenance wizard appears.
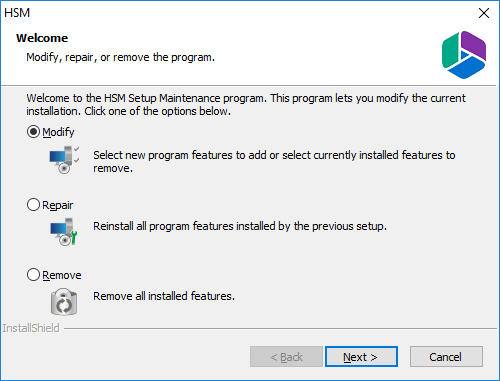
2.Choose Modify and click Next. The Select features window opens.
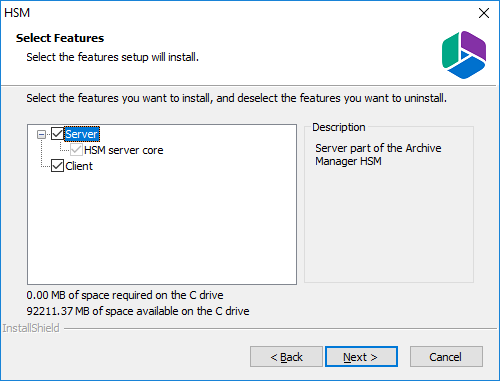
3.Click Next. The Logon Information window opens
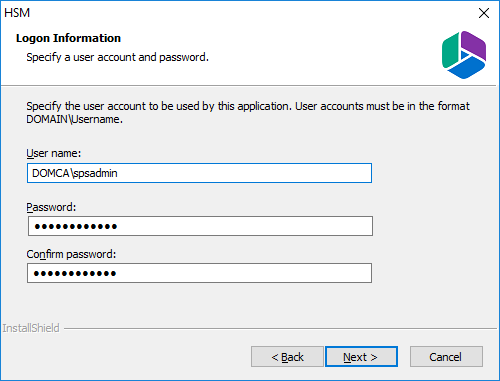
4.Enter the credentials in the Password and Confirm Password fields. Click Next. The Ready to modify the program window opens.
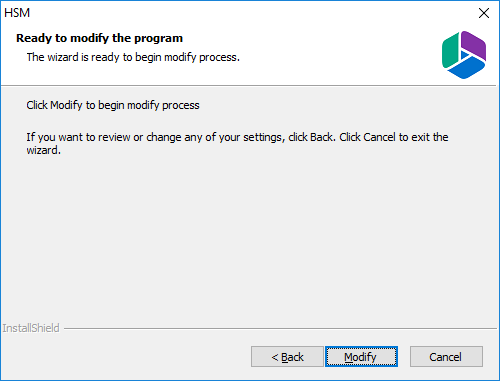
5.Click Modify to update the feature. The Maintenance Complete window opens.
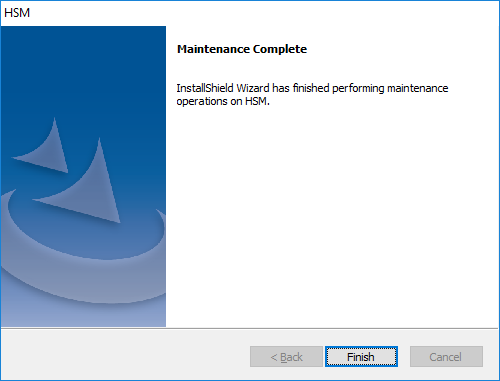
6.Click Finish to close the wizard and return to the upgrade wizard, or continue to upgrade other features.
|
|
IMPORTANT: One or more services are stopped when modifications or repairs are performed. You must manually restart the services to ensure that all services have started. Steps to restart services 1.Click Ctrl + Esc to display the list of windows programs. 2.Expand the Metalogix folder. 3.Depending on the product you have installed, click Start Exchange Services or Start File Services or both (if you have installed both products). Predefined batch commands will automatically start the services. |
Upgrade
Upgrading Metalogix Archive Manager for Files implies that a previous version of Metalogix Archive Manager for Files is installed.
|
|
NOTE: Before you upgrade, we recommend you take a backup of the Archive Manager database.. |
Steps to upgrade Archive Manager
1.Download the latest Metalogix Archive Manager for Files install media. For instructions see Steps to download the install media.
2.Run the Metalogix Archive Manager Installation Package.
3.The wizard checks whether the Metalogix Archive Manager for Files installation requires an upgrade. If it does, the Upgrade option will be selected automatically.
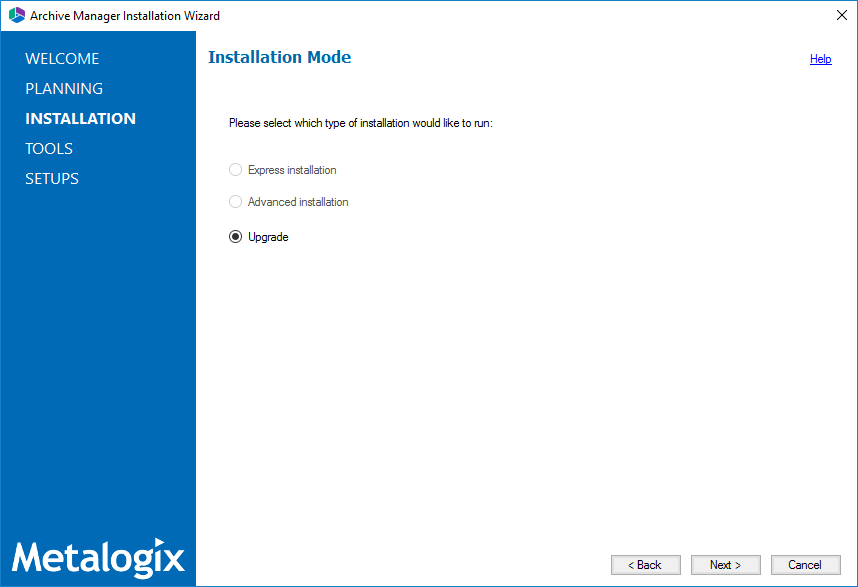
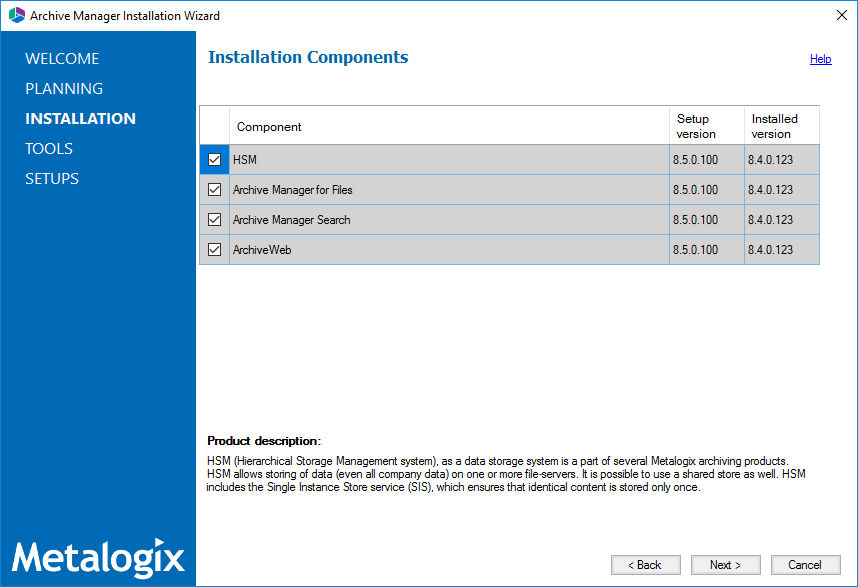
4.Click Next. The Installation Components page appears with a list of components that are already installed on the server. You can select which components to upgrade.
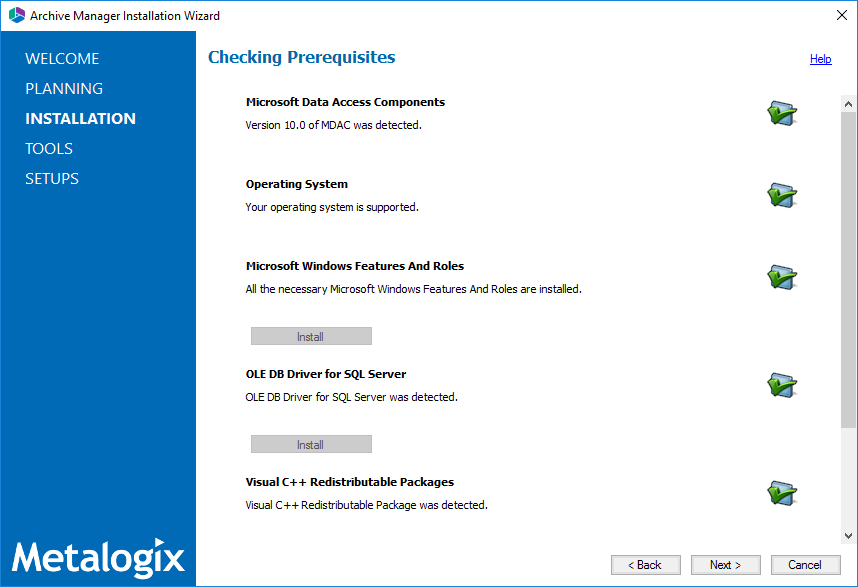
5.Click Next. The Checking Prerequisites page appears. A check is conducted to find out if a new prerequisite is needed for the upgrade.
6.Click Next. The Superuser Account page appears. Specify and confirm the password.
|
|
NOTE: The Superuser name cannot be changed. |

7.Click Next. The Summary Installation page appears. This page presents information about component versions that will be installed after the update (Setup version column), and versions that are currently installed (Installed version column).
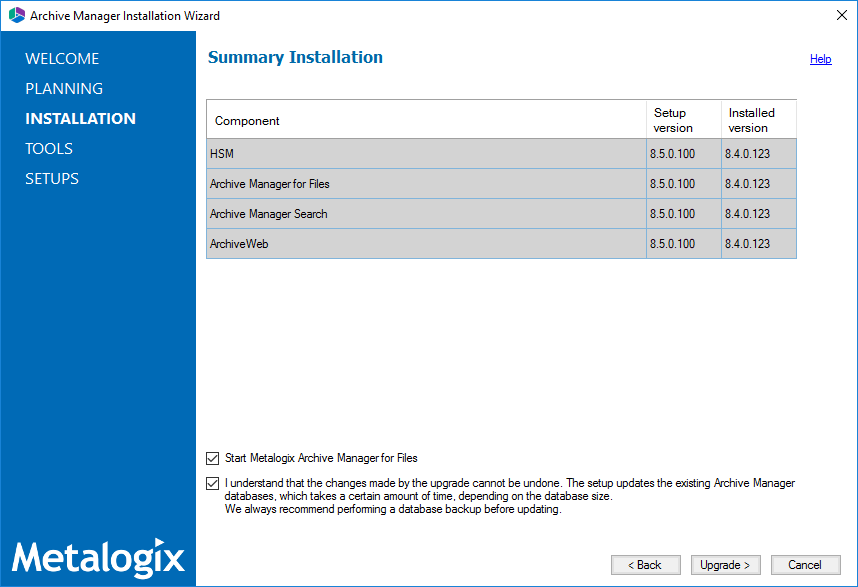
a.Select the check box Start Metalogix Archive Manager for Files to open the Archive Manager for Files Administration Center (AMAC) when the upgrade completes.
b.Select the check box I understand that... to confirm that you have acknowledged the upgrade. The setup updates the Archive Manager database. If the check box is not selected, you cannot install the upgrade.
8.Click Install to start the upgrade. Click Back to return to the previous page or click Cancel to exit the upgrade wizard. If you click Install, the upgrade process starts. The upgrade progress for each component is displayed and the operation is confirmed.
9.Click Finish to close the wizard when all the components are upgraded.
Appendix
In this section:
·Steps to grant Remote Desktop Access
Steps to grant Remote Desktop Access
Follow the steps below to grant the required privilege to log on through Remote Desktop Services:
1.Log in to the server with the local administrator credentials.
2.Navigate to Start > Run. Enter secpol.msc and click OK.
3.From the Security Settings pane, navigate to Local Policies > User Rights Assignment.
4.From the right-hand pane, double-click on Allow log on through Remote Desktop Services to open the properties window.
5.Select the Local Security Settings tab and click Add User or Group...
6.Add the Enterprise Administrator account.
7.Click OK to save the changes and exit.