Introduction
Auditing is a component of Archive Manager for Files. It allows the administrator to log all actions in the Archive Manager Administration Center and ArchiveWeb.
Installation
Requirements
|
|
NOTE: If Express installation was used to install Archive Manager for Files, the auditing database must be configured with the Configuration tool. If Advanced installation was used to install Archive Manager for Files, the database configuration is done automatically. |

Supported databases:
·SQL Server 2012 or higher
·Azure SQL Database
·Oracle 12c or higher
The database will be configured after the installation using the Configuration tool (as described later).
Installation
Auditing can be installed on the Archive Manager server or on a separate machine. The instruction presented here assumes that the Auditing feature will be installed on the same server where the Metalogix Archive Manager server is installed.
1.Login to the Archive Manager for Files server with the credentials of the superuser.
2.Run the Archive Manager setup. the default path is C:\Metalogix\Archive Manager Installation Package\Files\Archive Manager for Files Setup.exe
3.Allow the system checks to complete.
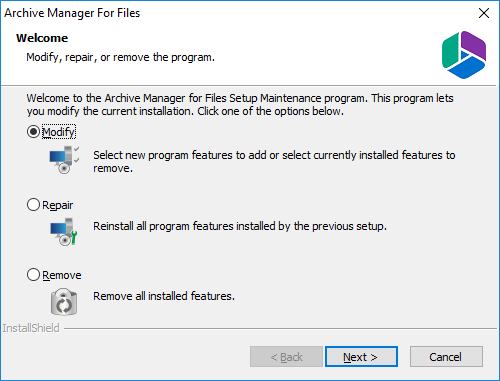
4.From the Welcome window select Modify.
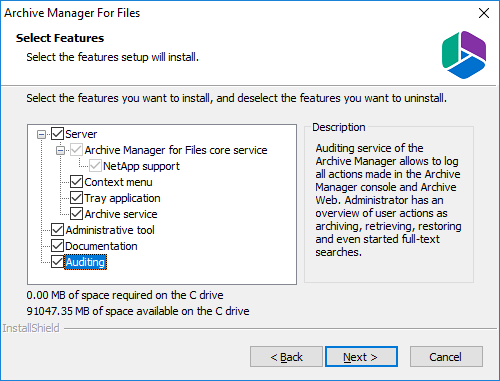
5.Click Next. The Select Features window opens. Select the Auditing check box.
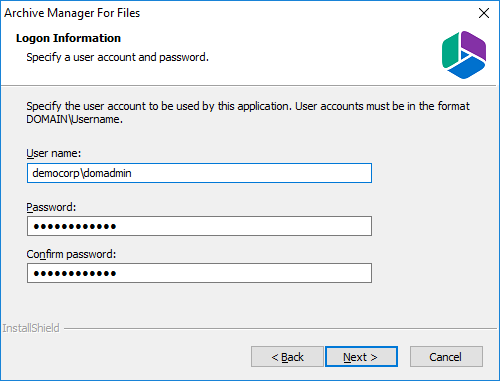
6.Click Next. The Logon Information window opens. Specify the credentials.
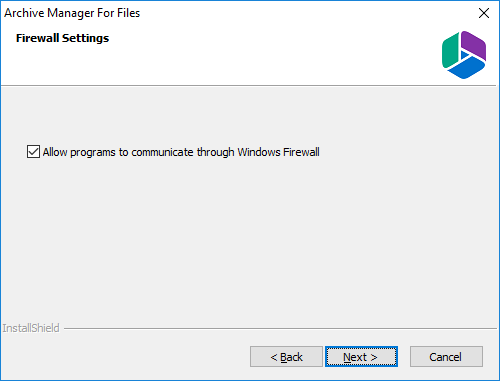
7.Click Next. The Firewall Settings window opens. Select the check box to allow communications through server firewalls.
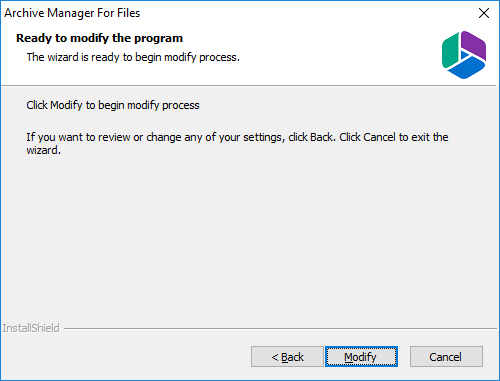
8.Click Next. The Ready to modify the program window opens.
9.When the Auditing feature is installed, the Maintenance Complete window opens.
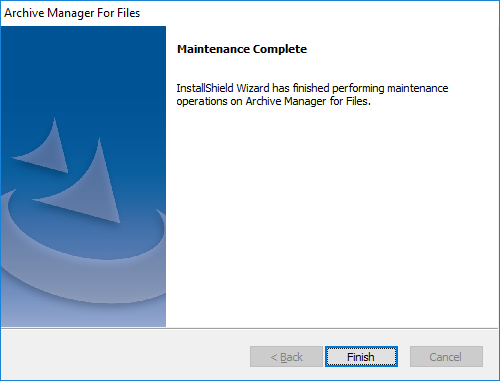
10.Click Finish.
Configuration
In this chapter:
Configure Database
|
|
NOTE: If Express installation was used to install Archive Manager for Files, the auditing database must be configured with the Configuration tool. If Advanced installation was used to install Archive Manager for Files, the database configuration is done automatically. |
In this topic:
·Steps to configure the Auditing database
·Steps to install the Auditing database
·Steps to configure the connection setting
Steps to configure the Auditing database
1.When the installation completes, the Configuration wizard opens. If it does not open automatically, click Start > Metalogix > Archive Manager Configuration.
2.From the feature panel on the left, click HSM and select the Database tab.
3.Click Configure. The Database Connection Wizard opens.
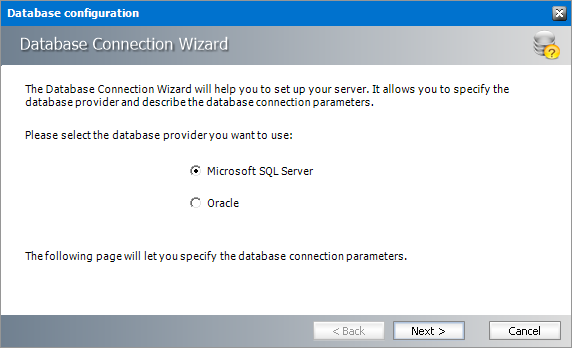
4.Select either Microsoft SQL Server or Oracle and click Next. If you choose Microsost SQL Server, the Database Connection window opens for the Microsoft SQL Server connection information.
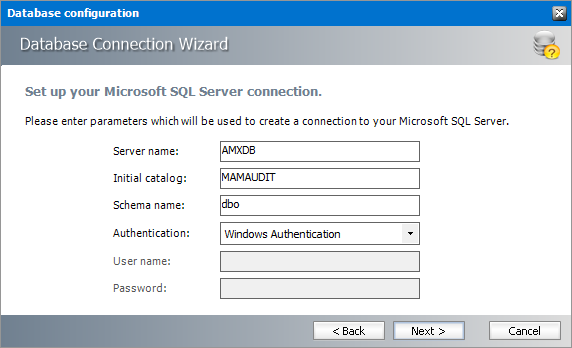
For Microsoft SQL Server
a.Server name - name of the SQL server (eg. AMXDB)
b.Initial catalog - name of the HSM database (e.g. MAMAUDIT which is the default name of the HSM database)
c.Schema name - name of the SQL Schema (e.g. dbo)
d.Authentication authentication type used for the database. Choose either Windows authentication or SQL Server authentication
e.User name - database login user name if SQL Server authentication is the selected as the authentication mode.
f.Password - password of the database user if SQL Server authentication is the selected as the authentication mode.
For Oracle
a.Oracle net name - net service name that describes the network address of the database server in your tnsnames.ora file.
b.Schema - name of the Oracle schema from your tnsnames.ora file.
c.User name - database login user name.
d.Password - password of the database user.
5.Click Next and then click Yes on the confirmation dialog that opens.
6.If the database connection is setup successfully, the configuration completion window opens.
7.Click Finish to close the Database Connection wizard.
Steps to install the Auditing database
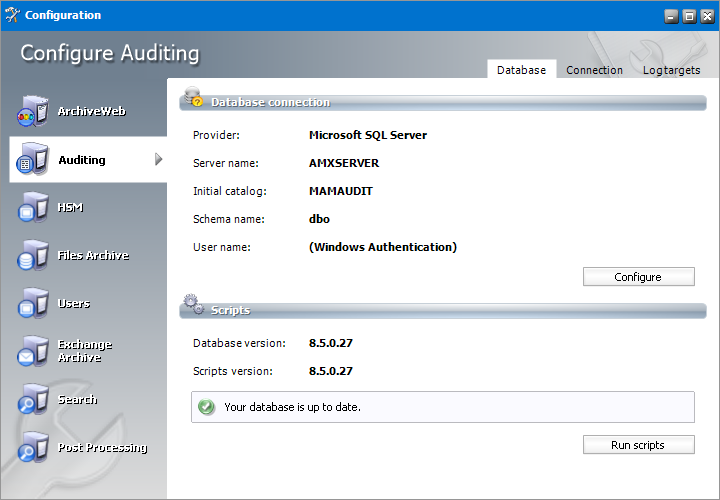
1.From the feature panel on the left in the Configuration tool, click Auditing and then select the Database tab.
2.Verify that the database connection information is as expected. Then click Run Scripts.
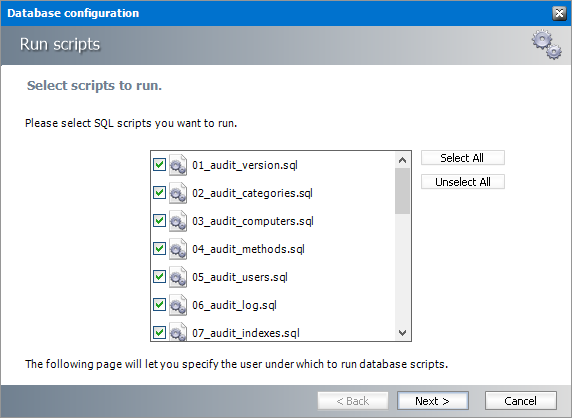
3.Click Select All and then click Next. The script installer wizard opens.
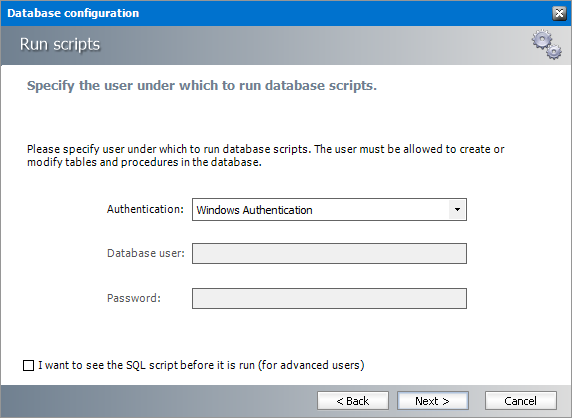
4.Enter the following information:
a.Authentication - authentication type used for the database. Choose either Windows authentication or SQL Server authentication
a.Database user - database login user name if SQL Server authentication is the selected as the authentication mode.
b.Password - password of the database user if SQL Server authentication is the selected as the authentication mode.
c.I want to see the SQL script before it is run (for advanced users) - select this check box to review the SQL scripts.
5.Click Next.
6.If the I want to see the SQL script before it is run (for advanced users) check box was selected in the previous step the View SQL Scripts window opens.
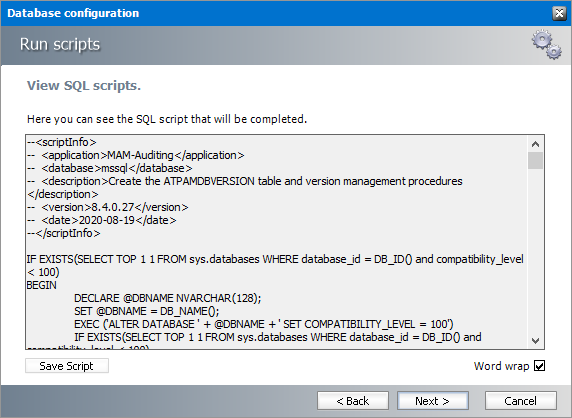
7.Click Next or if the I want to see the SQL script before it is run (for advanced users) check box was not selected, the Run SQL Scripts window opens.

8.Click Next. to run the scripts.
9.Click Finish to close the script installer. The Scripts section of the Configuration tool displays the status and version of the scripts(the version of the scripts you install may differ from the version shown in the image below).
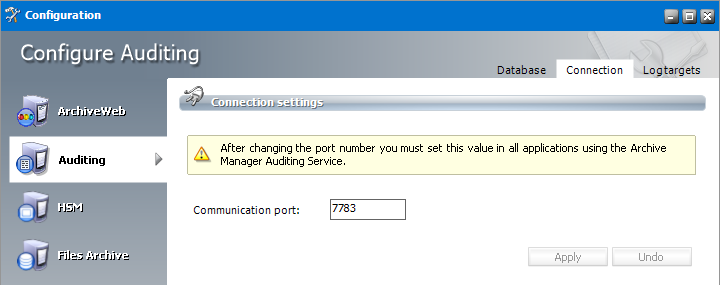
Steps to configure the connection setting
1.From the feature panel on the left in the Configuration tool, click Auditing and then select the Database tab.