
4.4 Browser Requirements
Directory Sync Pro uses a browser-based user interface. We recommend using Chrome v48.0 (or newer) or Firefox v44.0 (or newer) for the best browser experience.
The browser Download settings should be configured to ask where you want to save the files before downloading.
4.5 Password Requirements
Directory Sync Pro do not validate the password policies present within your domains. Verify that the password entered as the Default Password complies with the password policy of your target environment. Objects will fail to be created if the password violates that policy.
Section 6. Installing Directory Sync Pro
This guide includes the steps for installing Directory Sync Pro. The installer creates a local group on the Directory Sync Pro server named BTDirSyncPro and will add the currently logged in user to the group. Other users or a Domain group can be added to provide access to other users.
|
|
It is recommended to select “SQL Server Authentication” during the Directory Sync Pro server console installation if multiple people will be accessing the Directory Sync Pro web user interfaces. Otherwise, if “Windows Authentication” is chosen during installation, create a security group in AD and assign DB Owner rights to the Directory Sync Pro SQL databases and add all the users that need access to the console as members. |

6.1 Installing Directory Sync Pro on a Windows Server
-
Download the installer executable file from the FTP site and save it on the Binary Tree Windows Server.
-
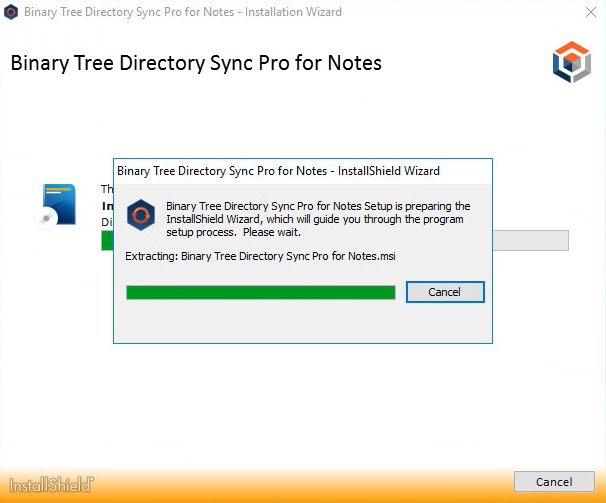
Double-click the executable to begin installing Directory Sync Pro. The Welcome screen appears. Click Next to continue.
-
The License Agreement screen appears. To accept the terms of the license agreement and continue with the install, select “I accept the terms in the license agreement” and click Next.
-
For first time installation, click the Advanced Installation option
-
Select Use existing SQL server:


-
The Recommended Components for This Computer screen appears. By default, only the Directory Sync Pro components are selected. Click Next to continue.
-
Choose the directory where you want Directory Sync Pro to be installed.
-
The Database Server Login screen appears. Enter the SQL Database Server location, credential information, and database name. Click Next to continue. If you chose to install SQL Server Express, the installer sets the “sa” account with the default password “Password1”.
-
The Database Server Login screen appears again, this time for the logging database. Enter the SQL Database Server location for the logging database, credential information, and database name. Click Next to continue.
-
The Ready to Install the Program screen appear. Click Install to begin the installation. A series of loading and progress screens will appear.
-
When the installation has completed, click Finish.
-
The package installer screen will finish loading in the background. Click Finish to complete the installation.


The Apps screen or Start Menu is updated and the Active Directory Pro and Directory Sync Pro icons are added to the desktop.
Apps screen:

Desktop icons:
