
Authorization Policies
Authorization policies allow administrators to grant permissions to chosen delegated administrators to perform actions on one or multiple users, groups, virtual organizational units or across the tenant. Permissions that are granted in Nova are also granted in Office 365.
Actions include creating, modifying and deleting users and groups, setting out of office statuses, resetting user passwords, setting multi-factor authentication and more. You can create multiple authorization policies to grant some users additional or less permissions than others, useful for multi-regional helpdesk operators.
Another example is for tenants that retain employee information in Office 365, team managers in different departments can be granted permissions to update some details in a user's profile, but not able to update some specific details, such as an address, and hide some others. This is useful to comply with an organization's company policy.
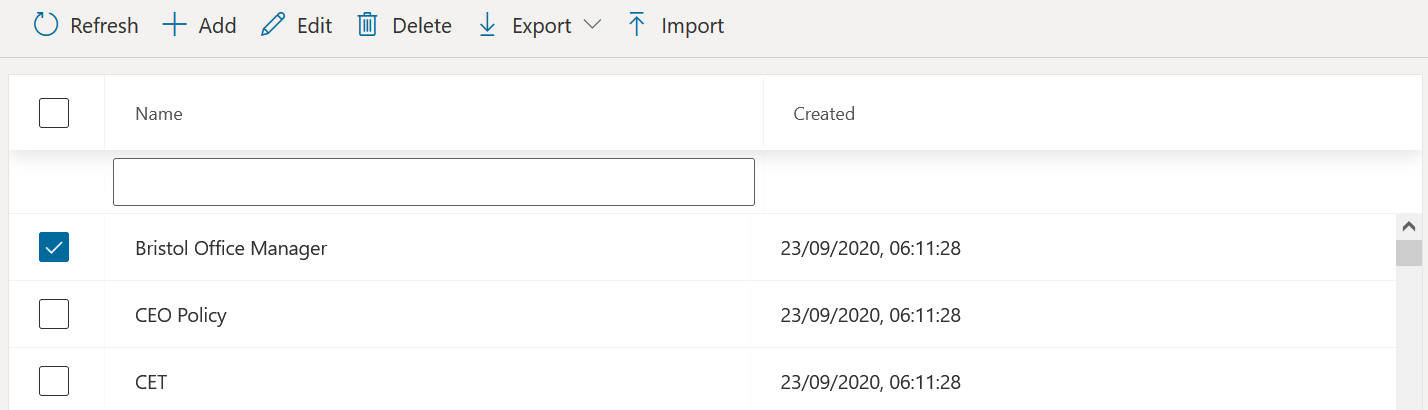
On the Authorization policies tab, you can:
·Refresh: Update the authorization policies to present the most recent additions.
·Add: Create an authorization policy.
·Edit: Change the authorization policy, including who gets access, the users/groups that the policy applies to, and the actions of the policy.
·Delete: Remove the policy from the list.
·Export: You can export a policy to a .json file. You may:
oexport all of your policies
oexport a select number of policies
oexport the audit log to a .csv file
·Import: Import a .json file of an exported authorization policy.
For more on exporting and importing policies, go to the Quest Nova User Guide.
How to create an Authorization Policy
The steps below detail how to create a generic authorization policy.
1.From Nova, go to Manage Administration, then Authorization Policies.
2.Give the policy a unique name.
|
|
NOTE: Under Settings, you will see three options: Default user policy, self service and Is template. You can learn more about these in the Quest Nova User Guide.q |

3.On the Delegate to tab, select the user(s) and/or groups you would like to delegate the permissions to.
4.On the Managed objects tab, select the user(s). group(s) and/or organizational units you would like the delegated administrators to perform the action(s) on.
5.Then select Actions, and select the actions you would like the delegated user to have access to.
|
|
NOTE: Click Add after selecting each action. |
6.In the Properties tab, choose which properties you would like the manage objects to read and/or write.
Once you are happy with the policy, click Add, and your authorization policy is set up.
Use case: Delegating rights to a level 1 helpdesk
Below are steps that outline how to create an authorization policy that would be appropriate to assign users working in a level 1 helpdesk.
1.From Nova, go to Manage Administration, then Authorization Policies.
2.Give the policy a unique name.
3.On the Delegate to tab, select the user(s) and/or groups you would like to delegate the permissions to.
4.On the Managed objects tab, select the user(s). group(s) and/or organizational units you would like the delegated administrators to perform the action(s) on.
5.Then select Actions. For a level 1 helpdesk, we recommend selecting the following options.
|
|
NOTE: Click Add after selecting each action. |
a.Create On-Premises User
b.Create Cloud User
c.Update On-Premises User
d.Update Cloud User
e.Graph Set Out Of Office
f.Reset User Password on Next Login
g.Reset Mailbox Permissions
h.Add Group Member
i.Set Cloud User Manager
2.In the Properties tab, choose which properties you would like the manage objects to read and/or write.
Once you are happy with the policy, click Add, and your authorization policy is set up.
Use case: Delegating password resets to users in the UK
In this example, we will go over the steps to allow a manager to reset passwords for users based in the UK.
1.From Nova, go to Manage Administration, then Authorization Policies.
2.Give the policy a unique name.
3.On the Delegate to tab, select the user(s) and/or groups you would like to delegate the permissions to.
4.On the Managed objects tab, select the user(s). group(s) and/or organizational units you would like the delegated administrators to perform the action(s) on.
5.Then select Actions. To delegate password resets, select the following actions:
|
|
NOTE: Click Add after selecting each action. |
a.Reset User Password on Next Login
b.Update User Password
c.Revoke Microsoft Entra ID User All Refresh Token (this prompts users to add their new password sooner)
Once you are happy with the policy, click Add, and your authorization policy is set up.
Configuration Policies
Configuration policies bring standardization to your virtual organizational units and allows you to automate changes to users. Instead of manually assigning a license type, or updating Microsoft Entra ID attributes one by one, configuration policies allow you to apply these across your chosen vOUs.
For example, you may manage two tenants. One contains people working in the United States, and the other contains people working in the United Kingdom. You can create configuration policies to give users in the United States a Country attribute of US, and and another configuration policy gives users within the United Kingdom a Country attribute of UK.
·Refresh: Update the configuration policies to present the most recent additions.
·Add: Create a configuration policy.
·Edit: Change the configuration policy, including who gets access, the filters that the policy applies to, and the actions of the policy.
·Delete: Remove the policy from the list.
How to create a configuration policy
Below are steps on how to create a generic configuration policy.
1.In the menu on the left side of the screen, select Manage administration, then Configuration policies.
2.Click Add.
3.Enter a unique Name for the policy.
4.With the Policy Scope tab selected, click Add, and then select the organizational unit(s) and/or group(s) to which the policy will apply. These are the users that the policy will apply to.
5.Optionally, with the User filters tab selected, click Add, and then select the groups or attributes used to filter the users. This defines the filter used to select users from the scope to apply the policy to.
6.Select the Actions tab, click Add, and then select the actions you want to include in the policy. These actions are:
a.Add User to Groups: add a user to a group.
b.Assign User License: Manage Office 365 licenses.
c.Graph Set Out of Office: Set users out of office status.
d.Set Cloud User Manager: Set a users manager.
e.Set Mailbox Primary SMTP Address: Set a users primary email address.
f.Set Mailbox Primary SMTP Address for Synchronized Users: Sets primary SMTP address for on-premises user and their cloud mailbox.
g.Set User Multi-factor authentication: Set a users MFA status.
h.Update Cloud User: Update Office 365 user attributes.
i.Update On-Premises User: Update on-prem user attributes.
7.Click Save, and your configuration policy will have been created.