
Import From SKOS
To import a SKOS file, select the Term Group or Term Set in which the SKOS should be imported into and either right click > Import from SKOS or simply click the Import from SKOS button in the application's ribbon. Click OK on the confirmation dialog and the import process will begin. During this process, new objects (term sets and terms) may be created as well as updates to existing elements already within this location, as defined in the SKOS. The recommendation is to Import to the object that was originally used for Export. For example, if the SKOS export was created from Term Set "ABC", then the Import from SKOS option should be chosen after selecting Term Set "ABC". In this example, if the parent Term Group was selected, then the objects in the SKOS will be created one level higher (Terms as Term Sets).
Depending on the size and complexity this process could take anywhere from a few seconds to a few minutes to complete. A dialog will appear when the file is ready.
Live Compare
Metalogix Essentials for Office 365 provides a unique method for visually comparing and synchronizing the objects and content within any two site collections, sites or lists. The Live Compare interface displays up to the moment differences between these sites and allows the user to drill down and copy the differences to either environment.
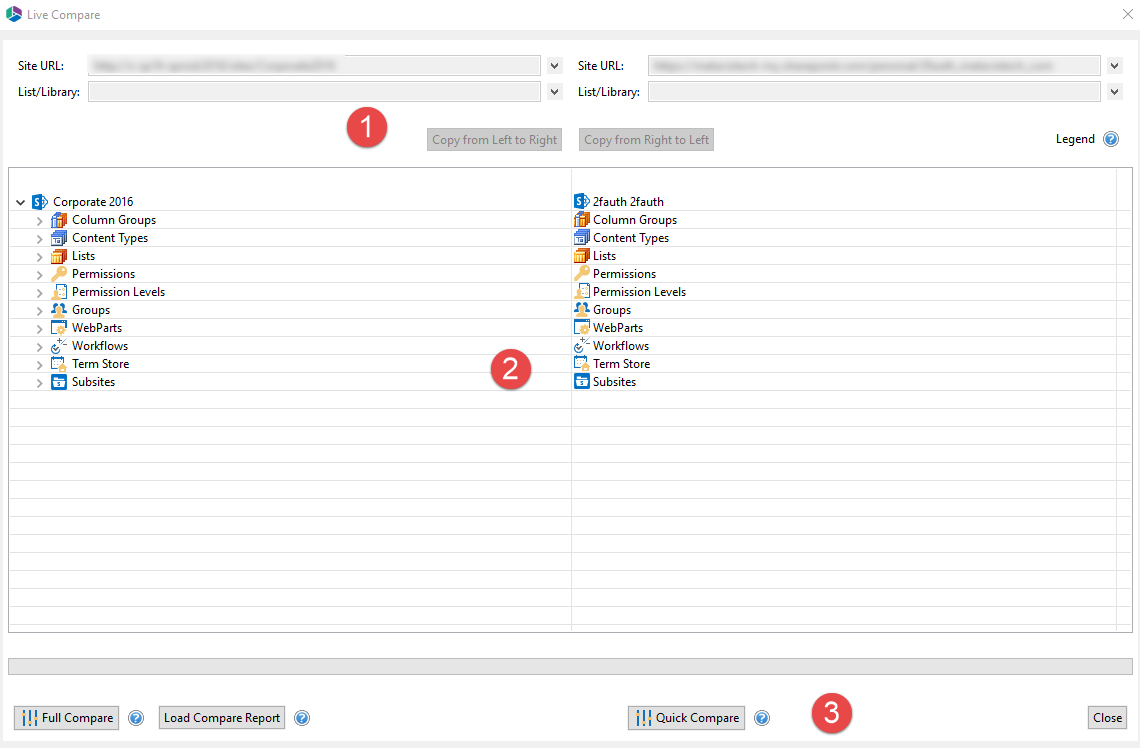
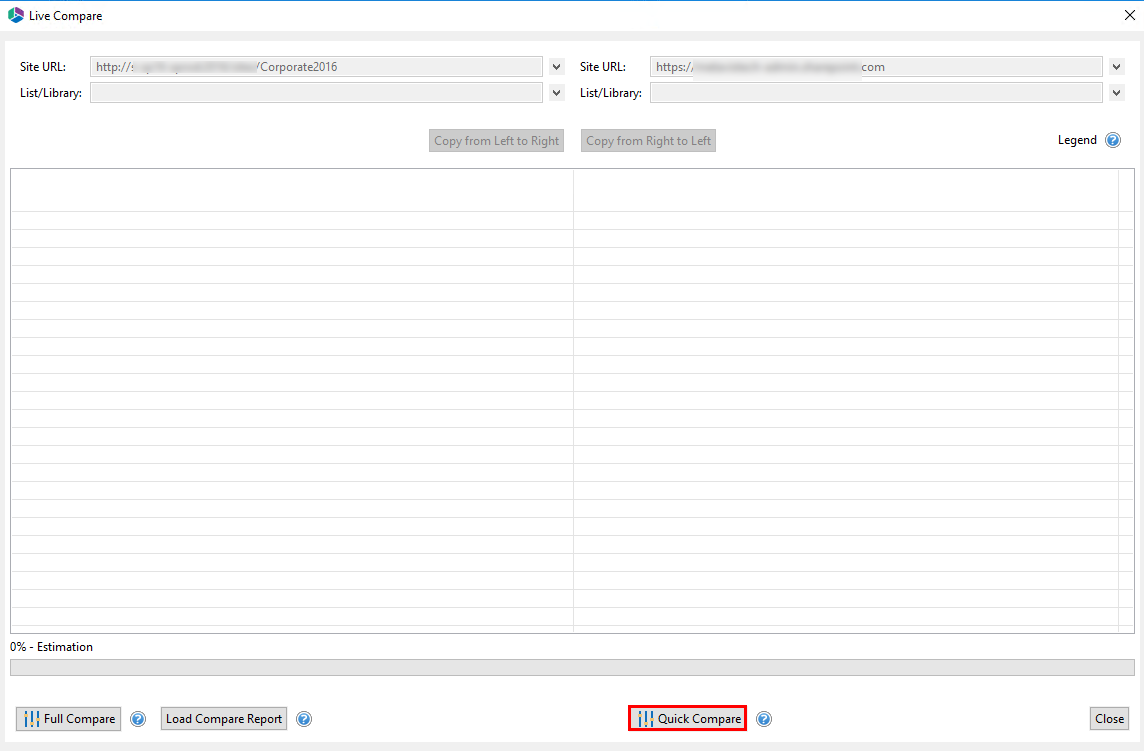
The Live Compare! interface consists of three primary sections: 1. A connection area, 2. Viewer, 3. Compare Options
The Connection Area: The connection area is separated into a "Site URL" and a "List/Library" field for each of the lists to be compared.
The Viewer Area: The viewer area is separated into two parts each of which displays the content from the site, list, or library specified above in the connection area.
Compare Options: At the bottom of the Live Compare window, there are three buttons; "Full Compare" "Load Compare Report" and "Quick Compare"
During a compare, a user can drill down into any object type to compare or re-compare that object against its counterpart in the other site. The two "Copy from-" buttons at the top of the window initiate standard copying operations. See the Site Migration Wizard section for additional detail.
Full Compare
This option will generate a report of all the differences between the selected sites and subsites (if selected). Unlike the "Quick Compare" interactive approach, this report will automatically crawl and collect all the differences, which will then be saved to a CSV file for viewing.
|
|
NOTE: Depending on the amount of content and selected options, this may require an extended amount of time. For this reason, the report is run in the background. |

The completed report, (stored as a csv file), may be loaded into this interface using the "Load Compare Report" button (see the Load Compare Report section for more details on loading a compare report).
To perform a Full Compare with Live Compare, do the following:
1.In the Migrator tab, select Live Compare from the Sites section.

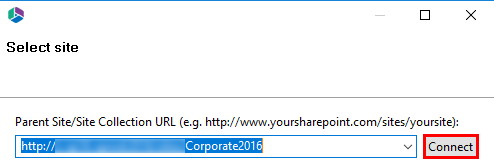
2.Once the Live Compare window opens, select your two Site URL's for comparison by clicking the downward arrow
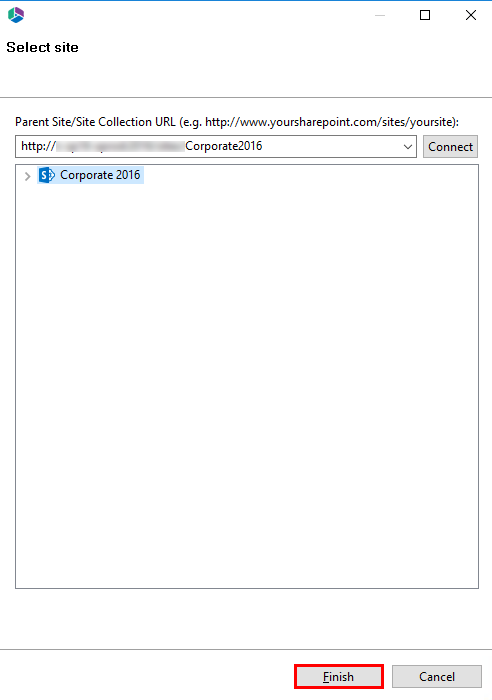
3.Select the site or sub-site that you want to compare and press the Finish button.
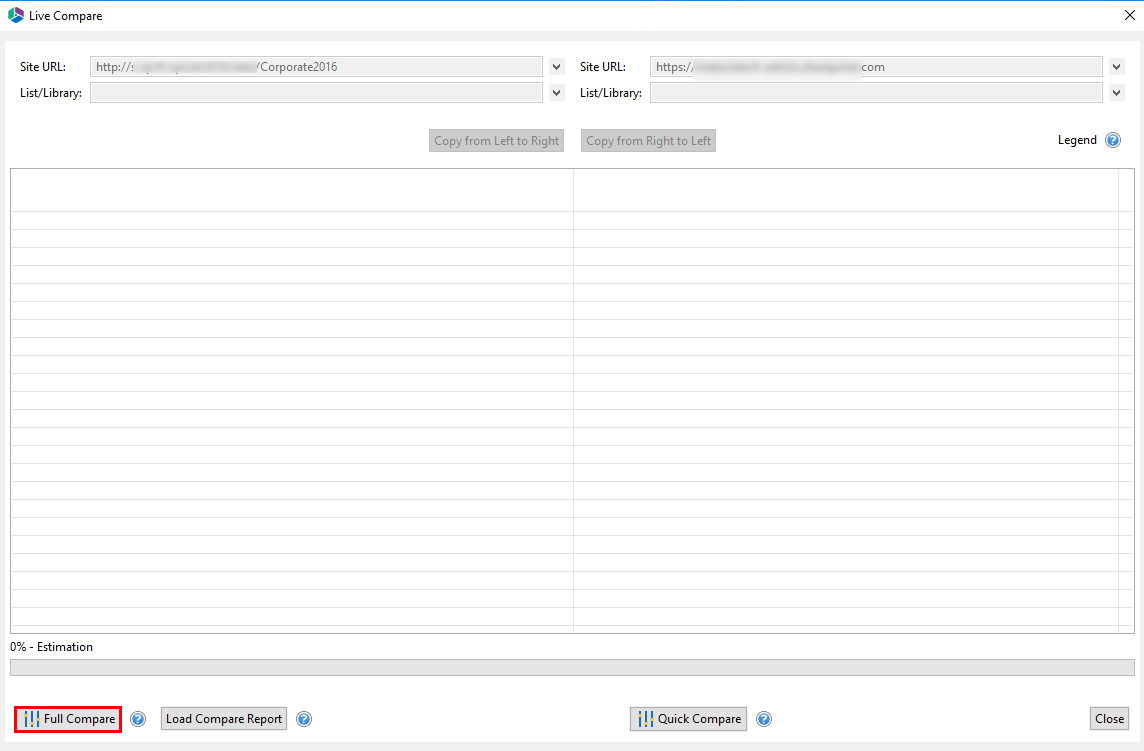
4.Select Full Compare from the bottom of the Live Compare screen.
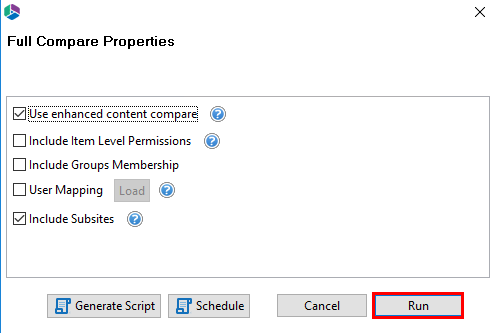
5.Select the properties you would like to apply to your Full Compare and click Run.
Use Enhanced Content Compare: This option will use the last modified date to identify differences in content that exists in both sites (lists and libraries). Normally the comparison is limited to identifying differences in content that exists in one site but not the other.
|
|
NOTE: Depending on the amount of content this comparison may require extended periods of time. |
Include Item Level Permissions: The differences in Item Level Permissions between the selected sites or lists will be analyzed as part of the compare.
|
|
NOTE: Permission comparison may require extended periods of time depending on the amount of content and permissions |
Include Group Membership: The differences in the Group Memberships between the selected sites or lists will be analyzed as part of the compare.
User Mapping: This option should be used in the event that a mapping file was used during the initial copy from source to target. This is especially useful if you have mapped accounts from source to target.
Include Subsites: Any subsites for the selected sites will be analyzed as part of the compare.
|
|
NOTE: Depending on the amount of subsites this comparison may require extended periods of time. |
6.When prompted save the Full Compare file to a location on your computer.
Quick Compare
This option will generate a listing of SharePoint objects within the Live Compare window. Users can navigate and drill down into each object to see and copy the differences from one site to another. This option is limited to the currently selected sites. See Full Compare for additional capabilities.
To perform a Quick Compare with Live Compare, do the following:
1.In the Migrator tab, select Live Compare from the Sites section.
2.Once the Live Compare window opens, select your two Site URL's for comparison by clicking the downward arrow
3.Select the site or sub-site that you want to compare and press the Finish button.
4.Select Quick Compare from the bottom of the Live Compare screen.
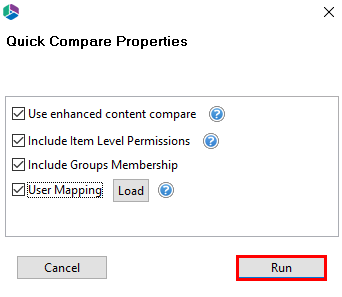
5.Select the properties you would like to apply to your Full Compare and click Run.
Use Enhanced Content Compare: This option will use the last modified date to identify differences in content that exists in both sites (lists and libraries). Normally the comparison is limited to identifying differences in content that exists in one site but not the other.
|
|
NOTE: Depending on the amount of content this comparison may require extended periods of time. |
Include Item Level Permissions: The differences in Item Level Permissions between the selected sites or lists will be analyzed as part of the compare.
|
|
NOTE: Permission comparison may require extended periods of time depending on the amount of content and permissions |
Include Group Membership: The differences in the Group Memberships between the selected sites or lists will be analyzed as part of the compare.
User Mapping: This option should be used in the event that a mapping file was used during the initial copy from source to target. This is especially useful if you have mapped accounts from source to target.
6.The Live Compare results will be loaded in the Live Compare window, where you can now copy items from left to right and vice versa.