
Create/Edit/Delete Term Store Objects
Terms store manager offers the ability to manipulate term store object individually or in bulk. Specific functionality is available via the right-click menu or in the upper right-hand corner of the pane.
Create Term Store Objects
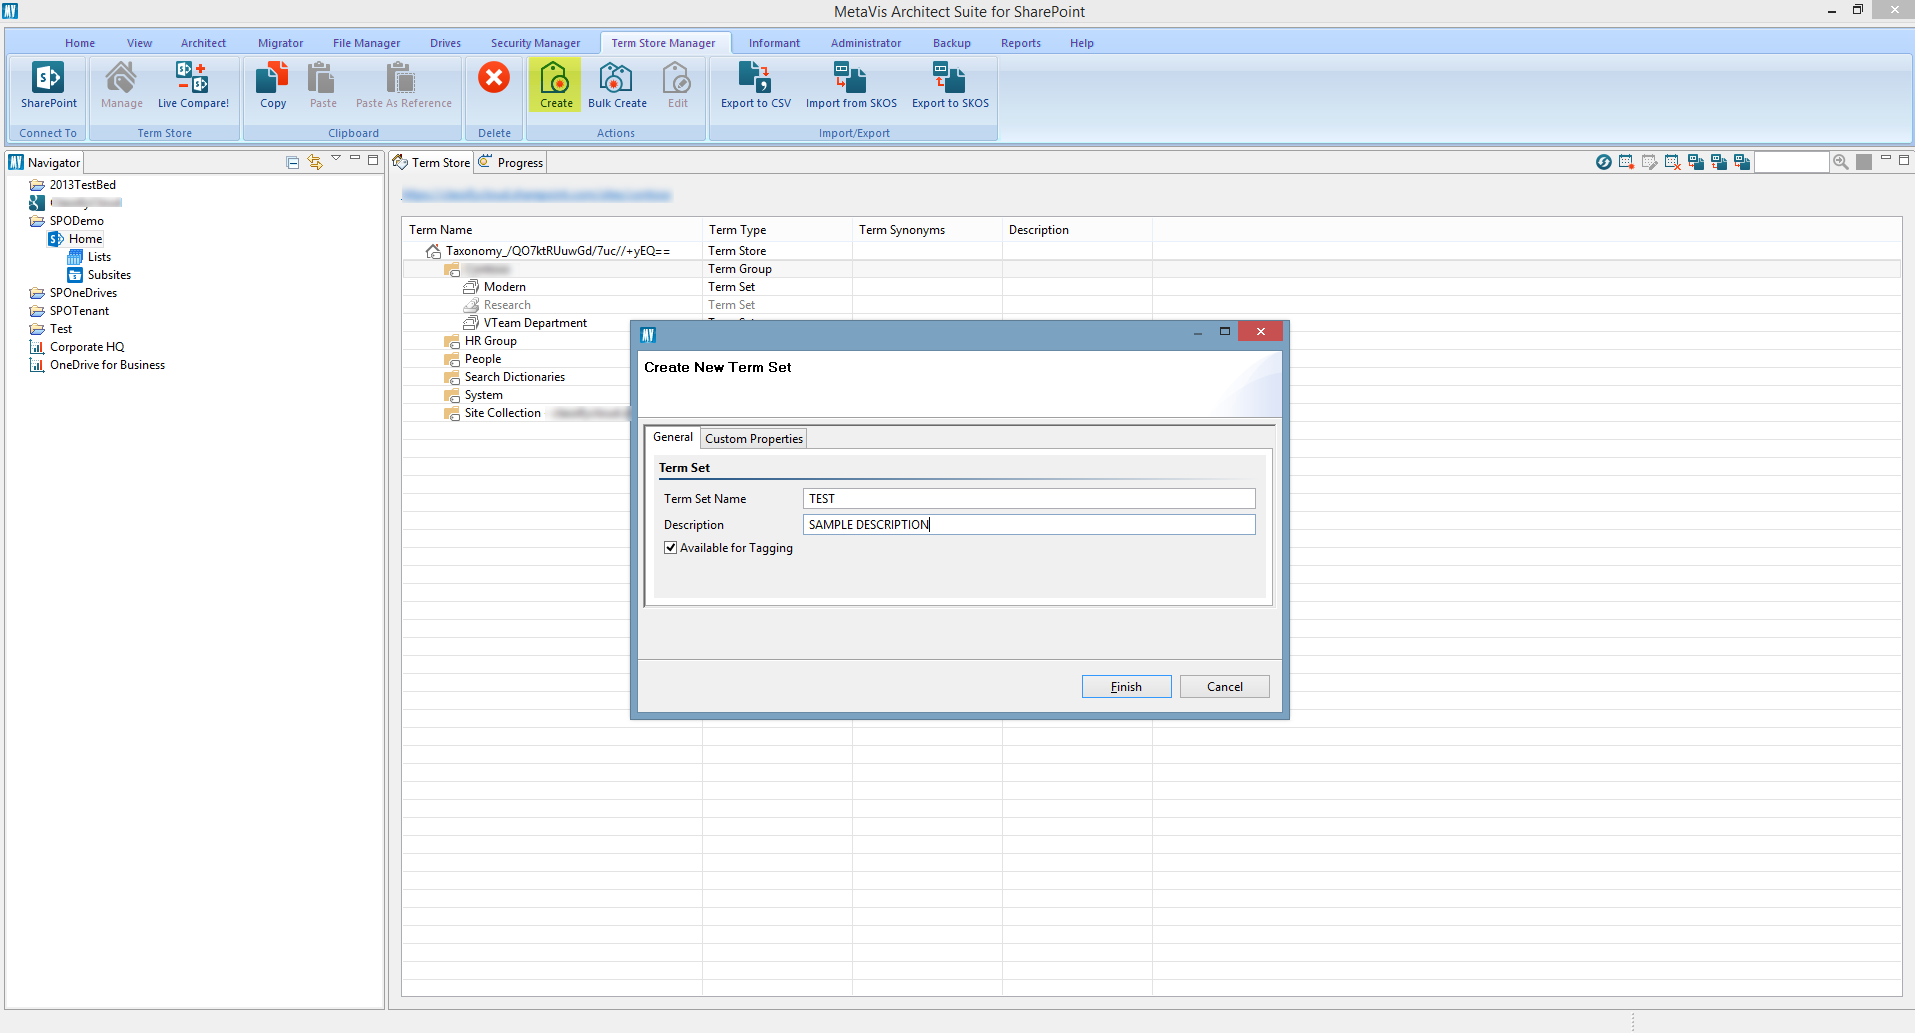
1.Select the parent object from the term store. The type of objects that can be created depends on the parent object selected.
2.From the right-click or pane menu select the Create option.
3.A window will be displayed with the appropriate fields for the object being created.
4.Press the Finish button to complete the operation.
(In this example, since a Term Group is selected, a Term Set would be created underneath it.)
Bulk Create Term Store Objects
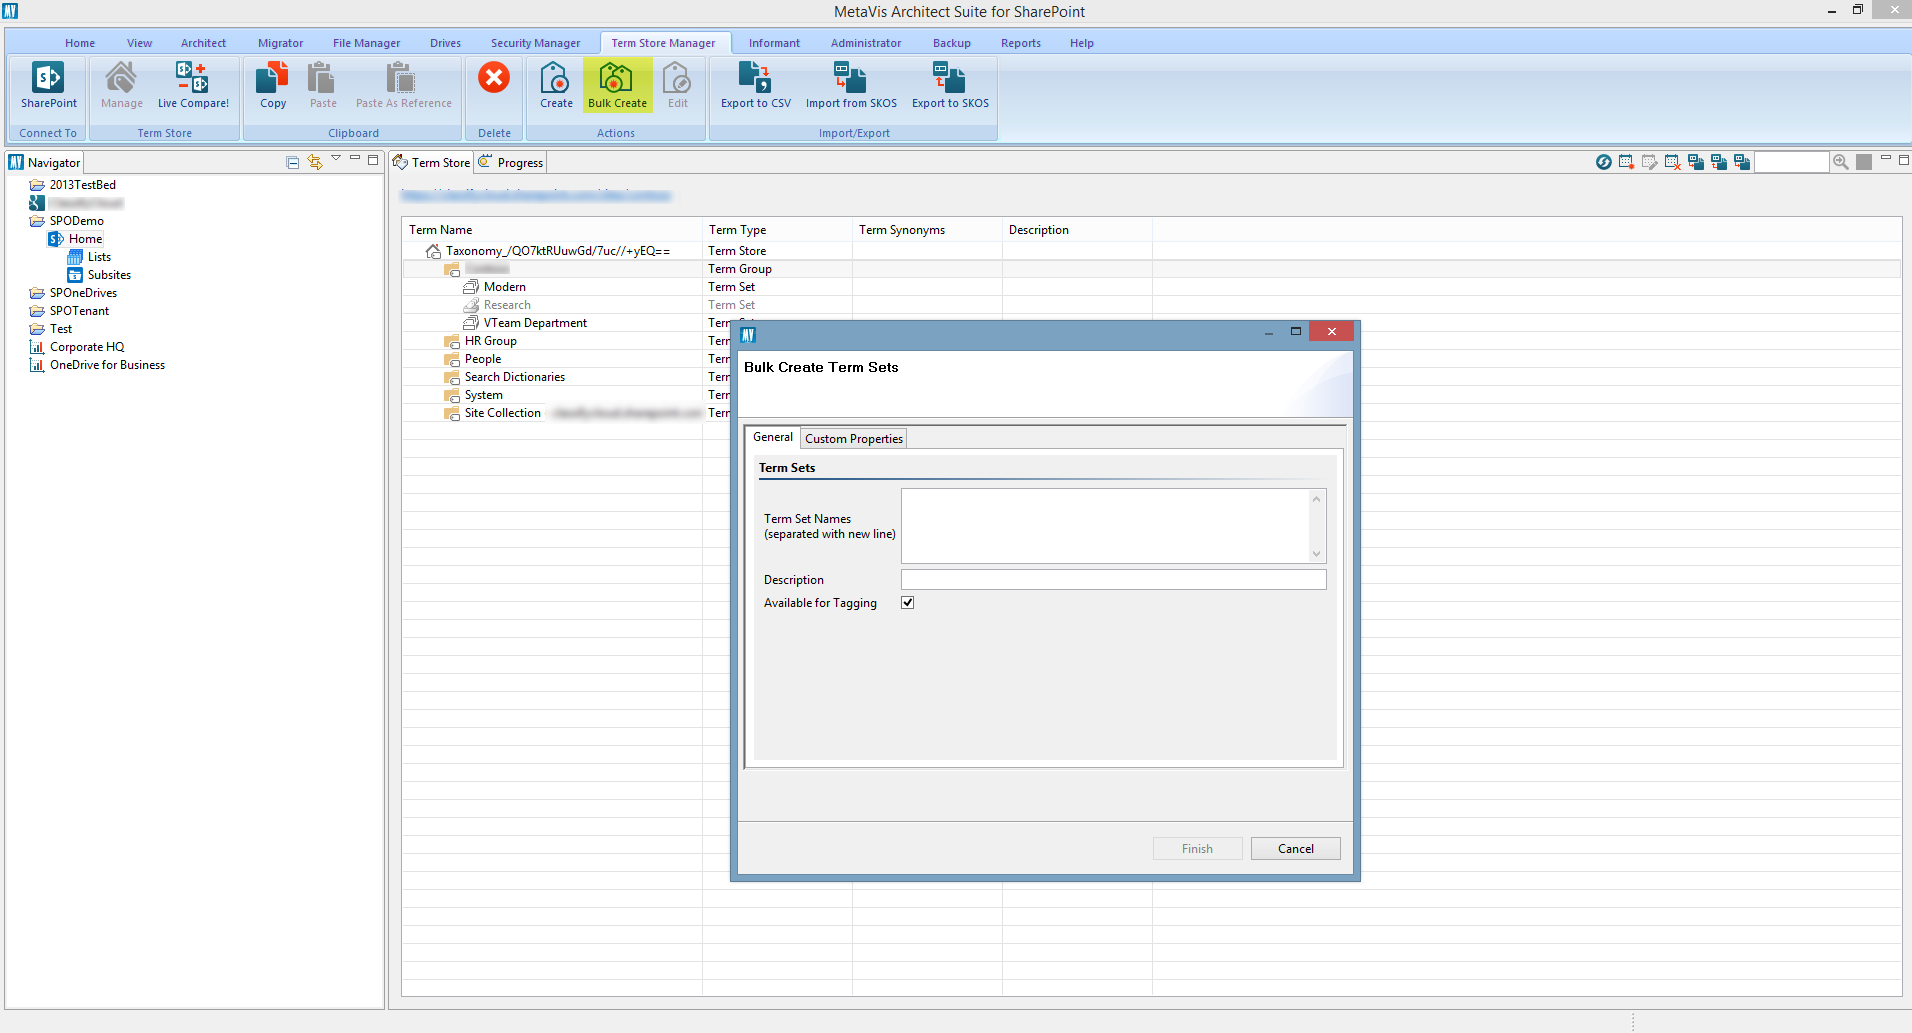
1.Select the parent object from the term store. The type of objects that can be created depends on the parent object selected.
2.From the right-click or pane menu select the Bulk Create option.
3.A window will be displayed with the appropriate fields for the object or objects being created. Fill in new items on each line.
4.Press the Finish button to complete the operation.
(In the above, since a Term Group is selected multiple term sets would be created)
Edit Term Store Objects
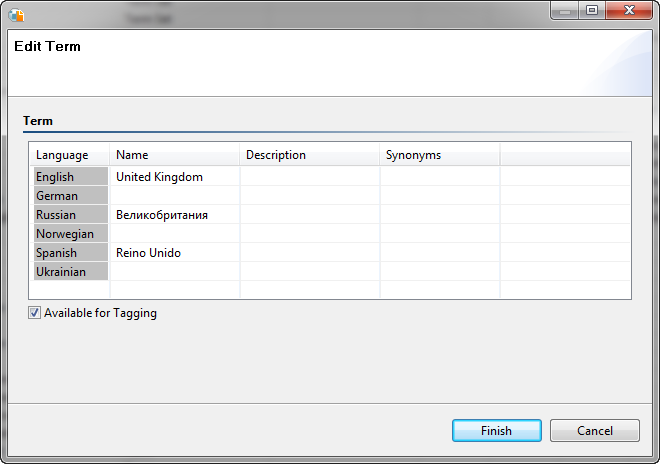
1.Select an object or multiple objects from the term store.
2.From the right-click or pane menu select the Edit option.
3.A window will be displayed with the appropriate fields for the object or objects being edited.
|
|
NOTE: the fields displayed may vary depending on whether one or more objects are being created. |

4.Press the Finish button to complete the operation.
Delete Term Store Objects
1.Select an object or multiple objects from the term store.
2.From the right-click or pane menu select the Delete option.
3.A message will be displayed confirming that object(s) are about to be removed.
|
|
NOTE: A term group must be empty, meaning all terms and term sets must first be deleted before the Term Group can be delete. |
Custom Sort Order (supported for SharePoint 2013, SharePoint 2016 and SharePoint Online only)
To modify the custom sort order of terms:
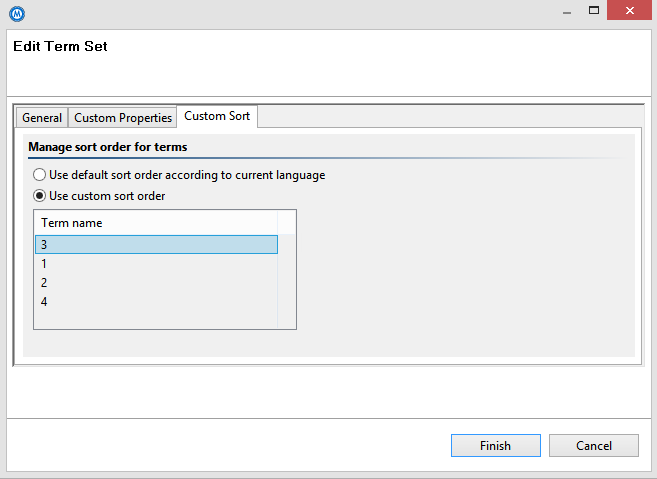
1.Select the parent term set or term.
2.Right click and choose the Edit Term Set or Edit Term option.
3.Click the Custom Sort tab.
4.Choose between the options to use the Default Sort or Custom Sort Order.
5.If you choose Custom Sort Order, the list of child terms will appear in a table below.
6.To modify the order, simply select a term and drag and drop to reorganize the order. Dropping a term onto another, will place that term dropped term above in the order.
7.When done, click Finish to apply your changes.
Exporting Term Groups and Term Sets to CSV
Term Groups and Term Sets may be exported to a CSV file. This will allow users to manipulate this information with any text editor or spreadsheet application. The exported file may be imported back into SharePoint using the Import from CSV option within SharePoint's Central Administration console.
To create an export file:
1.Connect to the Term Store using the procedure from section Connect and View Term Store.
2.Select a Term Group or Term Set and right click on that item.
3.Choose the 'Export to CSV' option.
4.Select a Destination File Location, Name the CSV file, and click 'Create'.
|
|
NOTE: The exported file conforms to Microsoft's supported CSV formatting and therefore if a Term Group is exported, a separate CSV file will be created for each Term Set within this group. |
This CSV file can be imported into SharePoint through Central Administration.
1.In Central Administration, under the Application Management heading, select Mange Service Applications.
2.Select the Manged Metadata Service, right click and select 'New Group'
3.Enter a name for the new group and press 'Enter'.
4.Select the newly named group and right click on that group to choose 'Import Term Set'
5.Browse to select the CSV file and click 'OK'
Export to and Import from SKOS Files
The external format that Microsoft supports for Term Sets is CSV files, which are limited in the amount of metadata and functionality that is provided. To enhance the experience of import, export or "backup" of Term Store elements, support for SKOS (*.rdf files) is included. More information about this file format can be learned from the following link (external link): http://www.w3.org/2009/08/skos-reference/skos.html.
Some of the advantages to using SKOS rather than CSV:
·SKOS can include all terms sets within a selected term group
·SKOS includes additional metadata properties like translations, synoymns and custom properties
·SKOS is more universally supported outside of SharePoint Term Stores
|
|
NOTE: Managed and Faceted Navigation is not currently supported for either Export to and Import from SKOS. |
Export to SKOS
To export to a SKOS file, select a Term Group or Term Set and either right click > Export to SKOS or simply click the Export to SKOS button in the application's ribbon. Select a location to save the file and enter a name, then click Create. The SKOS file will then be created, depending on the size and complexity this process could take anywhere from a few seconds to a few minutes to complete. A dialog will appear when the file is ready.