
Publish Forms to Personal Forms Library
In this topic:
·Steps to prepare forms for publishing
·Steps to install the Forms Publisher to publish forms
·Steps to use the Forms Publisher to publish forms
·Steps to use the Group Policy Object (GPO) to publish forms
Steps to prepare forms for publishing
1.Log in to the server where Archive Manager for Exchange (designated the Archive server is a distributed deployment) was installed (eg. AMXSERVER-A) with the credentials of the superuser (eg. democorp\mamadmin)
2.To open the Outlook Forms Setup wizard do one of the following:
·If the Post installation Tasks wizard is not already open, you can open the the Post installation Tasks wizard from C:\Program Files (x86)\Metalogix\MAM4Exchange\Tools\LaunchTools\LaunchTools.exe and then click Start next to step 2 to start the installer.
·Start the forms installer directly from C:\Program Files (x86)\Metalogix\MAM4Exchange\Tools\Forms\FormsInstaller.exe.
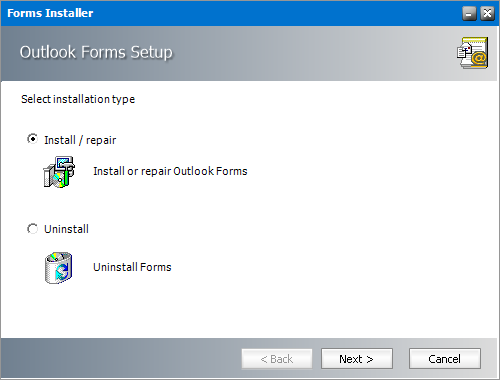
3.Select Install/repair and then click Next. The Outlook Forms Setup - Folder Location window opens.
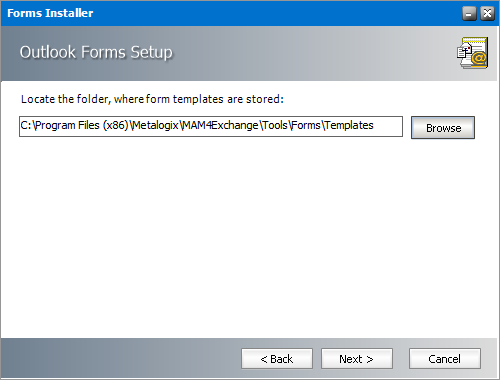
The default location is displayed. Click Browse to locate the template folder if you have moved the templates to a different location
4.Click Next. The Outlook Forms Setup - Form Selection window opens.
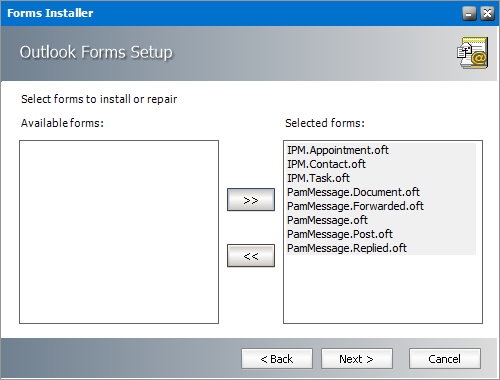
Select all the forms from the Available forms list and move it to the Selected forms list.
5.Click Next. The Outlook Forms Setup - Activate/deactivate Outlook forms events window opens.
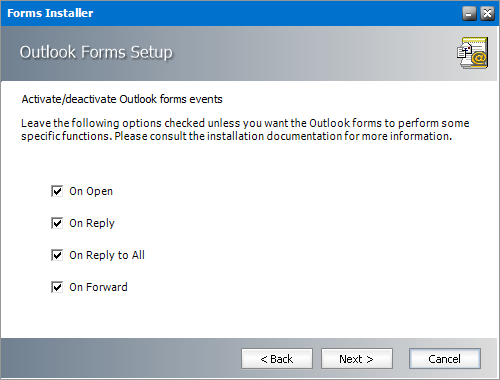
Keep the default selections on this page unless you want to change the behavior as described below:
a.On Open - When checked, this option presents a shortcut that can be clicked to download the archived email but deactivates the ability to use the Previous Item and Next Item functionality in Outlook because archived emails are offline copies and are not aware of previous or next emails. When unchecked, the archived email cannot be downloaded or viewed.
b.On Reply - When checked, the content of the email is included in the reply to the sender of the original email. When unchecked, the shortcut to the archived email is included in the reply message and can be accessed only by members of the Exchange server.
c.On Reply to All - When checked, the content of the email is included in the reply to recipients of the original email. When unchecked, the shortcut to the archived email is included in the reply message and can be accessed only by members of the Exchange server.
d.On Forward - When checked, the content of the email is forwarded to the new recipient(s) of the original email. When unchecked, the shortcut to the archived email is forwarded to the new recipient and can be accessed only by members of the Exchange server.
6.Click Next. The Outlook Forms Setup - Retrieve servers identification window opens.
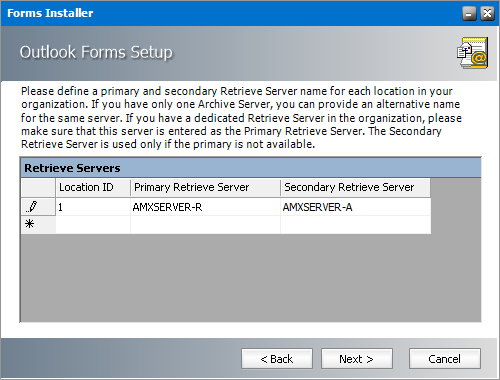
Specify the information as described below:
a.Location ID - Each Archive Manager for Exchange server is bound to a single location identified by the Location Id.
b.Primary Retrieve Server - If the deployment topology has just one standalone Archive Manager for Exchange server then enter the NetBIOS name of the standalone server. If the deployment topology has a dedicated Archive Manager for Exchange server with the Retrieve role, then specify the NetBIOS name of the Retrieve server (eg. AMXSERVER-R).
c.Secondary Retrieve Server - For a standalone deployment topology, enter the same NetBIOS name or IP address of the standalone Archive server. If the deployment topology has a dedicated Archive Manager for Exchange server with the Archive role then specify the NetBIOS name of the Archive server.
Examples:
|
Topology |
Primary Retrieve Server |
Secondary Retrieve Server |
|
Standalone Archive server |
NetBIOS name or IP address of the Archive server (eg. AMXSERVER) |
NetBIOS name or IP address of the Archive server (eg. AMXSERVER) |
|
Dedicated Archive and Retrieve servers |
NetBIOS name or IP address of the Retrieve server (eg. AMXSERVER-R) |
NetBIOS name or IP address of the Archive server (eg. AMXSERVER-A) |
|
Load-balanced Retrieve servers |
NetBIOS name or IP address of the load balancer |
NetBIOS name or IP Address of the load balancer |
7.Click Next. The Outlook Forms Setup - Retrieval settings window opens.
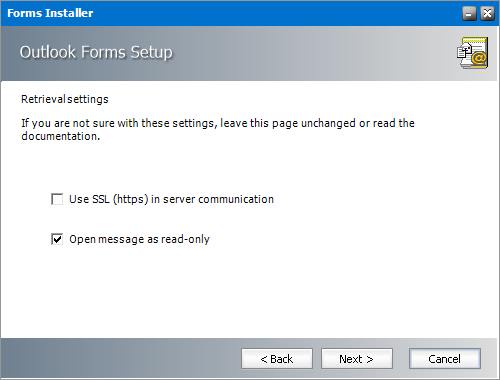
The options are as described below:
a.Use SSL (https) in server connection - Select this option only if the Exchange server communication uses SSL.
b.Open message as read-only - When checked, archived emails are opened in read-only mode. When this option is unchecked, users are allowed to modify archived emails but these changes are not updated in the archive. Users with Archive Manager Outlook Addin installed can modify archived emails by creating new email versions in the archive even if the Open message as read-only check box is selected.
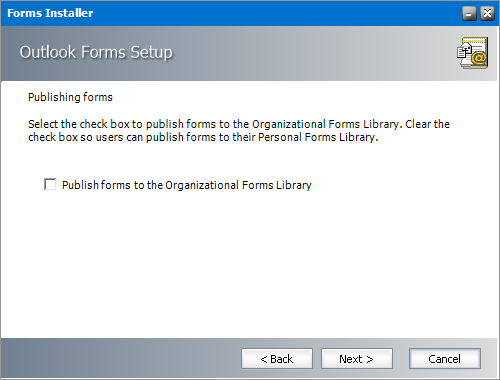
8.Click Next. The Outlook Forms Setup - Publishing forms window opens. Clear the checkbox Publishing forms to the Organizational Forms Library.
9.Click Next. The Outlook Forms Setup - Summary window opens.
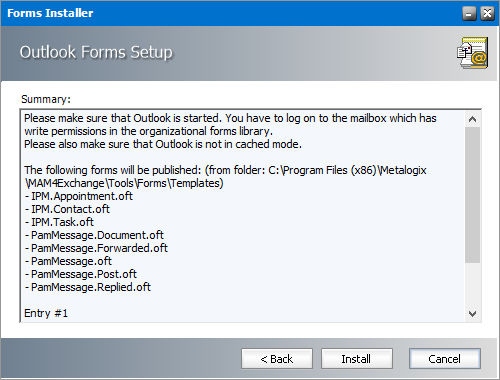
10.Click Install to prepare the forms for publishing. The Outlook Forms Setup - Install progress window opens.

11.When the forms are prepared for publishing click Finish. When you complete this step, the Archive Manager forms are ready to be published to the Personal Forms Library.
Steps to install the Forms Publisher to publish forms
1.Open <Media-folder>\Archive Manager Installation Package\Exchange\Addin and run the Archive Manager Forms Publisher Setup.msi installer.
2.Click Next. The Destination Folder window opens.
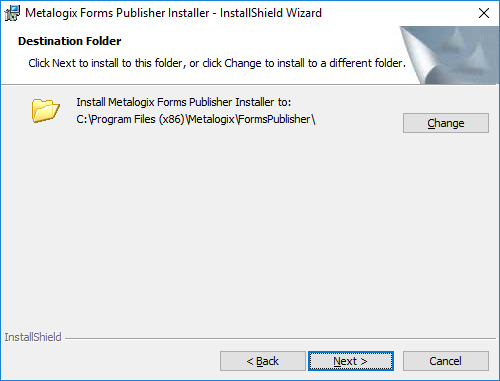
3.Click Change to revise the location of the installation folder, or click Next to continue. The Ready to Install the Program window opens.
4.Click Install. When the installation completes, the InstallShield Wizard Completed window opens.
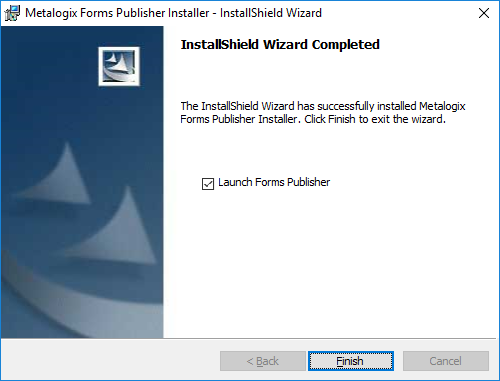
If you wish to publish the forms to the Personal Forms Library immediately, select the checkbox Launch Forms Publisher and click Finish. Then follow the steps in the next section to publish the forms. If you clear the checkbox, you can start the Form Publisher form the Start menu > Metalogix > Form Publisher.
Steps to use the Forms Publisher to publish forms
1.If the Forms Publisher is not already opened, start the Form Publisher form the Start menu > Metalogix > Form Publisher. The Forms Publisher window opens.
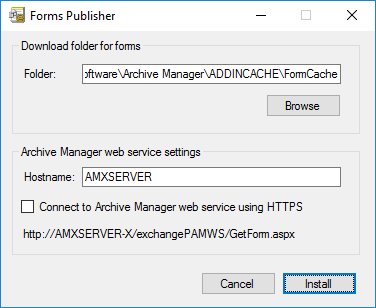
2.Click Install to publish the forms to the Personal Forms Library.
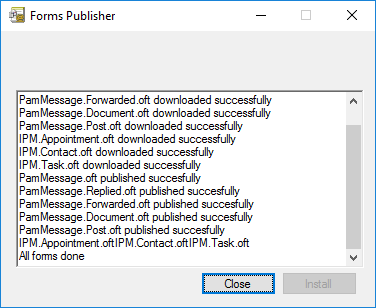
3.Click Close to exit the Forms Publisher.
4.Verify that the custom forms are present in the Personal Forms Library.
Steps to use the Group Policy Object (GPO) to publish forms
The steps to set up the GPO has three stages:
·Create a shared folder on the domain controller for the Forms Publisher installer
·Create a registry item to store the web service URL that will be invoked by the Forms Publisher
·Create a GPO to distribute the Forms Publisher Setup to intended users
Create a shared folder on the domain controller for the Forms Publisher installer
1.Log in to your domain controller and open Server Manager.
2.Create a shared folder called Forms Publisher. Share it with all intended users with the Read permission. Note the UNC path of the shared folder

3.Copy and paste the Archive Manager Forms Publisher Setup.msi installer to your shared folder. This file is already in your Archive Manager server at this location: <shared-media-folder>\Archive Manager Installation Package\Exchange\Addin
Create a registry item to store the web service that will be invoked by the Forms Publisher
|
|
CAUTION: The following steps are instructions to modify the registry of the domain controller. Serious problems might occur if you modify the registry incorrectly by using the Registry Editor or by using another method. |

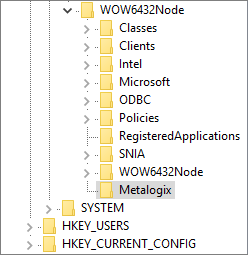
1.Open the Registry. Expand HKEY_LOCAL_MACHINE\SOFTWARE\Wow6432Node and create a new key named Metalogix.
Create a GPO to distribute the Forms Publisher Setup to intended users
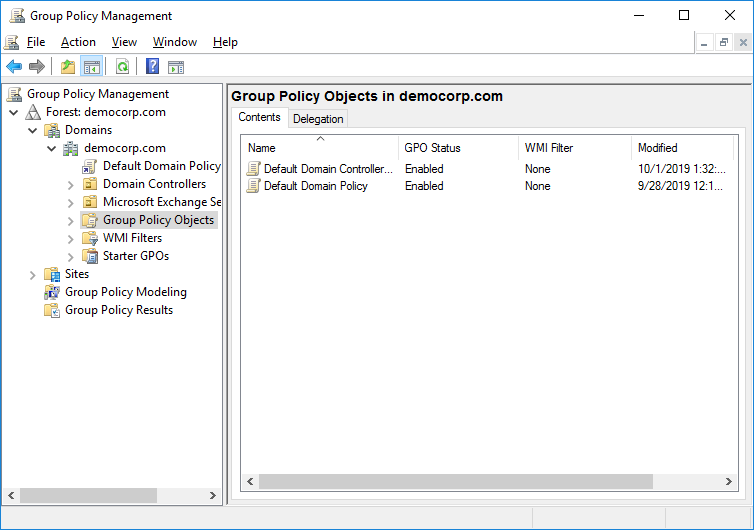
1.Click Tools and then click Group Policy Management. The Group Policy Management window opens.
2.Expand the console tree Forest > Domains > <YourDomain> and click Group Policy Objects.
3.Right click in the Group Policy Object pane, and click New from the context menu. The New GPO window opens.
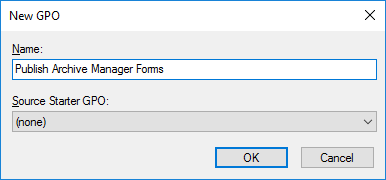
Enter the information as described below:
a.Name - enter a unique name to describe the policy. For example, enter Publish Archive Manager Forms.
b.Source Starter - (none).
c.Click OK to save the new GPO.
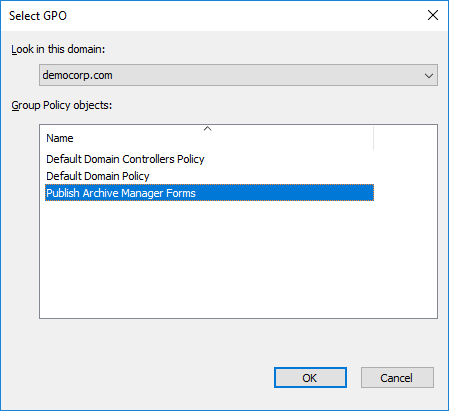
4.Right click your domain name and then click Link an Existing GPO from the context menu. The Select GPO window opens.

5.Choose the GPO that you created and then click OK.
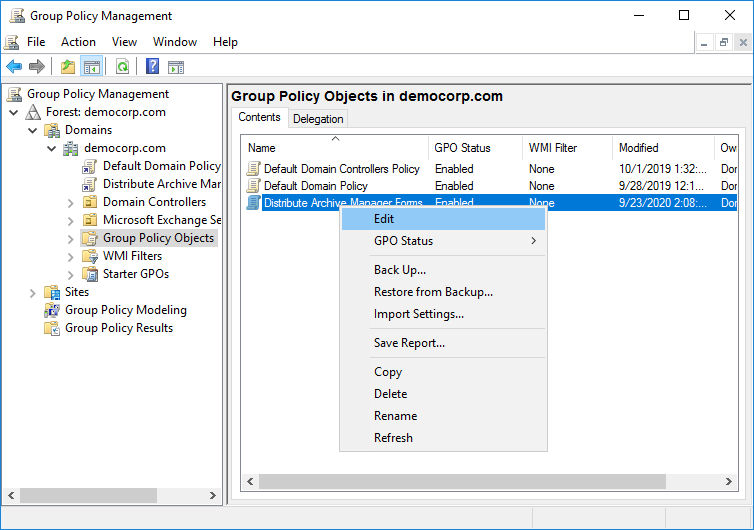
6.Right-click the GPO you created and then click Edit. The Group Policy Management Editor opens.
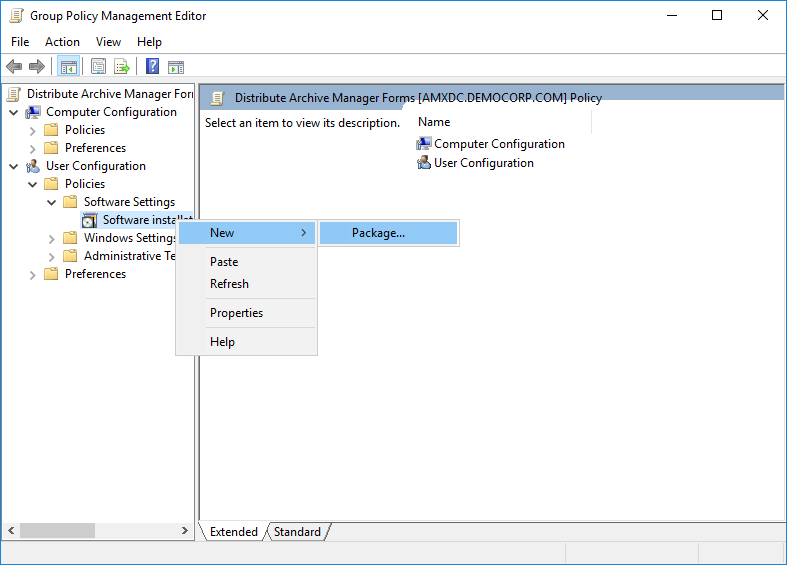
7.Navigate to User Configuration > Policies > Software Settings > Software Installation. Then right-click Software Installation to open the context menu. Click New and then click Package.
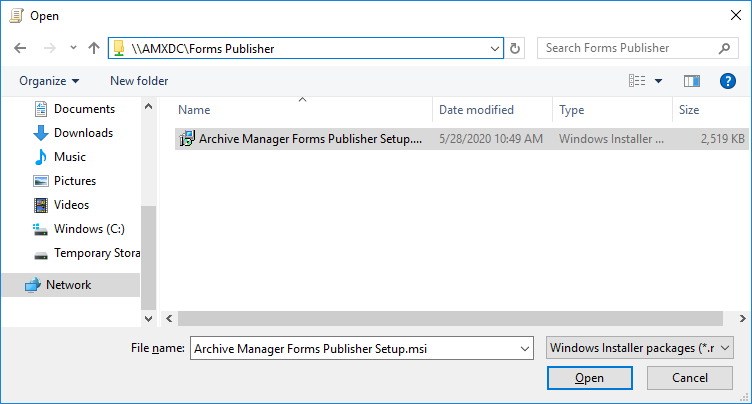
8.Browse to the shared folder you created in a step 2 above, and select the Archive Manager Forms Publisher Setup.msi installer.
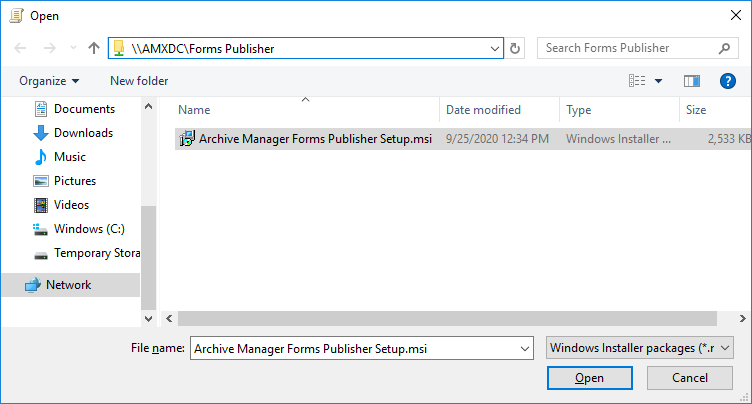
9.Click Open. The Deploy Software window opens. Select the Advanced option.

10. Click OK. The Metalogix Forms Publisher Installer Properties window opens. Click the Deployment tab.
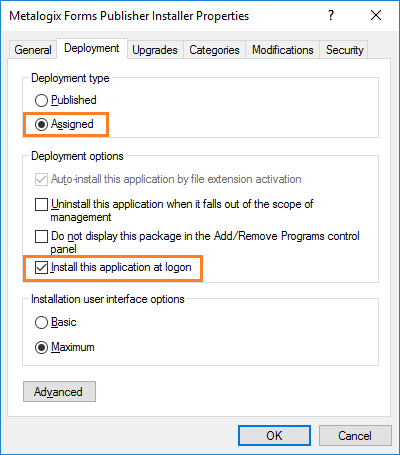
Set the properties as described below:
a.From the Deployment type section, select the Assigned option.
b.From the Deployment options section, select the Install this application at logon options check box.
11.Click OK to close the Metalogix Forms Publisher Installer Properties window, and verify that application appears in the Group Policy Management Editor.

12. From the Group Policy Management Editor expand Computer Configuration > Preferences > Windows Settings and then click Registry.
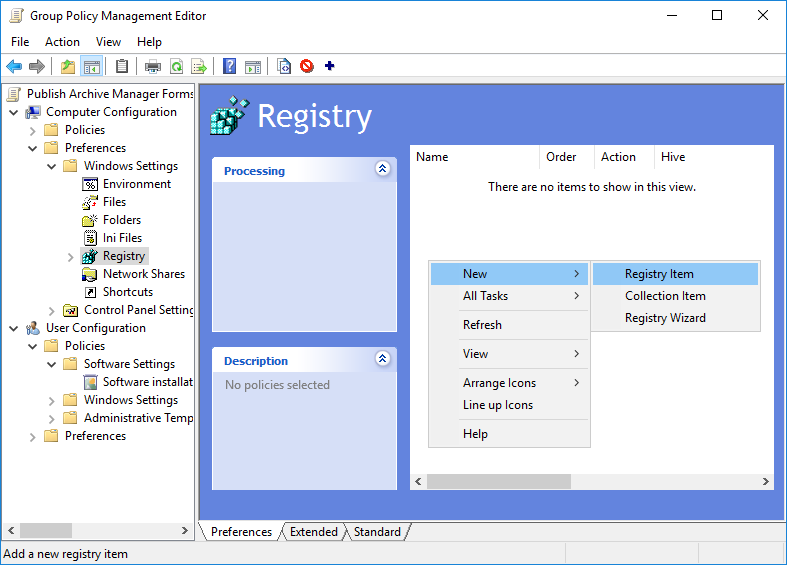
13. Right-click in the items pane to open the context menu. Then select New > Registry Item. The new Registry Properties window opens.
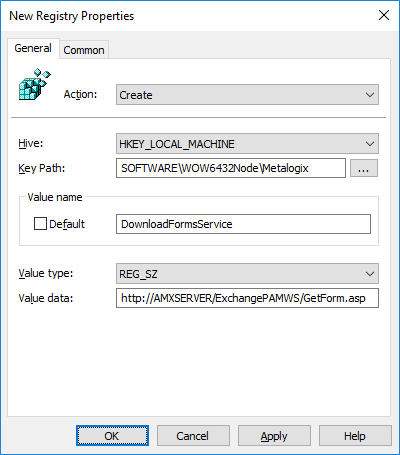
In the new Registry Properties window create a new registry item with the following values:
a.Action - select Create from the drop down.
b.Hive - select HKEY-LOCAL_MACHINE from the drop down.
c.Key Path - enter SOFTWARE\Wow6432Node\Metalogix
d.Value name - enter DownloadFormsService
e.Value type - select REG_SZ from the drop down.
f.Value data - enter the address to web service which will download forms in the format http://<Archive-Manager-Server>/ExchangePAMWS/GetForm.aspx
14.Click OK to save the registry item. Verify that the registry item appears in the registry items list. Then exit the Group Policy Management Editor and the Group Policy Management tool.
|
|
NOTE: The user policy will not take effect until a fresh logon occurs after a reboot of the user's computer. |

15.Verify that the GPO publishes the Archive Manager Forms to the Personal Forms Library when they log in to their computers.
Installation Verification
When you have completed the installation and configuration as described in this guide, log on to the Archive server (eg. AMXSERVER-A) as the superuser and open Outlook. Send a couple of emails, in order to see if you can read them.
Steps to verify your installation
1.Open the AMAC.
2.Click the View menu on the toolbar and select the Archive view.
3.In the Look for text field type the name of one of your synchronized mailboxes and click Enter.
4.After expanding the mailbox structure you will be able to see the list of emails in the right-pane of the AMAC.
5.Right-click any email from a mailbox and choose Archive item from the context menu.
6.If the archiving process ends with the following dialog you have successfully managed to archive your first email.
Enhancements
Metalogix Archive Manager for Exchange can be extended with optional components to enhance its capabilities.
Steps to install additional components
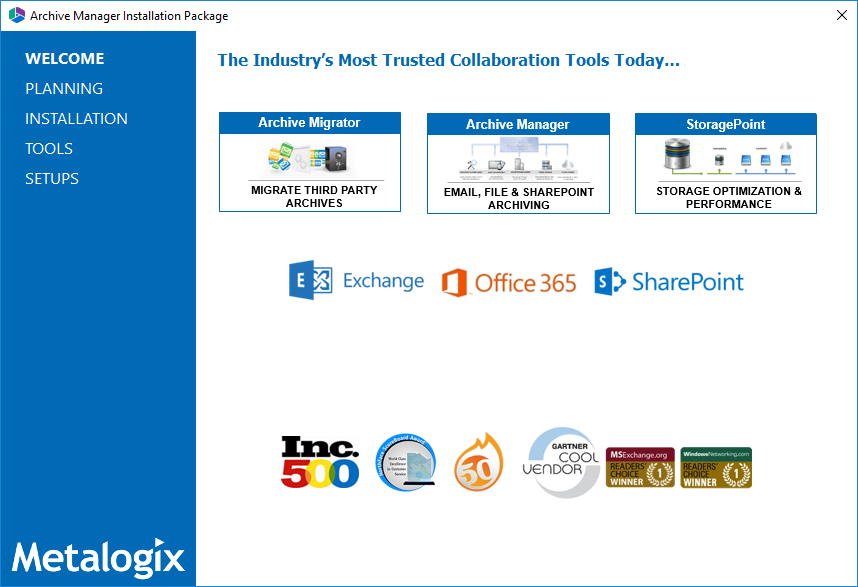
1.From your installation media folder, run the MAMInstaller.exe. The Welcome window appears.
2.From the navigation panel on the left, click SETUPS. The Setups window appears.
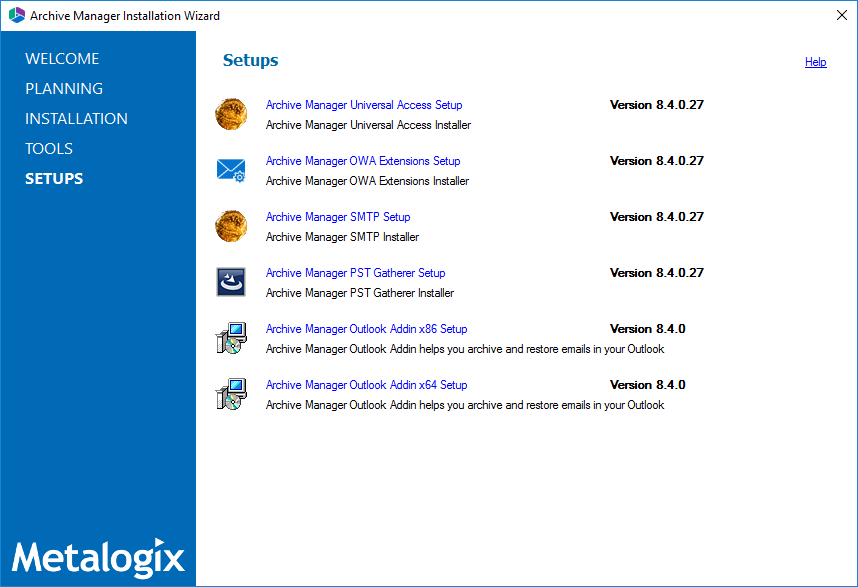
3.Install one or more optional components. The components are as follows
·Archive Manager Universal Access Setup - allows mobile users, Mac users and Linux users to work with archived emails. For more information see the Universal Access Install Guide.
·Archive Manager OWA Extensions Setup - component that is installed on the Microsoft Exchange Server to provide Outlook Web Access to end-users. For more information see the Outlook Web Access Guide.
·Archive Manager SMTP Setup - allows processing of messages from an external email server (O365, Gmail, Exchange, etc.). For more information see the SMTP Guide.
·Archive Manager PST Gatherer Setup - automated extension to the PST importer feature. For more information see the PST Importer Guide.
·Archive Manager Outlook Addin <version> Setup - gives authorized users the ability to archive and restore emails in Outlook 2013 and above (x86 or x64). For more information see the Outlook Add-in Installation Guide.