-
Title
How to perform a standalone SCM installation -
Description
How to perform a standalone SCM installation -
Resolution
Steps to setup the SCM Server
1.Log in to the SCM Server. For example, log in to SCMDEMO using the SCM Administrator credentials (mydomain\scmadmin).
2.Download and unzip the install media files to a local folder.
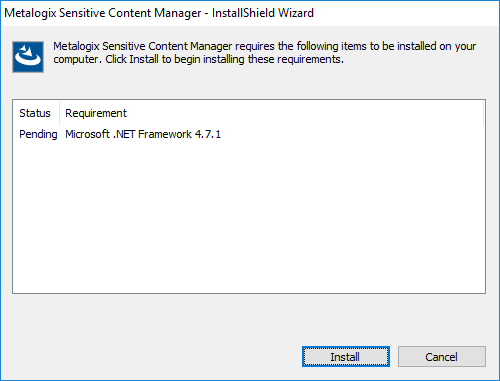
3.Click the windows installer file Metalogix Sensitive Content Manager.exe. The Prerequisites window opens if the installer determines that one or more prerequisites are required.
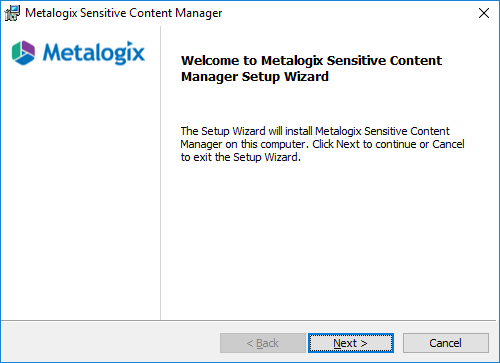
4.Click Install. When the prerequisites are installed, the Welcome to Metalogix Sensitive Content Manager Setup Wizard window opens. If the appropriate prerequisites are already installed, this is the first window that opens.
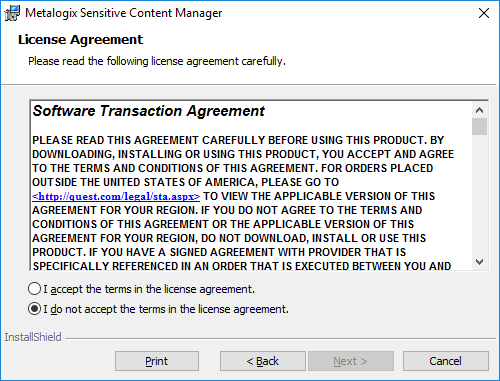
5.Click Next. The License Agreement window opens.
6.Click the check box I accept the terms in the License Agreement to activate the Next button. Click Print to print the License Agreement.
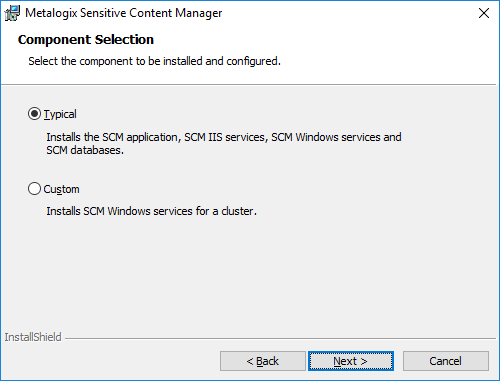
7.Click Next. The Component Selection window opens. Select Typical for a standalone installation.
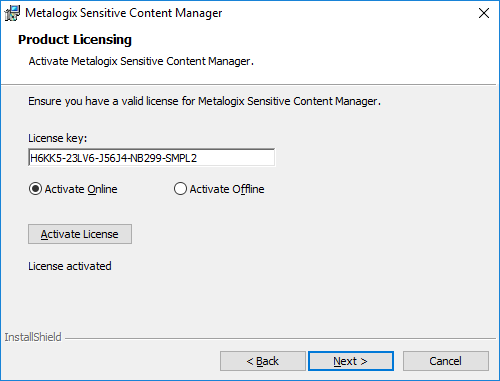
8.Click Next. The Product Licensing window opens. In the License Key field, enter your license key.
9.There are two options available to activate your license. The online activation steps are described here. See Steps to activate your license offline for more information about offline license activation.
a.Select Activate Online.
b.Click Activate License. If the license activation is successful, a confirmation message opens.
c. Click OK. The status License not activated on the Product Licensing window changes to License activated. Verify your license details as they will differ from the license details shown here.
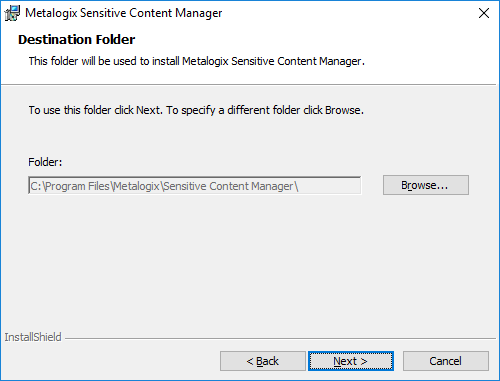
10.Click Next. The Destination Folder window opens. Click Browse to change the destination folder if necessary. If you change the destination folder ensure that the folder exists on this computer and there is no restriction to reading or writing to the new folder.
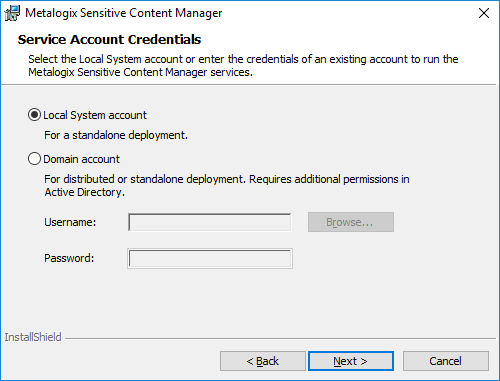
11.Click Next. The Service Account Credentials window opens.
12.Choose Local System Account or Domain account. If you choose Domain account, enter the credentials of a domain user that will be used to run the windows service.
NOTE: The domain user must have read/write permissions to the Service Connection Point in the active directory. For more information see Steps to grant additional privileges to the SCM Administrator.
13.Click Next. The SQL Server Information window opens.
Enter the values as described below:
a.SQL Server - the name of the SQL Server instance where the SCM database will be installed. For a standalone deployment the SQL Server is the same as the SCM Server.
b.Connection options:
i.Windows authentication - SQL Server validates the account name and password using the Windows principal token in the operating system. The user must have log in rights to the SQL Server instance with security admin and dbcreator roles assigned. This is the recommended authentication option.
ii.SQL authentication - uses the user credentials stored in SQL Server that may not be based on Windows user accounts. The user must have log in rights to the SQL Server instance with security admin and dbcreator roles assigned.
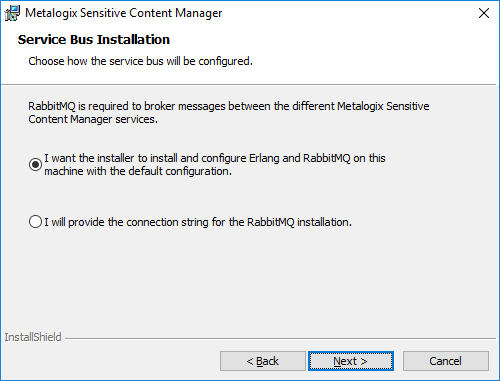
14.Click Next. The Service Bus Installation window opens. SCM uses RabbitMQ as the service bus.
Choose from one of the following options:
a.Select I want the installer to install and configure Erlang and RabbitMQ on this machine with the default configuration if you don't have an existing instance of the service bus. The installer will install the necessary files and dependencies at the end of the install process and create a certificate with the necessary credentials to operate RabbitMQ.
b.Select I will provide the connection string for the RabbitMQ installation if you already have a preinstalled instance that you have configured. When you click Next with this option selected, the Service Bus Connection Information window opens. Specify the RabbitMQ connection string.
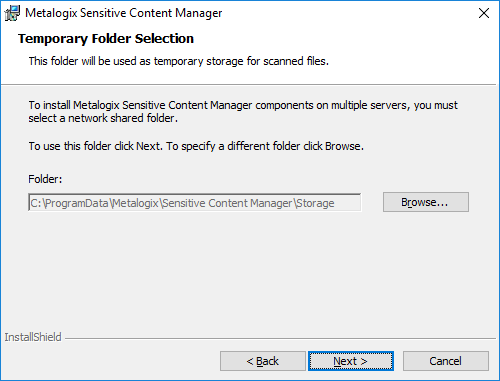
15.Click Next. The Temporary Folder Selection window opens. The default temporary folder is specified. You can use the same folder or click Browse to change to another local folder. If you change the temporary folder, ensure that the folder exists on this computer and there is no restriction to reading or writing to the new folder.
NOTE: We recommend selecting a location on SSD or other fast access storage. The location will be heavily used and fast access storage can significantly improve file analysis
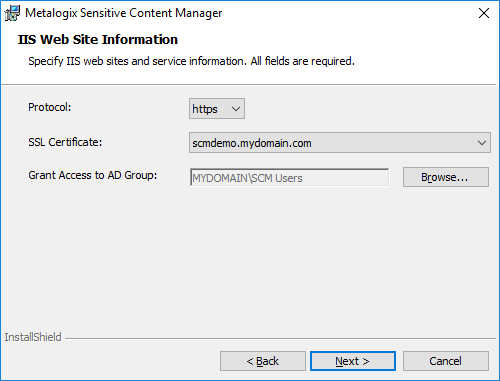
16.Click Next. The IIS Web Site Information window opens.
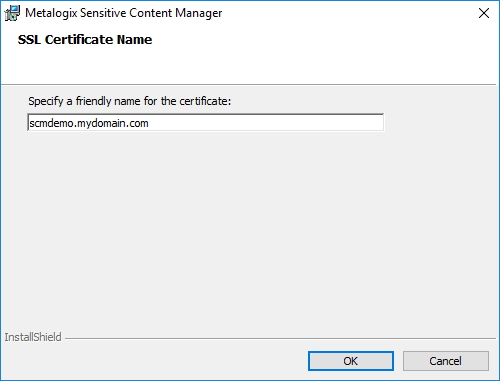
a.Click the drop-down box for the SSL Certificate field and select option. The SSL Certificate Name window opens. Enter a friendly name and click OK. The IIS Web Site Information window reopens with the specified SSL Certificate name.
b.For the Security Group, click Browse to open the Select Group window. Enter SCM Users in the Enter the object name to select field and click Check Names. When the Domain Users group is verified, click OK to add the group.
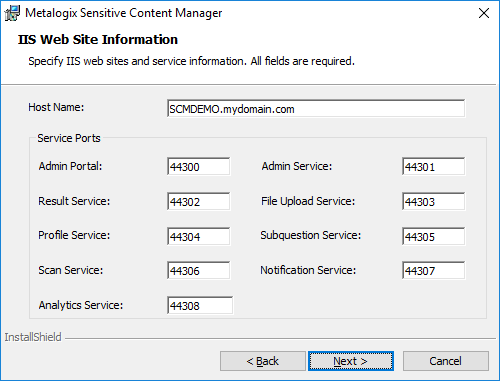
17.Click Next. The IIS Web Site Information window reopens with default port specifications for each IIS service. If you choose to change the default port numbers, ensure that the port numbers are within the range 1 to 65535 and they are unique and available for use.
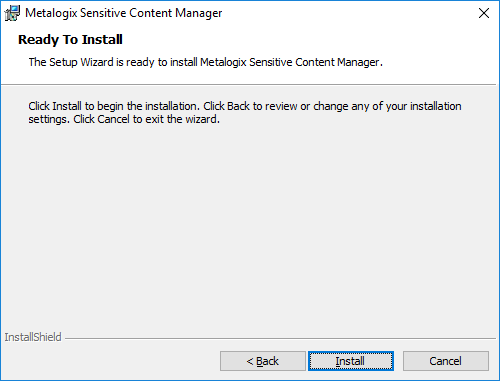
18.Click Next. The Ready To Install window opens.
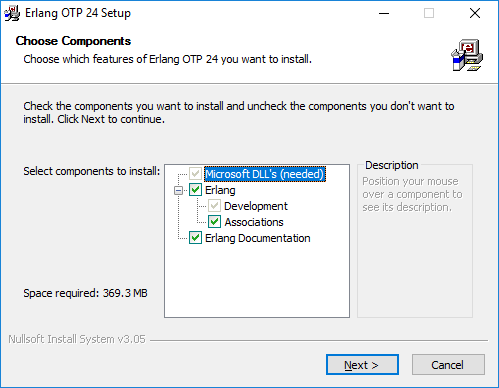
19.Click Install. The Erlang third-party component installer starts. You must allow additional Microsoft redistributable components to be installed if requested by the installer.
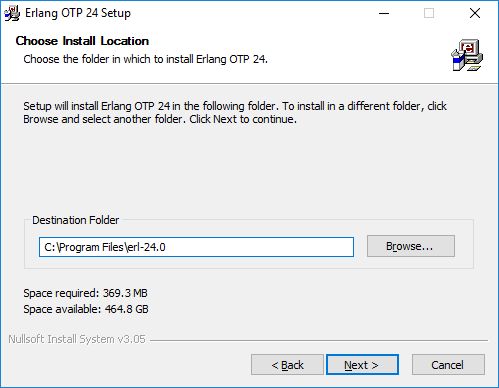
20.Keep the defaults as indicated and click Next. The Choose Install Location window opens. Click Browse to change the location if necessary.
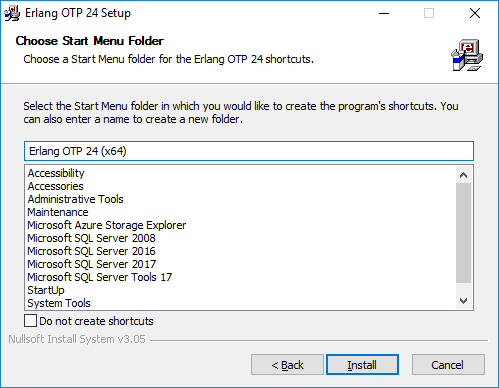
21.Click Next. The Choose Start Menu Folder window opens. Keep the defaults as indicated and select Do not create shortcuts to avoid shortcuts.
22.Click Next. The Installation Complete window opens when the installation is successful. You must allow additional Microsoft redistributable components to be installed if requested by the installer.
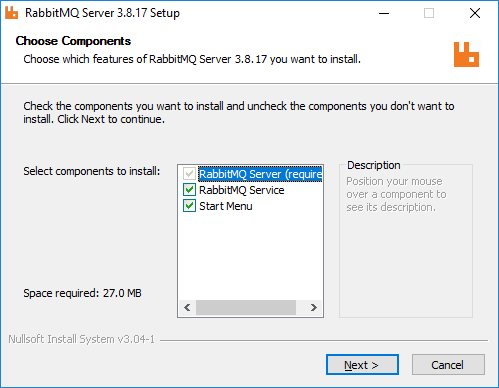
23.Click Close. The RabbitMQ installer starts. Keep the defaults as indicated.
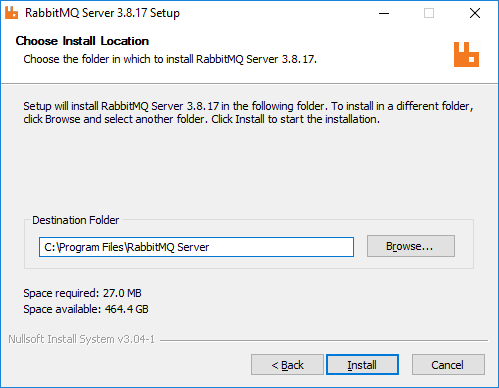
24.Click Next. The Choose Install Location window opens. Click Browse to change the location if necessary.
NOTE: Only the code files for RabbitMQ are installed here. When you change the location, the code files will be installed in the new location.
RabbitMQ configuration and data files are installed in the %PROGRAMDATA%\RabbitMQ folder. If the Metalogix Sensitive Content Manager temporary storage folder and the RabbitMQ configuration and data files are installed on the same drive then a heavy demand for resources could cause SCM to pause operations unexpectedly. To avoid this issue, you can manually move the RabbitMQ configuration and data files to an alternate drive after installation is complete. For detailed steps see Relocating the RabbitMQ installation directory.
25.Click Next. The Installation Complete window opens when the installation is successful. Click Show Details to inspect the RabbitMQ installation locations.
26.Click Next. The confirmation window opens.
27.Click Finish. The rest of the SCM components and any prerequisites will be installed. If the installation is successful, the SCM Setup Wizard Completed window opens.
28.You can select the check box Show the Windows Installer log which opens the installation log file for reviewing or troubleshooting the installation. Click Finish to exit the wizard.
29.A shortcut is added to the desktop.