
User Experience
Metalogix StoragePoint has been designed to ensure that SharePoints user experience is not affected and that only those with the proper level of access know where and how to interact with the functionality provided.


Modern UI for SharePoint 2019
SharePoint 2019 introduced a new look and feel for the user interface. StoragePoint links will work on this new user interface, but some additional configuration is necessary.
A Site Collection Feature will be deployed to SharePoint 2019 farms as of the 5.9.1 release. This feature should be enabled on the site collection for full StoragePoint user interface functionality.
Before activating the Site Collection Feature, an App Catalog must be configured for the web application, as well as an App Management service application.
Please reference the following articles for provisioning these resources.
https://docs.microsoft.com/en-us/sharepoint/administration/manage-the-app-catalog
There are some PowerShell script examples in the PowerShell and API Guide for provisioning these resources.
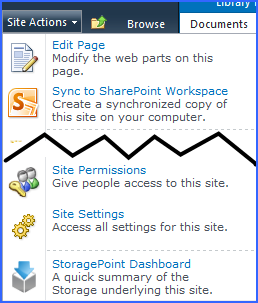
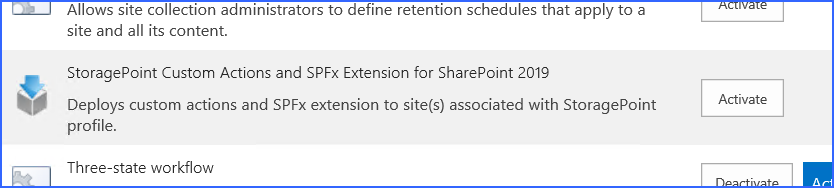
When these steps are done, open the Site Collection Features (Gear Icon>Site Info>View All Site Settings), scroll to StoragePoint Custom Actions and SPFx Extension for SharePoint 2019 and click Activate.
Large File Upload Note to Administrators
|
|
NOTE to administrators: This section covers the interface that users with Large File Upload access will see. It may be beneficial to share this section of information if this feature is being enabled. Access to this upload method is controlled on the Metalogix StoragePoint General Settings page. Please review the information found in the General Settings section before using the tool. |

By dragging the file to the custom upload page, a link is placed in the document library to access that file. The link is an aspx file and will have a content type of StoragePoint Document Link. Do not change this content type. The aspx file will not be subject to metadata requirements normally placed on a document content type.
Open or download responses can only be performed by clicking on the name of the document. The option to download a copy is not supported. Office Web Applications are not supported.
The file does not need to be large to use this interface, but files smaller than the upload limit for the web application will not generate a link, but rather will behave like a regular upload.
Using Large File Upload
A user who has access to upload files will see an option to upload large files with a different type of interface. This tool is only available in the Document Library list.
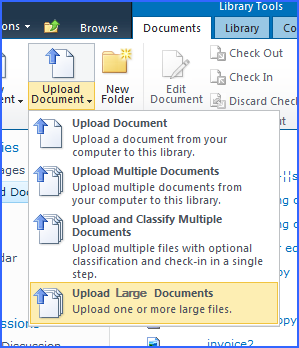
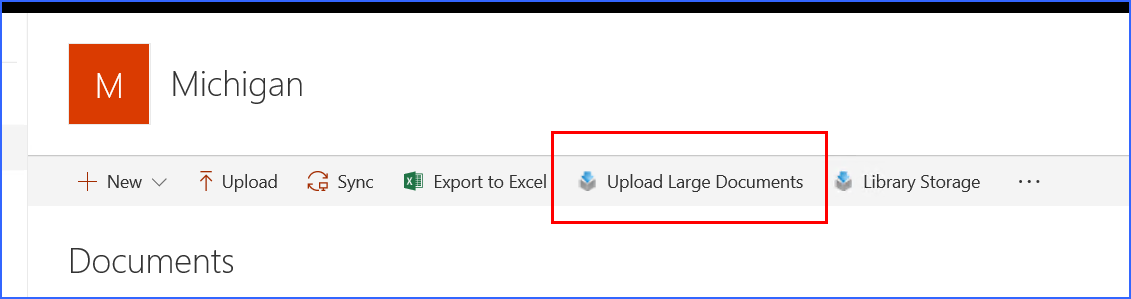
From the Documents tab, click Upload Large Documents from the Upload Document dropdown.
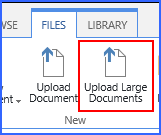
Or click the Upload Large Documents button in the Files ribbon.
Or use the link in the ribbon in the library of the SharePoint 2019 Modern UI.
A new window opens. Drag files from the windows explorer onto the page.
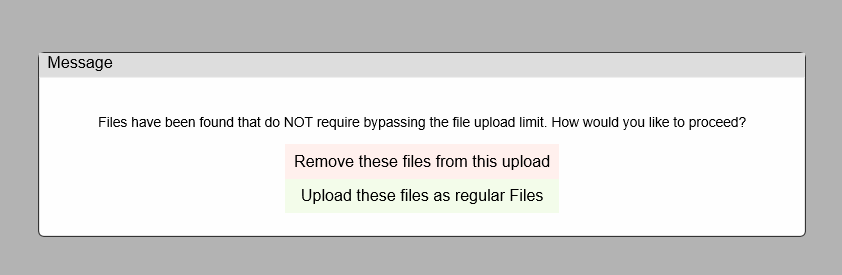
If there are files that are less than the upload limit, a notice will ask whether to remove these or to upload them as regular files.
and click OK to begin the upload.
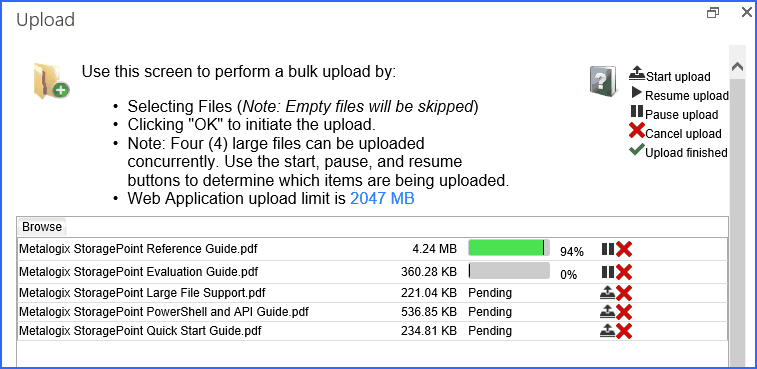
The files can be managed to reduce resource usage, by using the pause, resume, start upload or cancel buttons to the right of the file name, after clicking the OK button. If left alone, the files will upload on their own.
·Clicking the OK button begins the upload.
·By default there will be 2 files being uploaded at the same time.
·A maximum of four files can be uploading at the same time.
· Paused files will not be uploaded automatically; to continue with the upload they should be resumed.
·If pause is clicked for a file in progress, it does not enable another file to begin the upload; it only pauses that file.
·The Start Upload button will be displayed when there are more than 2 files to be upload and not more than 4 in progress (paused/resumed). The 5th file will not have this button displayed until one of the uploads is completed.
·The Pause All button at the bottom will pause all running uploads; toggle this button to pause and resume running uploads.
·The recommended maximum number of files to be used with the Large File Upload interface is 100.
The item in the document library will look like this:
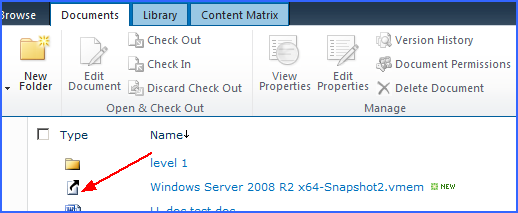
Click the name of the file to open or download.
|
|
NOTE: The link that will display in the Versions window or in the Edit Properties window will not be correct and should not be used to access the file. Also, if the File Size column is displayed in the view, for Large File Uploads, that data is the size of the aspx file, not the large file size. Use the Large File Details window for these operations. |