Restoring Folders
Follow the following steps to restore folders:
1.From the Management Console workspace selector click Granular Restore.
2.In the Granular Restore pane, select a farm and then select Mounted Databases.
3.Click the Restore tab.
4.In the ribbon, select a Restore Type: In-place, Out-of-place or Local.
5.In the Backup Sets pane, click the backup set from where you want to restore content.
6.In the Backup Content area, select the check boxes for the folders to restore. You can also use the search box to search for the folder names that start with the expression entered in the search box.
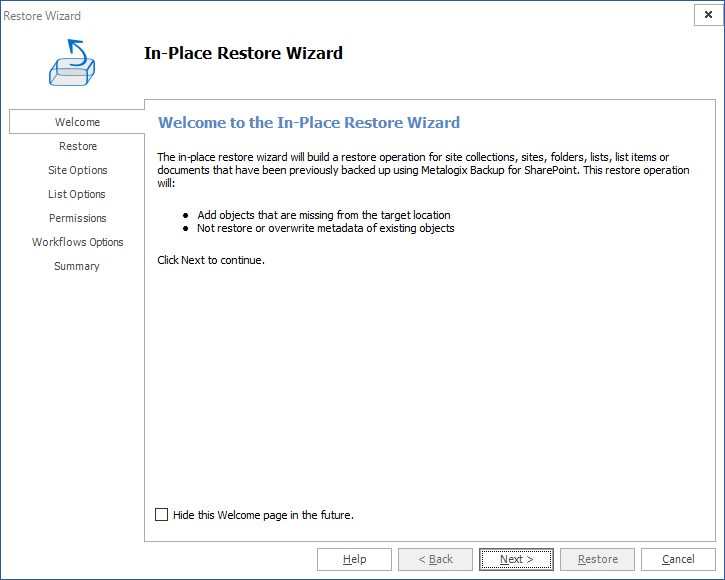
7.In the ribbon, click Restore. Depending on your choice of Restore Type, the In-Place Restore Wizard, Out-of-Place Restore Wizard or Local Restore Wizard opens.
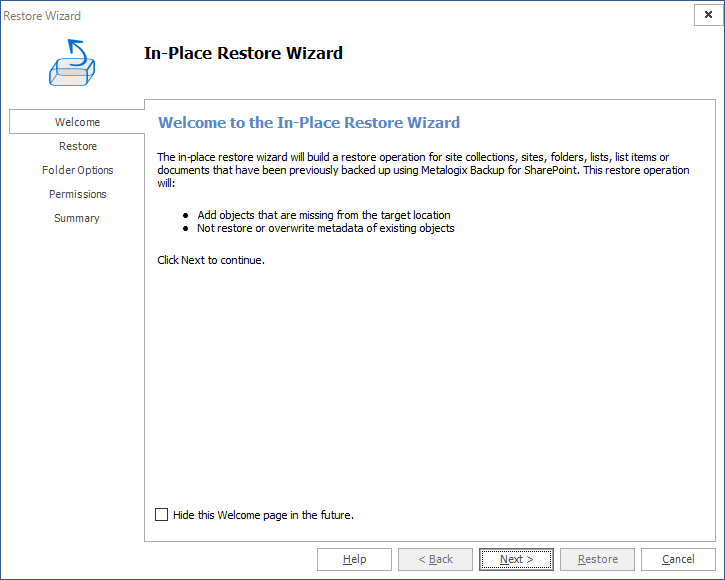
8.In the Welcome step you can select the Hide this Welcome page in future to skip this step the next time you invoke the wizard.
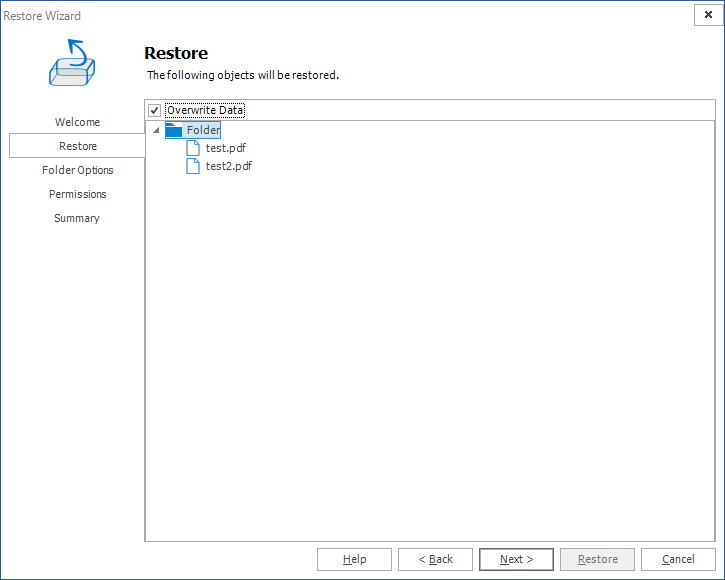
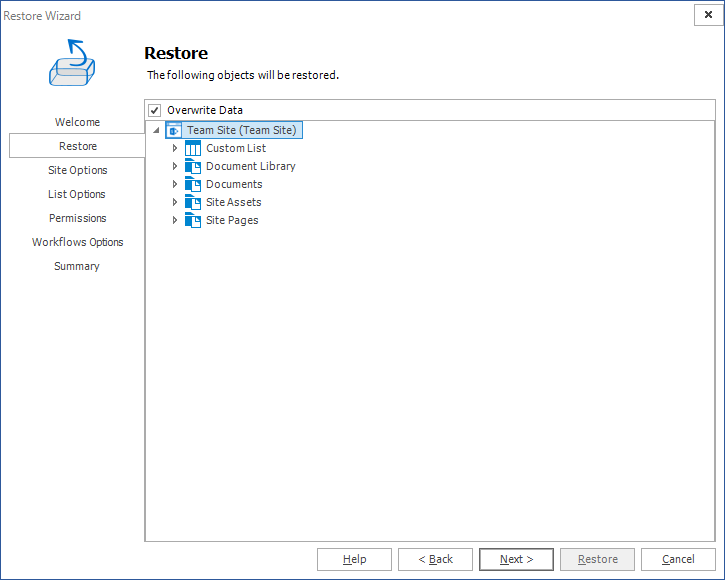
9.Click Next. The Restore step appears. Review the objects to restore. If you want to overwrite all the objects that will be restored, then select Overwrite Data.
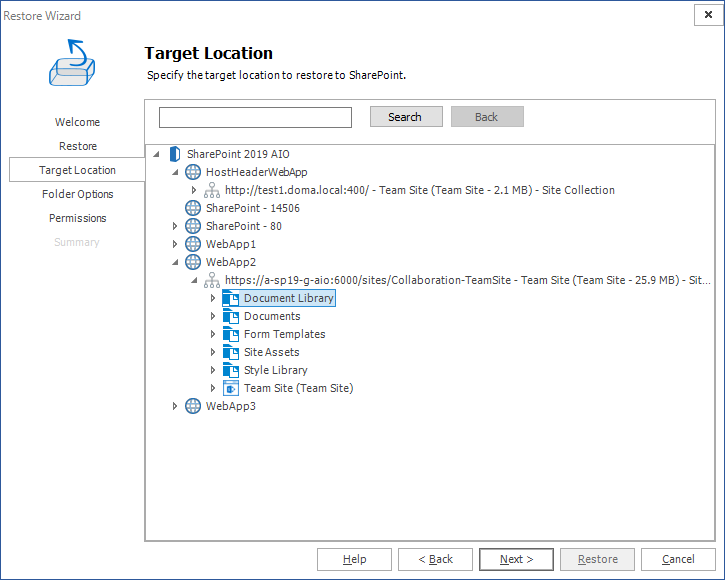
10.Click Next. The Target step, specify the target location for where you want your restore to occur (this option is only available when the restore is done out-of-place or to a local folder). You can specify a target in the search field when you have a large number of targets.
|
|
NOTE: This option is only available when you perform an an out-of-place restore, or a restore to a local folder. For in-place and out-of-place restore types, Metalogix Backup for SharePoint displays a tree selection model based on the objects you selected to restore so you can select only valid places to restore those objects. You must have the appropriate permissions in the target SharePoint site. For the local restore type, specify the folder where you want Metalogix Backup for SharePoint to restore the local copy of the files. For more information and additional important considerations, see Understanding the granular restore process. |

11.Click Next. The Folder Options step appears.
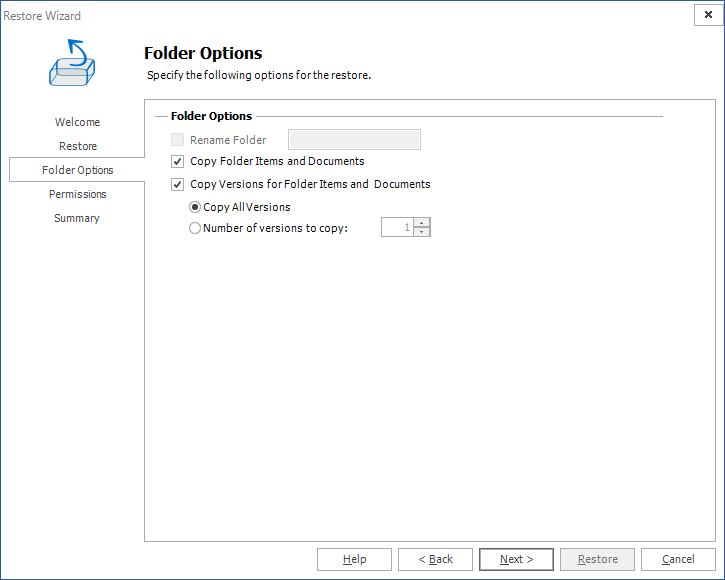
Select from the following options:
a.Rename Folder: (enabled only in the out-of-place restore wizard or if restoring to a local folder) Gives a new name to the folder on the target destination. The check box must be checked and a correct folder name must be typed in the text box.
b.Copy Folder Items and Documents: This option allows folder items and documents to be copied. This option is checked by default.
c.Copy Versions for Folder Items and Documents: This option allows the inclusion of major and/or minor versions of the content. Versioning must be enabled on the target destination. By default Copy all versions is selected. If the end user wants to copy only some versions, they must check the radio button Number of versions to copy and enter the number of versions to be used during restore.
12.Click Next. The Permissions step appears.
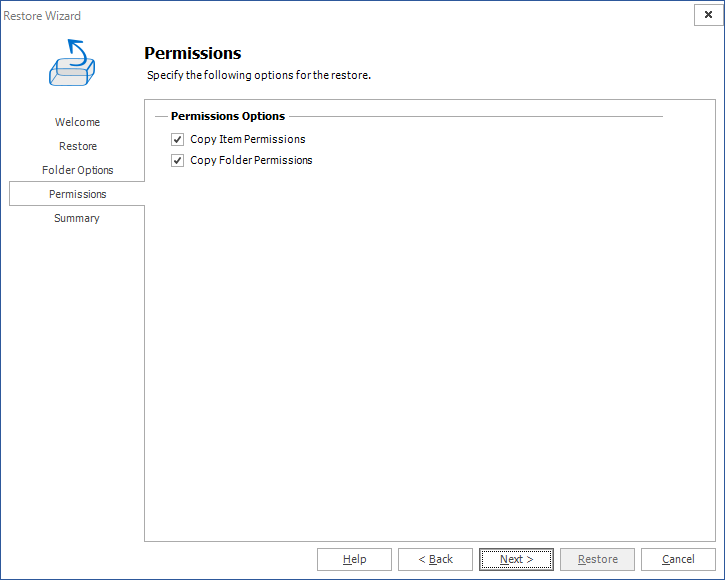
Specify which permissions you would like to copy:
a.Copy Item Permissions: Unique permissions to the specific list or library items are going to be restored. This option is not checked by default.
b.Copy Folder Permissions: Unique permissions for the folder and child folders are going to be restored. This option is not checked by default, you can choose to copy items, folders, and list permissions.
13.Click Next. The Summary step appears.

14.Review the restore settings, then click Restore.
Restoring Sites or Web Sites
Follow the following steps to restore sites and web sites:
1.In From the Management Console workspace selector click Granular Restore.
2.In the Granular Restore pane, select a farm and then select Mounted Databases.
3.Click the Restore tab.
4.In the ribbon, select a Restore Type: In-place, Out-of-place or Local.
5.In the Backup Sets pane, click the backup set from where you want to restore content.
6.In the Backup Content area, select the check boxes for the sites or web sites to restore. You can also use the search box to search for the site or web site names that start with the expression entered in the search box.
7.In the ribbon, click Restore. Depending on your choice of Restore Type, the In-Place Restore Wizard, Out-of-Place Restore Wizard or Local Restore Wizard opens.
8.In the Welcome step you can select the Hide this Welcome page in future to skip this step the next time you invoke the wizard.
9.Click Next. The Restore step, review the objects to restore, then click Next to continue. If you want to overwrite all the objects that will be restored, then select Overwrite Data.
10.Click Next. The Target step, specify the target location for where you want your restore to occur (this option is only available when the restore is done out-of-place or to a local folder). You can specify a target in the search field when you have a large number of targets.
|
|
NOTE: This option is only available when you perform an an out-of-place restore, or a restore to a local folder. For in-place and out-of-place restore types, Metalogix Backup for SharePoint displays a tree selection model based on the objects you selected to restore so you can select only valid places to restore those objects. You must have the appropriate permissions in the target SharePoint site. For the local restore type, specify the folder where you want Metalogix Backup for SharePoint to restore the local copy of the files. For more information and additional important considerations, see Understanding the granular restore process. |
11.Click Next. The Site Options step appears.

Choose from the following options:
a.Rename Site: (enabled only in the out-of-place restore wizard or if restoring to a local folder) Gives a new name for the Site on the destination. If this option is checked, the text box on the right is enabled and then a valid name for a site has to be entered.
b.Copy Child Site Recursively: This option allows child Sites to be copied recursively, down through any existing levels.
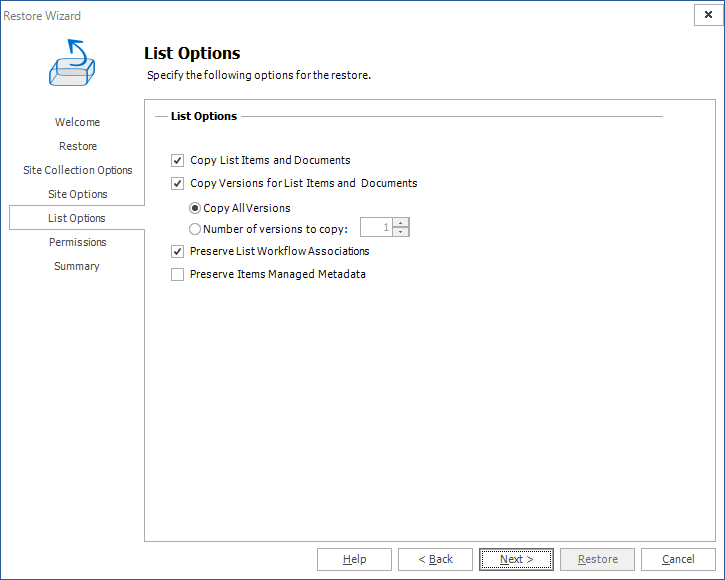
12.Click Next. The List Options step appears.
Choose from the following options:
a.Copy List Items and Documents: Include the content of the selected site to be restored on the destination. If this option is not checked, then just the basic structure for a site will be restored.
b.Copy Versions for Lists Items and Documents: This option allows users to include major and/or minor versions of the content. For this feature to work, versioning must be enabled on the target destination. By default Copy all versions is selected. If the end user wants to copy just some versions, they must check the radio button Number of versions to copy and enter the number of version to use on the restore.
c.Preserve Items Managed Metadata - must be checked if the metadata information related to term sets should be preserved.
13.Click Next. The Permissions step appears.
Choose from the following options:
a.Copy item Permissions: Permissions unique to the specific list or library items are going to be restored.
b.Copy Folder Permissions: Permissions unique to the folder and child folders are going to be restored.
c.Copy List Permissions: Permissions unique to the list are going to be restored.
14.Click Next. The Workflow Options step appears. You can choose whether you would like to preserve list workflow associations. By selecting Preserve List Workflow Associations, you are choosing to keep Workflow content types on the content being copied.

15.Click Next. The Summary step appears.
16.Review the restore settings and click Restore.
Restoring Site Collections
Follow the following steps to restore site collections:
1.From the Management Console workspace selector click Granular Restore.
2.In the Granular Restore pane, select a farm and then select Mounted Databases.
3.Click the Restore tab.
4.In the ribbon, select a Restore Type: In-place, Out-of-place or Local.
5.In the Backup Sets pane, click the backup set from where you want to restore content.
6.In the Backup Content area, select the check boxes for the site collection to restore. You can also use the search box to search for the site collection that starts with the expression entered in the search box.
7.In the ribbon, click Restore. Depending on your choice of Restore Type, the In-Place Restore Wizard, Out-of-Place Restore Wizard or Local Restore Wizard opens.
8.In the Welcome step you can select the Hide this Welcome page in future to skip this step the next time you invoke the wizard.

9.Click Next. The Restore step appears. Review the objects to restore. If you want to overwrite all the objects that will be restored, then select Overwrite Data.
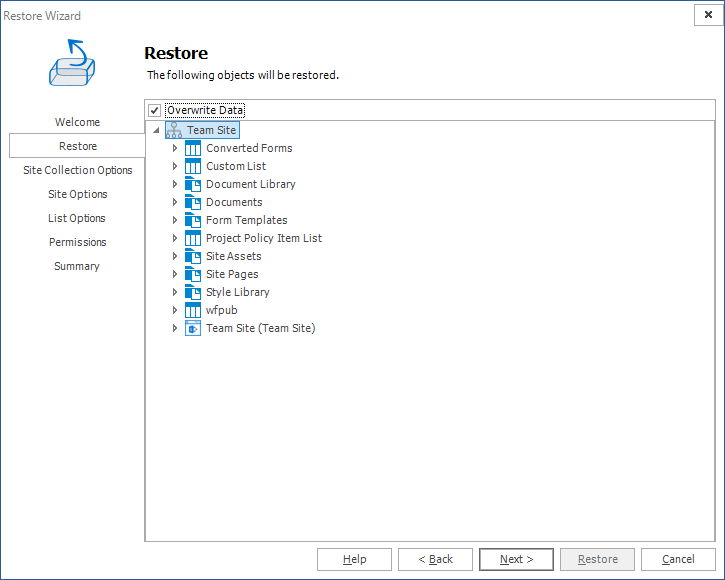
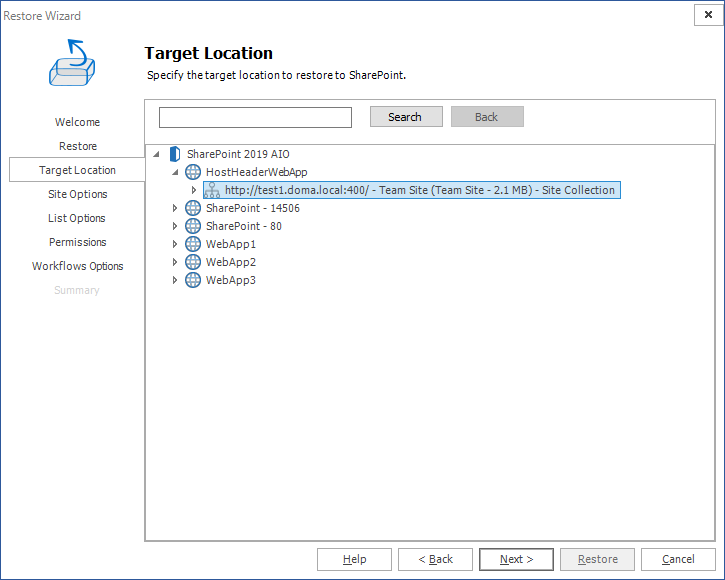
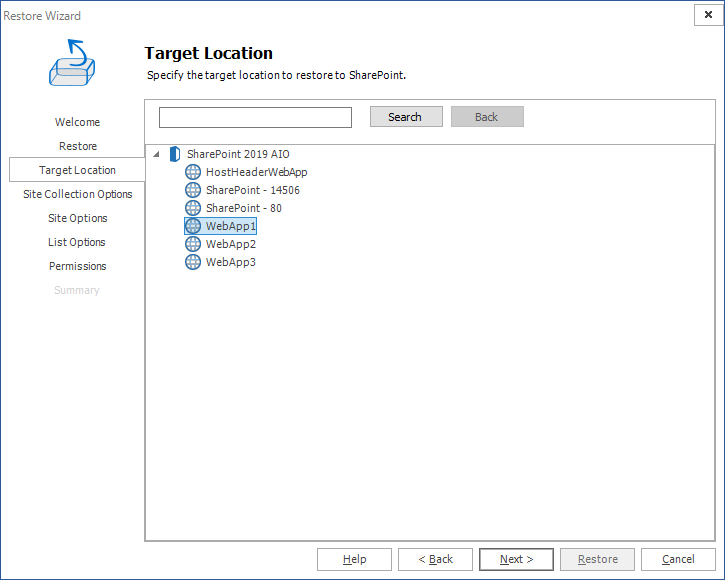
10.Click Next. The Target step, specify the target location for where you want your restore to occur (this option is only available when the restore is done out-of-place or to a local folder). You can specify a target in the search field when you have a large number of targets.
|
|
NOTE: This option is only available when you perform an an out-of-place restore, or a restore to a local folder. For in-place and out-of-place restore types, Metalogix Backup for SharePoint displays a tree selection model based on the objects you selected to restore so you can select only valid places to restore those objects. You must have the appropriate permissions in the target SharePoint site. For the local restore type, specify the folder where you want Metalogix Backup for SharePoint to restore the local copy of the files. For more information and additional important considerations, see Understanding the granular restore process. |
11.Click Next. The Site Collection Options step.
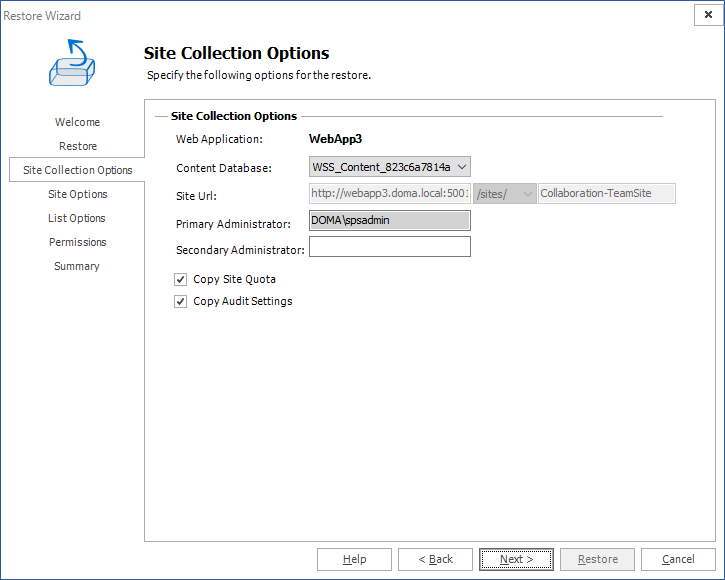
Choose from the following options:
a.Web Application: Refers to the web application were the site collection is going to be restored. By default this field shows the Web Application that was selected on the target location step.
b.Content Database: If the web application has several content databases, the end user must select the one where the site collection information is going to be stored. The default value is the first content database on the list of available content databases for the selected web application.
c.Site URL: Formulate the URL for the restored Site Collection. By default the sites value is filled with the information from the source, but the user can modify this. The last value entered needs to be a valid site name path.
d.Primary Administrator: Represents the administrator of the site collection. By default the value is filled with the information from the source but the user can modify it for another administrator.
e.Secondary Administrator: This is an optional field. Represents the value of the secondary administrator ID for the site collection that is to be restored. By default the value is filled with the information from the source but the user can modify it for another administrator.
f.Copy Site Quota: This check-box option allows for the copying of the Site Quota, configured for the site collection when it was backed-up.
g.Copy Audit Settings: This check-box option allows for the preservation of a SharePoint Site Collections audit settings.
12.Click Next. The Site Options step appears.
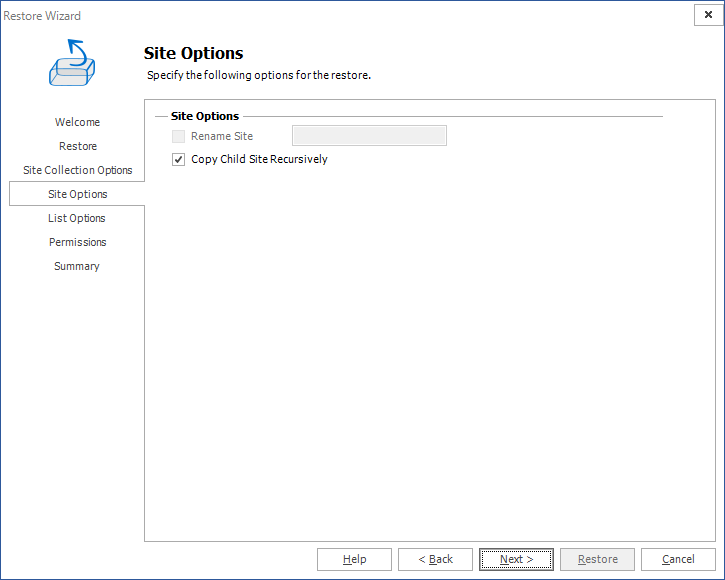
Choose from the following options:
a.Rename Site: (enabled only in the out-of-place restore wizard or if restoring to a local folder) Gives a new name for the Site on the destination. If this option is checked, the text box on the right is enabled and then a valid name for a site must be entered.
b.Copy Child Site Recursively: This option allows child Sites to be copied recursively, down through any existing levels.
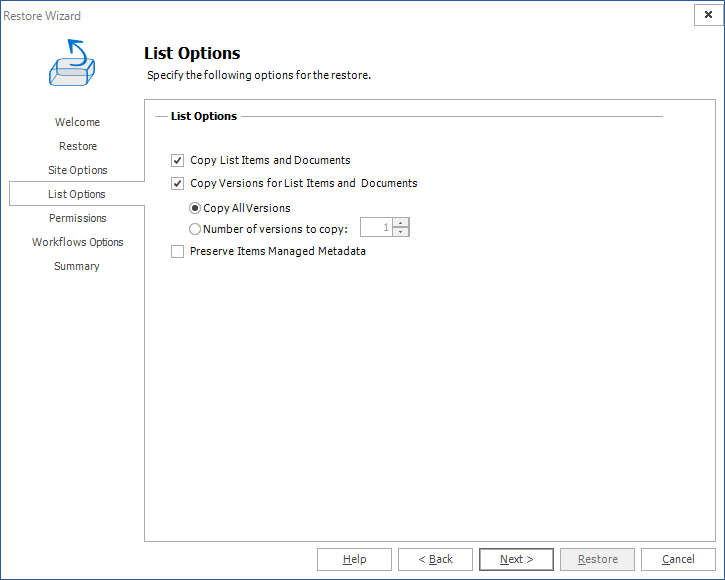
13.Click Next. The List Options step appears.
Choose from the following options:
a.Copy List Items and Documents: Include the content of the selected site to be restored on the destination. If this option is not checked, then just the basic structure for a site will be restored. This option is automatically selected
b.Copy Versions for Lists Items and Documents: This option allows users to include major and/or minor versions of the content. For this feature to work, versioning must be enabled on the target destination. By default Copy all versions is selected. If the end user wants to copy only some of the versions, they must check the radio button Number of versions to copy and enter the number of version to use on the restore.
c.Preserve List Workflow Associations: choose whether you would like to preserve list workflow associations. This option is automatically selected.
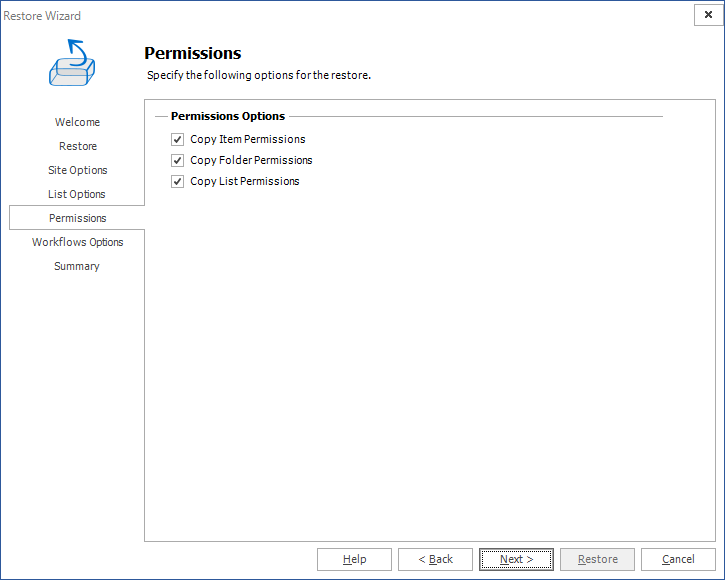
14.Click Next. The Permissions step appears.

Choose from the following options:
a.Copy item Permissions: Permissions unique to the specific list or library items are going to be restored.
b.Copy Folder Permissions: Permissions unique to the folder and child folders are going to be restored.
c.Copy List Permissions: Permissions unique to the lists are going to be restored.
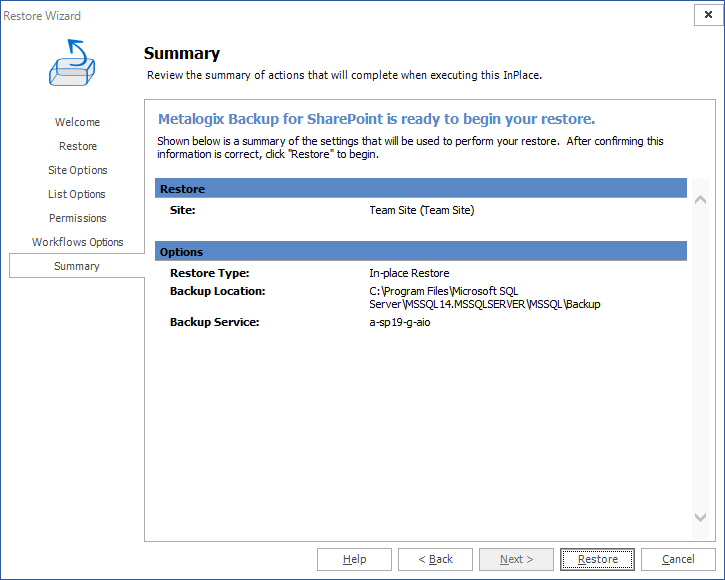
15.Click Next. The Summary step appears.
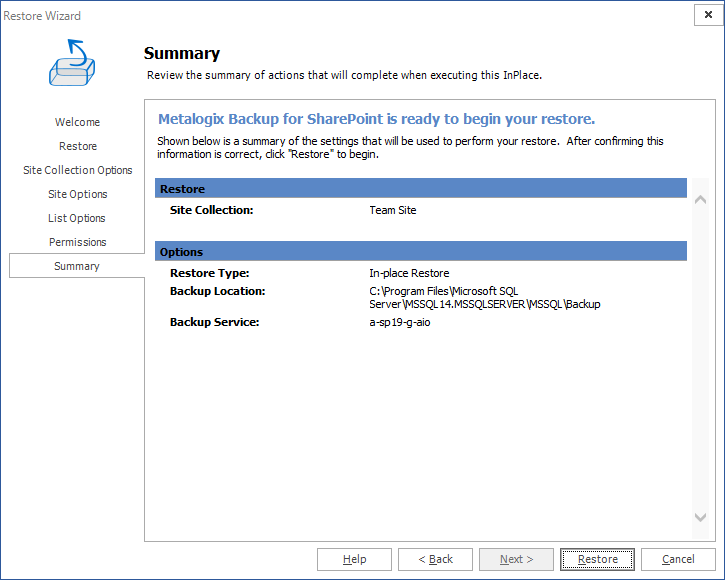
16.Review the restore settings and click Restore.
Using Self-Service Recovery
The Metalogix Backup for SharePoint Self-Service Recovery feature lets SharePoint site collection administrators and other users download SharePoint library items from Metalogix Backup for SharePoint to their hard disk. The administrator must install the Self-Service Recovery feature when configuring Metalogix Backup for SharePoint for the farm.
When you use the Self-Service Recovery feature, select the date range that Metalogix Backup for SharePoint uses when you view or search backup sets. You can search for documents in the backup by the full or partial name of the item that you want to find. You can also browse the site collection to view files.
The administrator can configure the maximum number of files that are visible when you browse or search for files. The larger the number of files that appear, the more time that it takes SharePoint to display them. Your administrator may restrict the number or files that appear in order to improve SharePoint performance. If you perform a search, use a more-restrictive search that displays fewer items.
What files can a user view and download from the Self-Service Recovery feature?
Site collection administrators can always use the Self-Service Recovery feature to download content from backup sets. Members of the site collection administrators group can view and download any files that Metalogix Backup for SharePoint has backed-up in the current site collection. Site collection administrators can also delegate permission to download backed-up content to specific users.
The content that delegated users can see and download depends on the following:
·The current permissions that the user has for the content.
·The permissions the user had at the time the backup was created.
To view the contents of a site or a library, the user must either have current access to the site or library, or the user must have had access at the time that the content was backed-up.
To download a backed-up file, the user must have current access and also access at the time that the file was backed-up. If either set of permissions does not allow access, the user cannot download the backed-up content.
How do I restore files with the Self-Service Recovery feature?
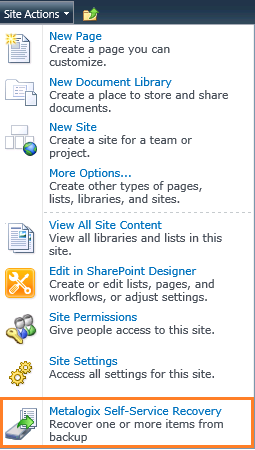
You use the Site Actions menu in SharePoint to access the Self-Service Recovery feature.
To search to restore files with the Self-Service Recovery feature, by document or item name
1.Open your SharePoint site collection or site. Click Site Actions > Self-Service Recovery.
2.In the Self-Service Recovery page, determine the backup set from which you wish to select the document. You can choose between browsing a Content Database or browsing an older backup set.

3.Select a date range to filter the backed-up content from the Date-based item filtering drop-down menu.

4.In the Locating Items area, select I would like to search by document or item name.

5.In the Search Filtering area, type the name or portion of the name to search for, then click Search Now.

6.The Search Results area lists the found files. Click Item Name, Location, or Backup Date/Time to sort the results. Click the file that you want to download, then click Download. SharePoint prompts you to open or save the file.

To search to restore files with the Self-Service Recovery feature, by site collection heirarchy
1.Open your SharePoint site collection or site. Click Site Actions > Self-Service Recovery.
2.In the Self-Service Recovery page, determine the backup set from which you wish to select the document. You can choose between browsing a Content Database or browsing an older backup set.
3.Select a date range to filter the backed-up content from the Date-based item filtering drop-down menu.
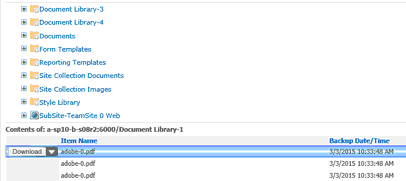
4.In the Locating Items area, click I would like to browse the site collection hierarchy, then use the Site Collection tree to locate the folder that contains the file that you want to download.

5.The Contents area lists the files in the folder that you selected. Click Item Name or Backup Date/Time to sort the results. Click the file that you want to download, then click Download. SharePoint prompts you to open or save the file.