
Introduction
SMTP feature allows processing of messages from external email server (O365, Gmail, Exchange, etc.) into Archive Manager.
SMTP feature activation has the following phases:
·configure external email server to redirect incoming messages to SMTP service of Archive Manager
·install the SMTP feature (see the Installation section further)
·configure the SMTP feature in the Configuration tool (see the Configuration section further)
SMTP Service will wait for incoming connection from external email servers (IP address of external server and external domain are specified during SMTP feature configuration). Archive Manager can activate or deactivate SMTP feature on mailbox level via Manage SMTP dialog box in Addressbook Manager. If SMTP feature is deactivated for given mailbox, incoming message to given recipient will not be archived. If SMTP feature is activated for given mailbox, incoming message to given recipient will be archived. No need to include the mailbox in any group or configure a job for it. The default retention category will be used at archiving.
The changes introduced in version 7.4.102:
·Ability to archive emails in 'Journal' mode.
'Journal' mode means that all incoming messages are archived into the mailbox defined as archive/journal mailbox.
MS Exchange Server 2013, 2016 and 2019 Configuration
Your MS Exchange Server 2013, 2016 and 2019 needs to be configured first in the Exchange Admin Center to allow sending of email messages to SMTP service for Archive Manager. Configuration of Exchange 2013, 2016 and 2019 consists of following steps:
1.Configuration of Send connector
2.Rule configuration for relay of messages to SMTP service for Archive Manager
3.Test of communication between Exchange 2013, 2016 or 2019 and SMTP Service for Archive Manager
Configuration of Send connector
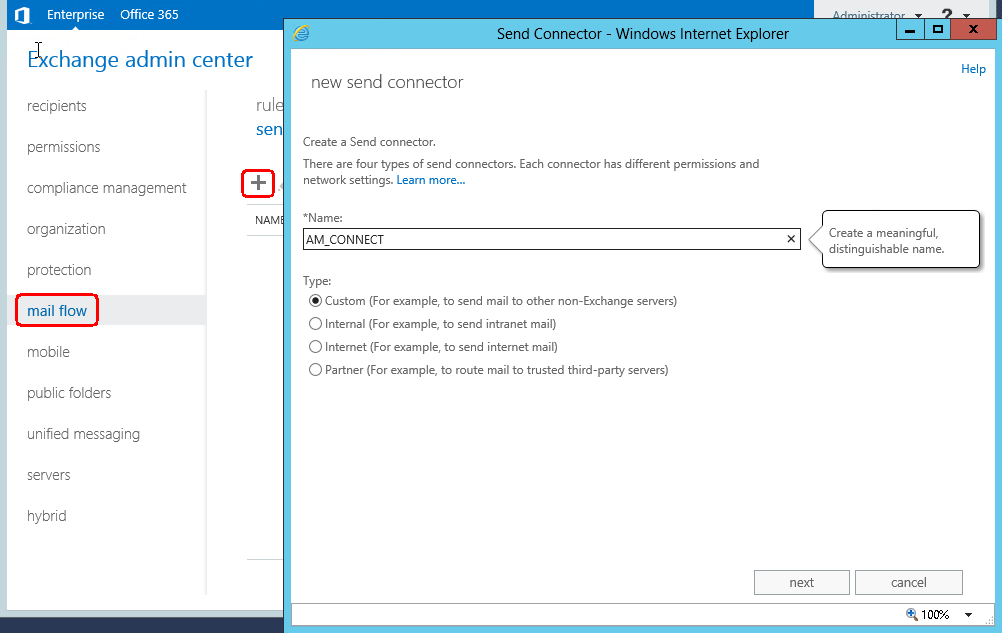
Log in to the Exchange Admin Center. Click mail flow/send connectors. Send connector can be created by clicking plus sign (+). In the pop-up dialog enter name for connector, e.g. AM_CONNECT, and under Type choose Custom. Then click Next.
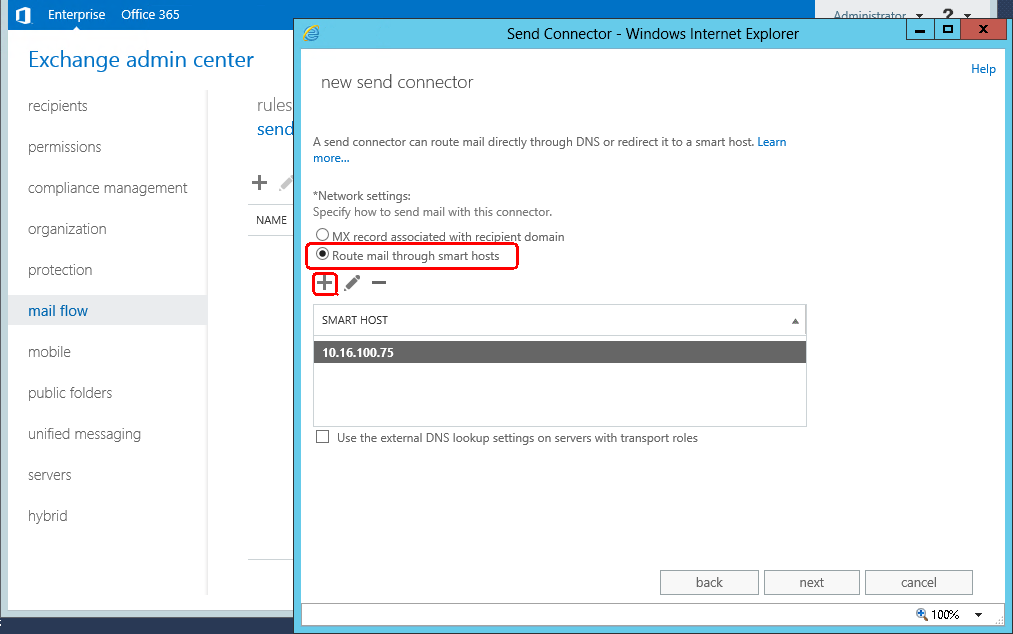
Choose Route email through smart hosts option and click plus sign (+) to add new smart host. Then enter IP address where SMTP service for Archive Manager is installed. Click Next.
In the next dialog select None.

Next define address space for the new send connector by clicking the plus sign (+). Make sure the domain name is in accepted domain in SMTP Service tabs in Configuration tool of Archive Manager (see the Configuration section). Click Next.

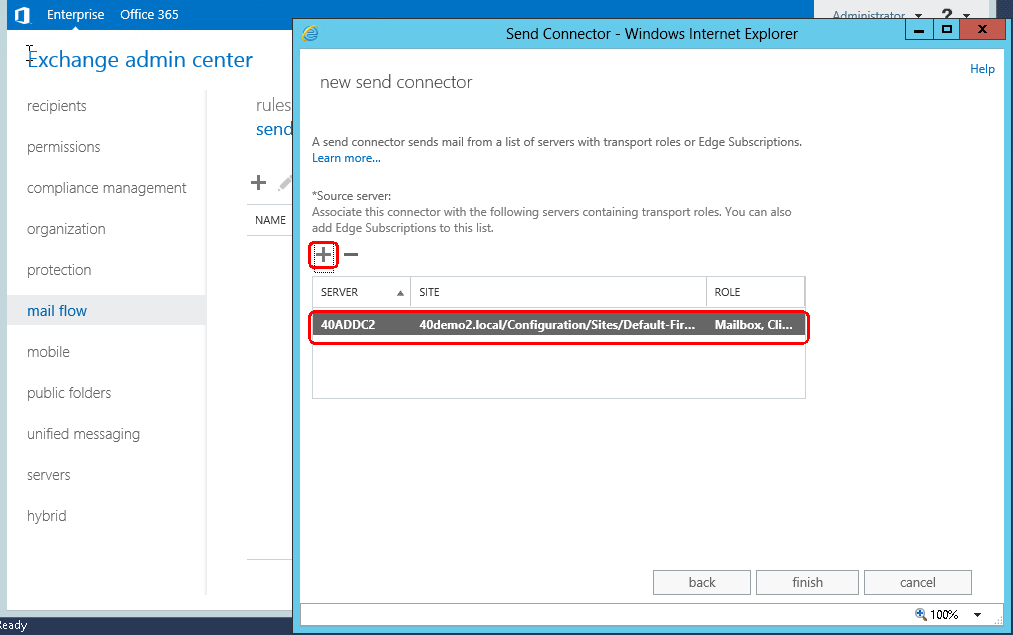
To finish setup of the new send connector specify source by clicking the plus sign (+) and choose your Exchange server as a source. Finally click Finish.
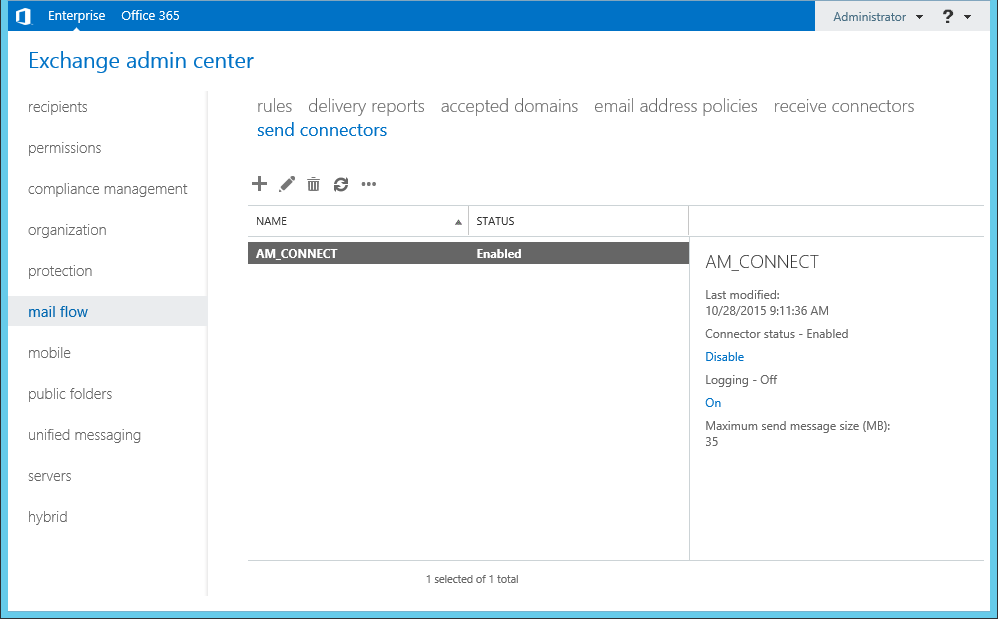
After successful creation of send connector, new send connector will be displayed in send connectors list.
Rule configuration for relay of messages to SMTP service for Archive Manager
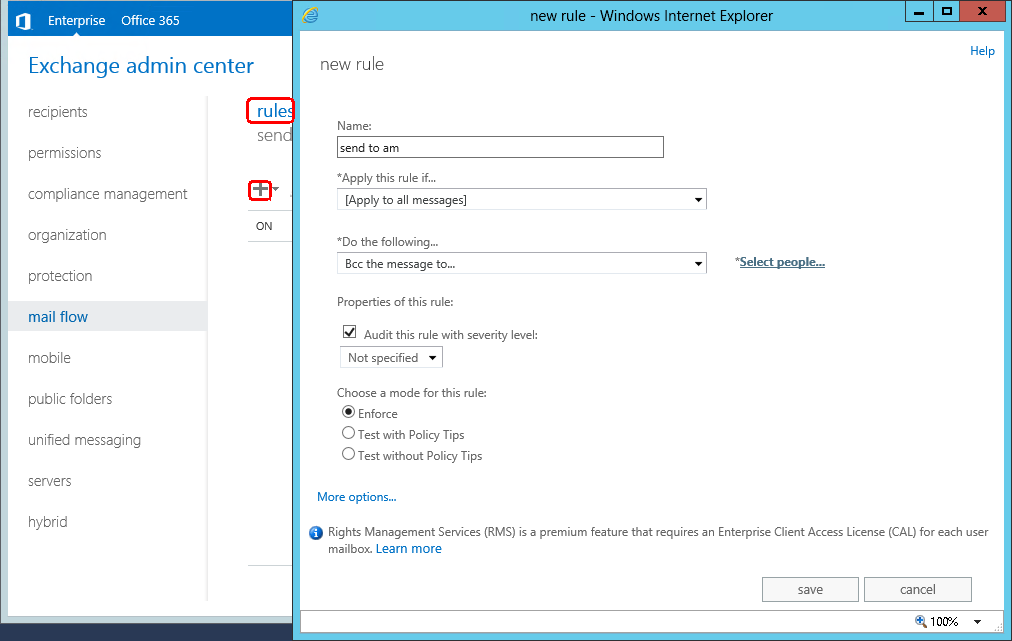
Now switch to the rules list of the mail flow section. To configure new rule click the plus sign (+). Next choose a name for your rule. Then in the drop-down select Apply to all messages and in the second drop-down select Bcc the message to.
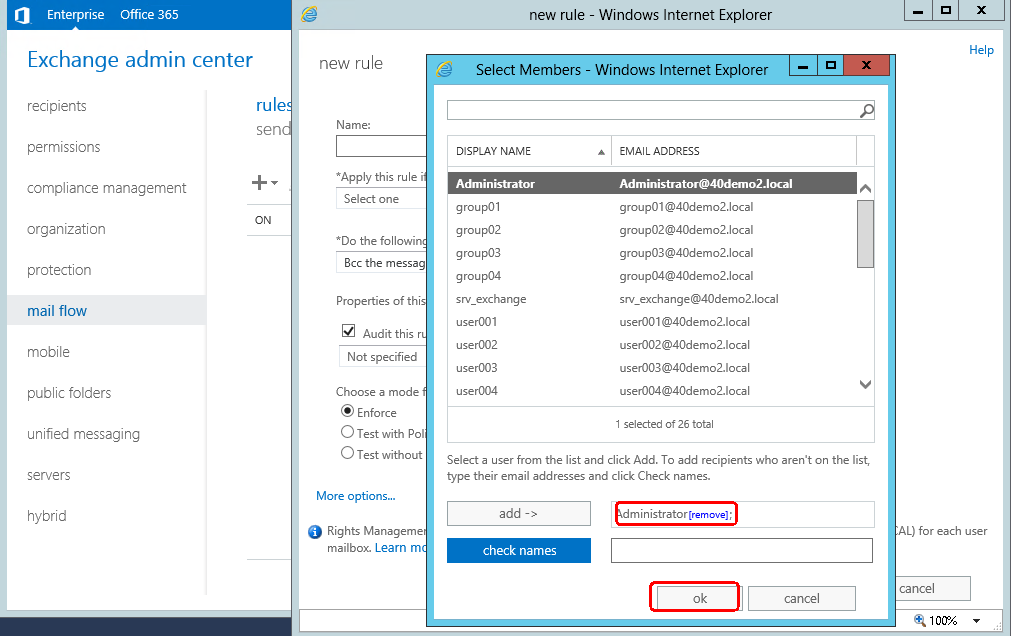
Next it is necessary to select email where the bcc copy will be sent to. Click the Select people next to drop-down with the Bcc the message to... option. Specify email address from domain used in the previously configured send connector. In our case the domain is: 40demo2.com. Hence the selected account is administrator@40demo2.com. Click OK to finish.
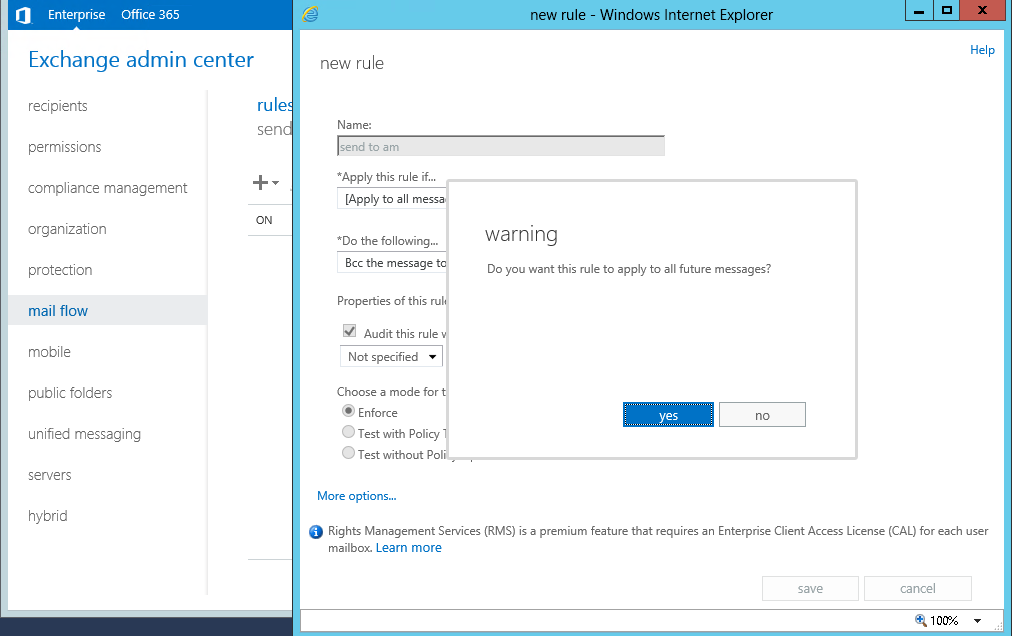
Click Save to finish the setup of rule and save. A confirmation question will appear. Click yes to confirm creation of rule.
Test of communication between Exchange 2013, 2016 or 2019 and SMTP Service for Archive Manager
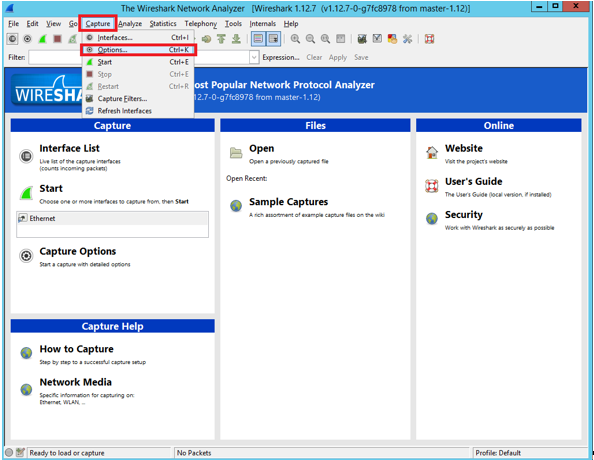
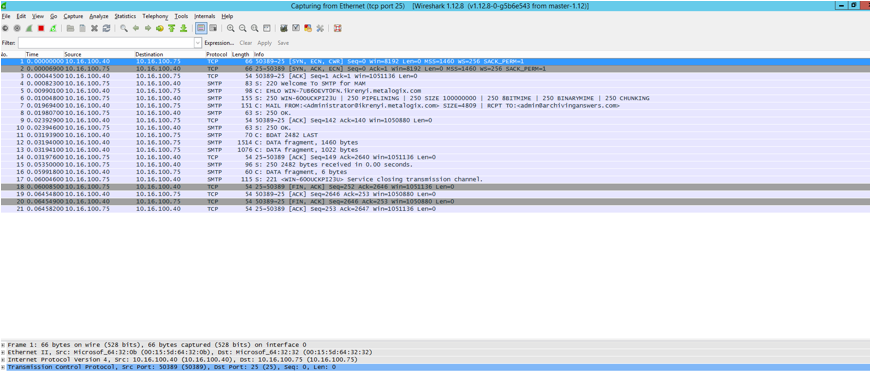
To test communication with MS Exchange Server 2013, 2016 or 2019 one can use WireShark application with filter to port 25 (Default SMTP port). After downloading and running WireShark application it is necessary to filter network communication only to port 25. To do this click Capture menu and Options like in picture below.
In the Capture Filter write tcp port 25 and click Start.

Final step of test is creating and sending of test email from outlook or OWA. If everything was setup correctly, smtp communication will be shown as in the picture below.
Installation
To allow Archive Manager to use the SMTP feature, it must be installed and configured in the domain where Archive Manager is installed.
Prerequisites
§.NET Framework 4.5
§Windows Server 2012 and higher
§Archive Manager for Exchange 7.2 and higher in the environment
§Database
·MS SQL Server 2012 or higher
·Oracle 12c or higher
Steps to install the SMTP service
1.Locate and run the SMTP.exe setup file. For example, the default folder is C:\Metalogix\Archive Manager Installation Package\SMTP\Archive Manager SMTP Setup. The Welcome page of the Archive Manager Service install wizard.
2.Click Next. The License Agreement page appears.
3.Click Yes to accept the License Agreement. Optionally, you can click the Print button to print the agreement.
4.The Choose Destination Location page appears. Click Change to alter the destination location if necessary.

5. Click Next. The Logon Information page appears.
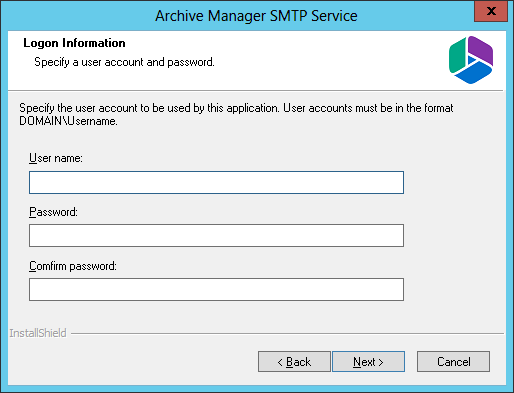
6.Enter the account details of a user who is authorized to run the SMTP service. It is recommended to use the account information of the super-user that was used to install Archive Manager for Exchange.
7.Click Next. The Firewall Settings window appears if the Windows Firewall is active on your computer.
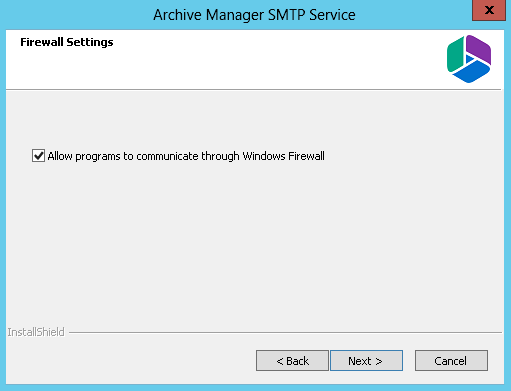
8.By default, the Allow programs to communicate through Windows Firewall is checked. This will allow critical services to communicate with the SMTP service. If you uncheck the check box, critical services may not be able to communicate through the firewall.
9.Click Next. The Ready to Install page appears.
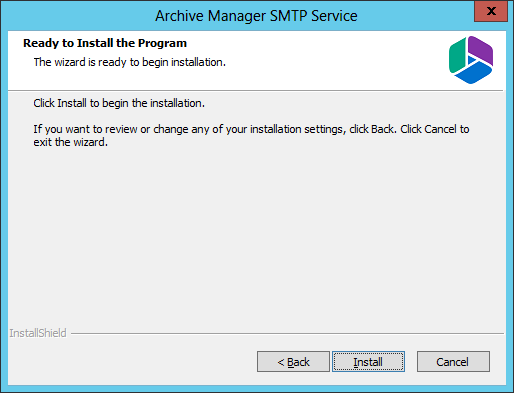
10.Click Install to begin the installation. If you want to review or change the installation settings, click the Back button. To exit the wizard click Cancel.
11.The SMTP feature will be installed. Click Finish and continue with configuration.
Configuration
When the installation finishes you will be prompted to configure the feature in Archive Manager Configuration tool. All options are described in detail in the following lines:
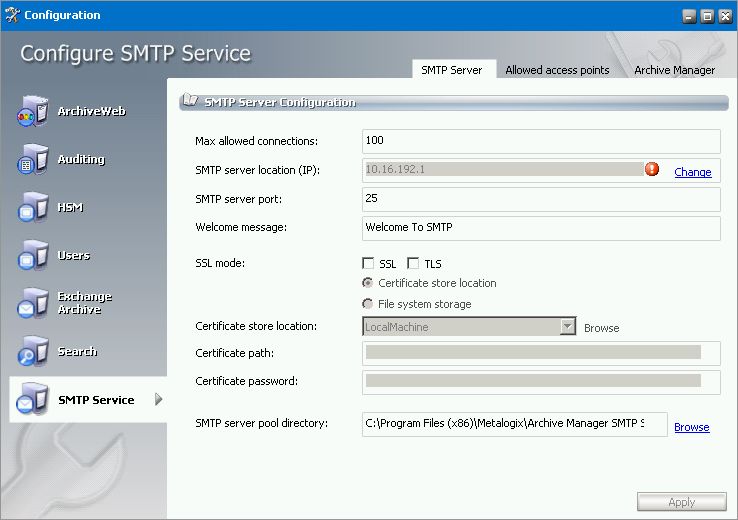
1.The configuration tool pops-up. Depending on your environment you may see several tabs on the left navigation pane. SMTP feature is configured on the SMTP Service tab.
Max allowed connections max number of clients using SMTP (concurrent connections); value 0 means unlimited.
SMTP Server location (IP) & SMTP Server Port enter the IP address of the machine where SMTP feature of Archive Manager is installed; default port value is 25
IMPORTANT NOTE: Port needs to be changed only if SSL communication is used. In such cases enter 465.
Welcome message just informative message to be shown to SMTP clients; server greeting text
SSL/TSL if you are using SSL or TSL communication, check the appropriate check-box
If SSL/TSL communication is used, configure certification details (otherwise these options can be ignored). Choose storage location of certificate:
oCertificate store location
oFile system storage
Certificates store location applicable only for Certificate store option; select the location of your certificate in registry (CurrentUser or LocalMachine)
Choose certificate from location button click it to choose the certificate
Certificate path path to your certificate is filled in automatically after choosing the certificate
Certificate password fill in if applicable
SMTP Server pool directory folder where emails for SMTP are coming to be processed; if the value is empty default path (%SMTP-installation-directory%/SmtpPool) is used.
2.Click the Allowed access points tab. Here you will define external servers for which the SMTP feature should be activated, i.e. servers that host mailboxes whose incoming messages you plan to archive via this feature. IP addresses and domains function as filters of SMTP feature.
In the Accepted IP addresses list add the IP addresses of the external servers.
In the Accepted domains list specify the desired domains.
NOTE: Office 365 IP addresses are hardcoded into SMTP service so that user does not need to include them in allowed IP addresses.

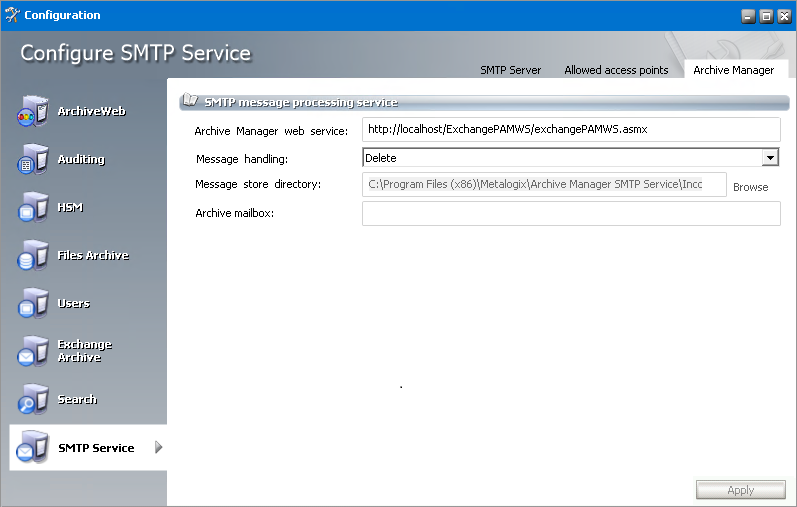
3.In the next window you have to fill in the text fields as follows:
Archive Manager web service - archive Manager web service contains location of Archive Manager web service used to get available mailboxes and SMTP status of mailboxes (it is used basically for read operations in Archive Manager). Information in Archive Manager tab are stored in both SMTP service configuration file and File processing service configuration file. This field is filled-in automatically; you only need to change the <localhost> to you Archive Manager serve IP address if it is installed on another machine
Message handling - choose how Archive Manager should internally handle messages at processing; default option should be "Delete" to save space on the machine (email will be archived, shortcut will not be created and the original email will be deleted from the message store directory). Other options (Zip and Store) can be useful for diagnostic purposes.
Message store directory - if "Zip" or "Store" is selected for Message handling, specify here the directory where zipped or stored processed messages should be stored (they are however also stored in the archive)
Archive mailbox - this functions as journal mailbox, all defined SMTP communication is archived in this mailbox. When User 1 sends email to User 2, User 2 receives original email. Copy of this email is sent to journal mailbox.
4.When finished, click Apply.