
3.1 Defining an Office 365 (Tenant) Target Forest
If your target forest is in a local Exchange environment (not in Office 365), skip ahead to section 3.1.2 below.
Continuing this procedure from the Office 365 Migration screen, where you clicked Yes to begin defining an Office 365 Tenant forest:
|
|
Enter the name of the tenant target forest, and click Next. |

|
|
These Exchange Online settings are required for Migrator Pro for Exchange program access to Office 365. Enter the User Name and Password for the account Migrator Pro for Exchange should use to access Office 365. Specify a Public Folders Migration Mode from the drop-down list. PowerShell and MAPI are the two available methods. If the Migration Mode is not specified here, Migrator Pro for Exchange will use the MAPI migration method by default. For Msol PowerShell Host Name, enter the Office 365 endpoint URL. The default Msol Host Name value is outlook.office365.com. Refer to this link for hostname information regarding Microsoft 365 GCC/DOD, 21Vianet or Office 365 Germany dedicated tenants. When you have entered the requested information, click Next.
|

|
|
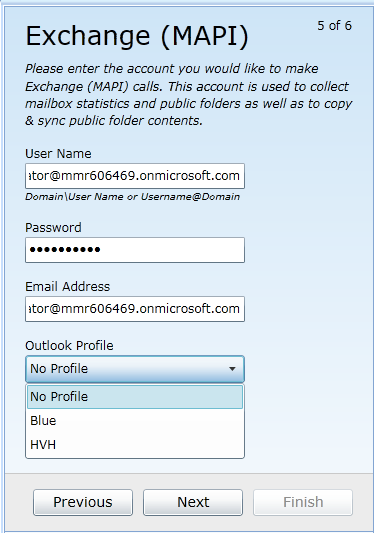
These Exchange (MAPI) settings are required only when migrating public folders in cross-forest migrations where no trusts exist. Enter the User Name, Password and Email Address for the account Migrator Pro for Exchange should use for program calls to Exchange (MAPI), and specify the Outlook Profile the program should use. When you have entered the requested information, click Next. | |
|
|
If Migrator Pro for Exchange is installed on a Windows 2012 server with Outlook 2010 as the MAPI provider: You must use an Outlook Profile to connect to a secondary forest. If the MAPI provider is Outlook 2013: Both trusted and non-trusted Exchange 2013 forests can be reached without an Outlook Profile. | |

|
|
The Summary screen shows the settings and choices you have entered to configure your tenant target forest. Review the settings to make sure they are correct for the designated tenant forest. (If you want to change anything you can click Previous to return to an earlier screen.) When these Summary screen values appear as they should, click Finish to save the forest configuration information. |
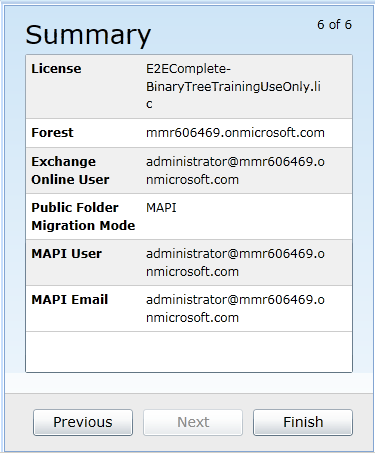
When the forest configuration is saved, it appears on the Configuration Settings screen of the Migrator Pro for Exchange Admin Portal.
3.2 Defining a Local Exchange Target Forest
This section 3.2 applies only if your target forest is in a local Exchange environment (not in Office 365). A local Exchange target forest is defined when migrating Intra-org (no other forests would be needed), or when migrating Inter-org (a source forest would be defined).
|
|
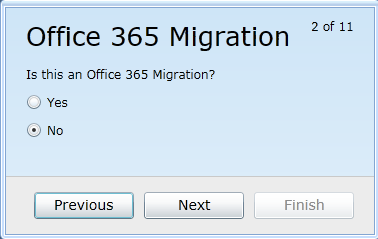
Continuing this procedure from the Office 365 Migration screen, where you clicked No (as shown here) to begin defining a target forest in your local Exchange environment.
|
|
|
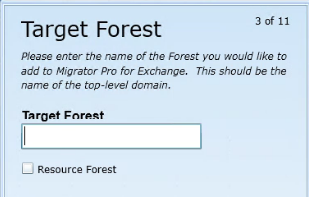
The first screen in this sequence to define a local target forest is this Target Forest screen. Enter the name of the Target Forest (top-level domain). If the target forest you specify is configured as an Exchange Resource Forest environment, select the Resource Forest check box to create a “Linked User” relationship between the source and target account. This option applies only for an inter-org migration where the target Exchange environment is located in a resource forest. For more information about resource forests, see Microsoft's article http://technet.microsoft.com/en-us/library/aa998031.aspx and other Microsoft resources. Click Next. |
|
|
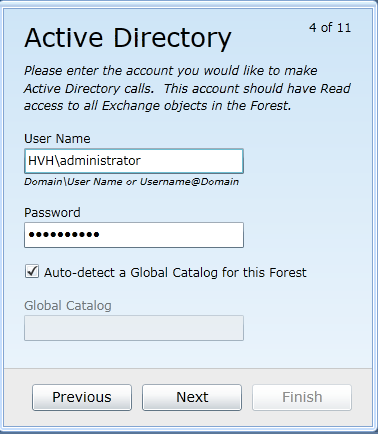
In this Active Directory screen: Enter the User Name (in Domain\Username format) and Password of the account to use for Active Directory calls. You can either automatically select a global catalog by selecting the Auto-Detect a Global Catalog for this Forest checkbox, or manually specify one in the Global Catalog field. Click Next.
|
|
|
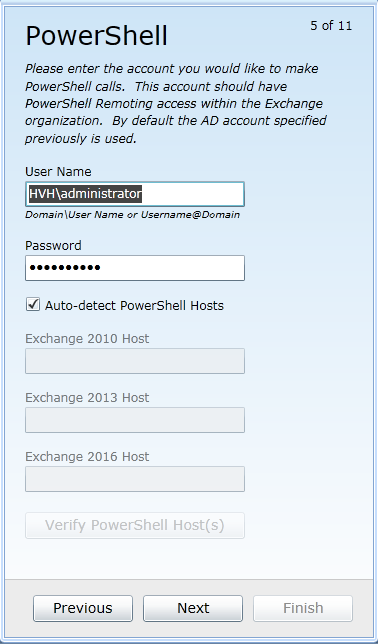
In this PowerShell screen: Enter the User Name and Password of the account to use for PowerShell calls. By default, the program sets these values to the User Name and Password specified on the previous Active Directory screen, but you can change them here. You can either automatically select the PowerShell hosts by keeping the Auto-detect the PowerShell Hosts checkbox selected, or deselect it to manually specify the Exchange 2010 Host, Exchange 2013 Host, and Exchange 2016 Host. If specifying the hosts manually, click the Verify PowerShell Host(s) button to validate connectivity to the PowerShell host servers. Click Next. | |
|
|
When specifying a PowerShell Host manually, you must use a Fully Qualified Domain Name (FQDN). If you use an IP address, it will generate an SSL certificate error. | |

|
|
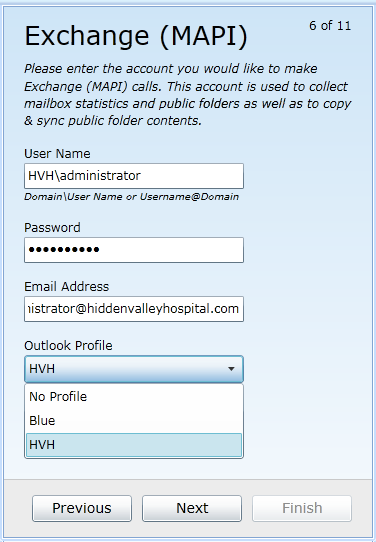
In this Exchange (MAPI) screen: Enter the User Name, Password and Email Address, and specify the Outlook Profile of the account to use for Exchange (MAPI) calls. Click Next. | |
|
|
If Outlook is installed on the Migrator Pro for Exchange Server, an Outlook Profile should be used. | |
|
|
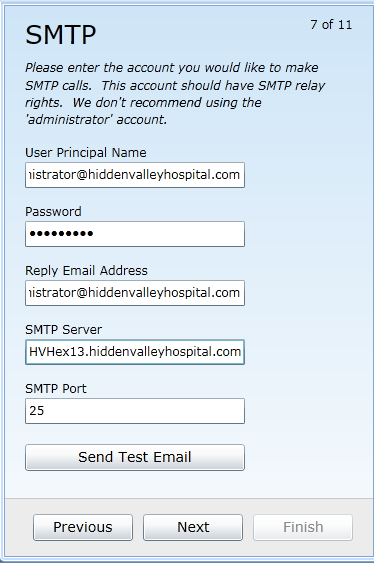
In this SMTP screen: Enter the User Principal Name, Password, Reply Email Address (e.g., user@domain.com), SMTP Server, and SMTP Port of the account to use for SMTP calls. Click Next.
| |
|
|
Specifying SMTP information is not required at the time of configuration. You must specify the User Principal Name (user@domain.com) and Password for the account that will be used to send email communications to end users. By default, the Exchange 2010/2013 Simple Mail Transfer Protocol (SMTP) receives connector rejects mail from any “well known accounts” such as Administrator. We recommend you designate a different account for this purpose. Make sure the service account being used has access to the Exchange 2003/2007 and 2010/2013/2016 servers. | |
|
|
On this Staged Migrations screen: Specify the Exchange 2010 or Exchange 2013 staging server/database that Migrator Pro for Exchange should use when migrating from Exchange 2003 to Exchange 2013, or from Exchange 2007 to Exchange 2016. Click Next.
|

|
|
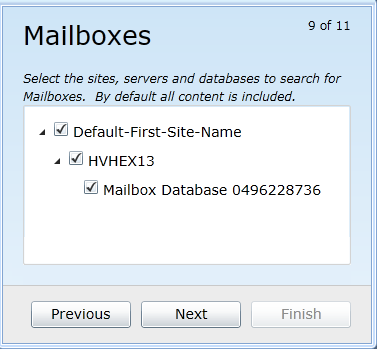
On this Mailboxes screen: Select the sites, servers, and databases to search for mailboxes. All content is selected by default. Right-click in the list area to select options to expand/collapse the list or select/deselect all items. Click Next.
|
|
|
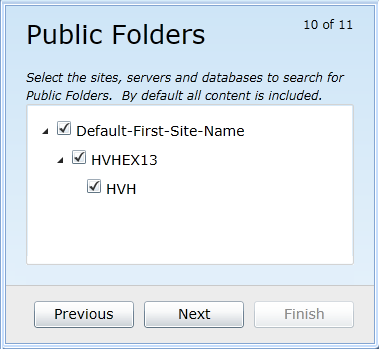
In this Public Folders screen: Select the sites, servers, and databases to search for Public Folders. All content is selected by default. Right-click in the list area to select options to expand/collapse the list or select/deselect all items. Click Next. |
|
|
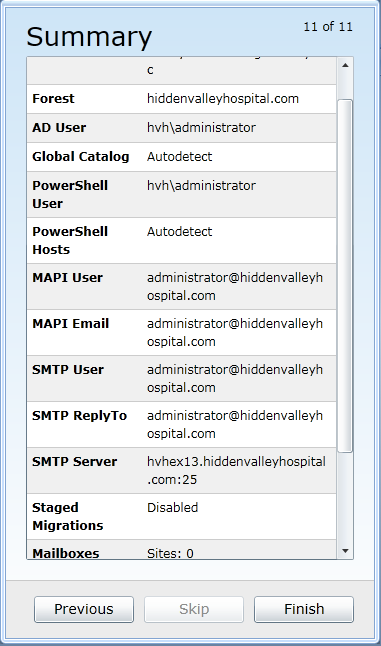
The Summary screen shows the settings and choices you have entered to configure your local target forest. Review the settings to make sure they are correct for the designated forest. (If you want to change anything you can click Previous to return to an earlier screen.) When these Summary screen values appear as they should, click Finish to save the forest configuration information. | |
|
|
In a non-English locale, the date-time format of the operating system must be set to mmddyyyy (rather than ddmmyyyy) for Migrator Pro for Exchange to rationalize Office 365 mailboxes. | |

When the forest configuration is saved, it appears on the Configuration Settings screen of the Migrator Pro for Exchange Admin Portal.
4. Installing Migrator Pro for Exchange Public Folder Workers
This section includes instructions for the installing Migrator Pro for Exchange Public Folder Workers. Public Folder Workers can be used to allow distribution of Public Folder processing. Public Folder Workers can be assigned specific Public Folder processing roles including provisioning, content sync, change detection, and reporting.
To install the Migrator Pro for Exchange Public Folder Worker:
-
Download or copy the Migrator Pro for Exchange Public Folder Worker installation executable (Migrator Pro for Exchange Worker Installer) to the device that will be used as a Public Folder Worker.
-
Right-click on the Migrator Pro for Exchange Worker Installer file and select to Run as Administrator. Click Run on the security warning.
-
The installer then scans your environment to gather the information it needs for installation, and to determine whether you need to install any of several required accessory applications.
If these accessory apps are already installed, just skip ahead to the next step below. Otherwise, the Migrator Pro for Exchange installer will prompt you to authorize the installation of the ones you need. In that case, click the Install button to accept. If you have to install Microsoft .NET 4.8 Framework, you may also be prompted to accept Microsoft’s license agreement. If so, mark the checkbox for I have read and accept…, and click Install.
The installation of accessory applications may take several minutes.
-
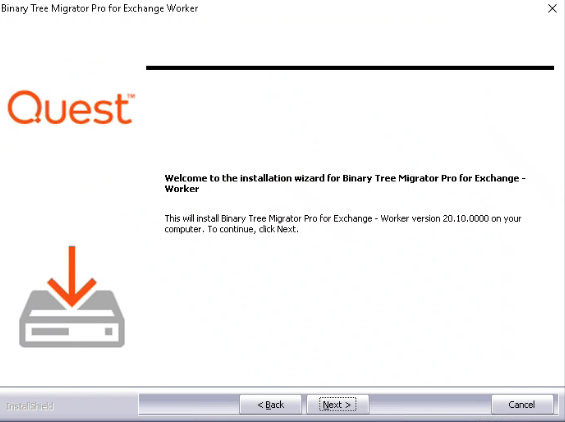
When the accessory components are installed, the Migrator Pro for Exchange Worker installer Welcome screen appears. Click Next. -
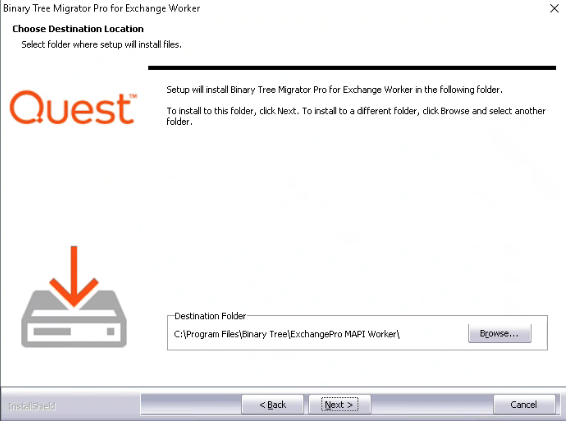
On the Choose Destination Location screen, you may Browse to an installation location and then click Next.
-
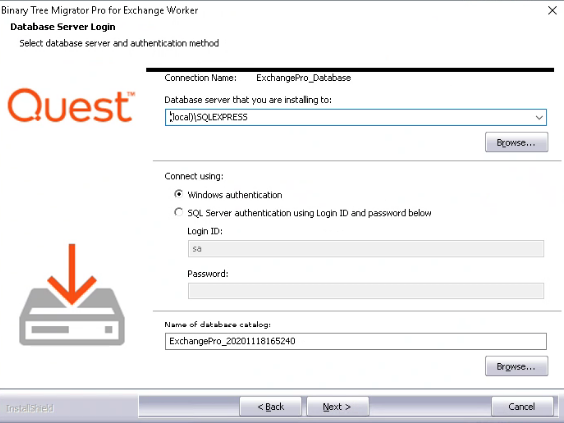
On the Database Server Login screen, select or browse to the Migrator Pro for Exchange database server you are installing to and select the connection authentication method. Then, in the Name of database catalog field, browse to and select the database configured for Migrator Pro for Exchange (Do not enter a new name). Click Next.
-
The Database Server Login screen appears again, this time for Migrator Pro for Exchange logging database. Select or browse to the logging database server you are installing to, select the connection authentication method, and enter or browse to the database. The logging database name should be specified in the Name of database catalog field. Click Next.

-
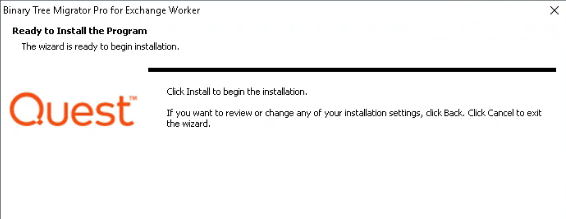
On the Ready to Install screen, click Install.
-
Wait while the installation proceeds. This may take a few minutes. A dialog box displaying installation progress will appear. Click Cancel if you want to cancel.

-
When installation is complete, the wizard Complete screen appears. Click Finish to close.
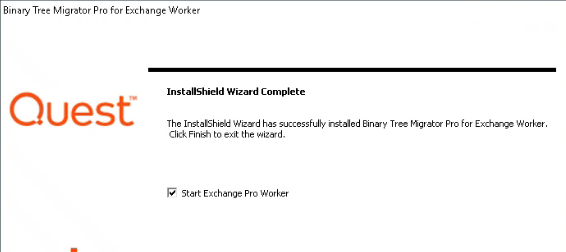

When the installation completes, it creates a shortcut icon on the Desktop to launch Migrator Pro for Exchange Worker. This Migrator Pro for Exchange Worker icon is also added to the toolbar.
5. Components of Migrator Pro for Exchange
The main components of Migrator Pro for Exchange are: the MCP Windows Service, the Admin Portal, and the User Portal.