
1.4 About Migrator Pro for Exchange
Migrator Pro for Exchange enables migration from one version of Microsoft Exchange to another. It combines a backend policy engine with front-end management components, which give project managers and administrators more control across their Exchange upgrades.
Key Features and Functions
-
The workflow engine allows administrators to create migration tasks, select objects, schedule jobs, and provide user self-service.
-
The unified console enables flexible filtering and selection of mailbox objects.
-
Content included in the mailbox is moved in one transaction, therefore mailbox security and permissions (delegates) are retained.
-
Reports on object state and migration status feed into the console to reduce the effort required to create tasks.
-
Does not require server hosted agents for any of its functionality.
-
Public Folder migration support for Exchange 2003, Exchange 2007, Exchange 2010, Exchange 2013, Exchange 2016, and Office 365.
-
Support for migrations to Office 365, resource forest migrations, and Outlook 2003 profile updates.
2. Installing Migrator Pro for Exchange
This section provides information for:
-
Upgrading Migrator Pro for Exchange from an Earlier Version
-
Necessary Pre-Installation Preparations
-
Migrator Pro for Exchange Default Installation
-
Migrator Pro for Exchange Advanced Installation or Upgrade
-
Uninstalling Migrator Pro for Exchange
2.1 Upgrading Migrator Pro for Exchange from an Earlier Version
Migrator Pro for Exchange can be easily upgraded to a newer version by running the installation wizard for the new release. The wizard will detect any previous version and offer you the option to upgrade. The previously existing SQL database and configuration settings are preserved when upgrading.
|
|
Migrator Pro for Exchange provides a direct upgrade path only from its most recent prior GA version (and any subsequent minor releases). If you want to upgrade from an earlier version, we recommend incremental upgrades, one version at a time. |

If the Migrator Pro for Exchange Installer detects a previous version of Migrator Pro for Exchange, it will skip the screen that offers the Default Installation option (as described in section 2.3 below), and will perform an upgrade using the Advanced Installation (as described in section 2.4 below).
|
|
Even if a prior Migrator Pro for Exchange version has been uninstalled, the Installer will still perform the installation as an upgrade (by an Advanced Installation) if it finds this entry remaining in the Windows registry: HK_Local_Machine\Software\Binary Tree\E2E If you have uninstalled a prior Migrator Pro for Exchange version and now want to run the Default Installation option for the new version, you must first remove that entry from the registry. |
2.2 Necessary Pre-Installation Preparations
The Migrator Pro for Exchange server should be installed in one of the following locations:
-
For Intra-org (same forest) or Office 365 installations the Migrator Pro for Exchange server should be installed in the Source forest.
-
For Inter-org (cross forest) migrations, the Migrator Pro for Exchange server should be installed in the Target forest.
-
For migrations to an Exchange resource forest, the Migrator Pro for Exchange server should be installed in the resource forest.
Prior to installing Migrator Pro for Exchange, you need to identify the primary Exchange 2010 and/or Exchange 2013 servers utilized as the PowerShell hosts.
Note also that Outlook must be installed on the Migrator Pro for Exchange server to facilitate MAPI transport for migrations. See the Migrator Pro for Exchange Requirements document for supported versions and other relevant notes.
|
|
Migrator Pro for Exchange supports either non-SSL or SSL mode for the PowerShell provider. If you want to utilize non-SSL, then no further action is required; however, if you want to utilize SSL mode for the PowerShell provider, you must make sure that the Migrator Pro for Exchange system trusts the certificate on your Exchange server. Migrator Pro for Exchange requires a non-self-signed certificate on the Exchange 2010 and/or 2013 servers that will host PowerShell. This can be a public certificate (i.e., VeriSign) or a private certificate (i.e. Windows Certificate Services). The PowerShell host servers need not also be a Client Access Server (CAS) host. The image below displays the Exchange Certificates in Exchange 2010. The interface in other versions of Exchange is different.
It is recommended that the PowerShell host servers be under-utilized servers, so that any additional load on the production Exchange server can be avoided. Note also that your remote PowerShell connection will require port 5985 be open for http, and port 5986 for https. |

Once the PowerShell machine is identified, perform the following prerequisite PowerShell commands. This applies to both SSL and non-SSL modes.
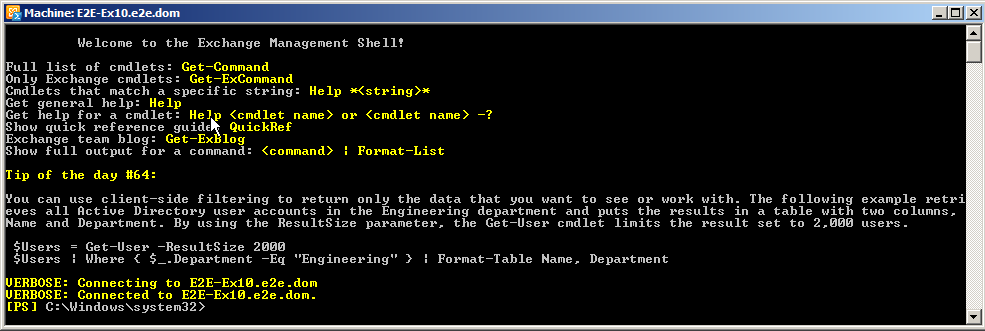
To execute these commands, launch the Exchange Management Shell:
-
Click Start, and then point to All Programs. Expand Microsoft Exchange Server 2010 (shown in the image below), Microsoft Exchange Server 2013, or Microsoft Exchange Server 2016 and then click Exchange Management Shell.
-
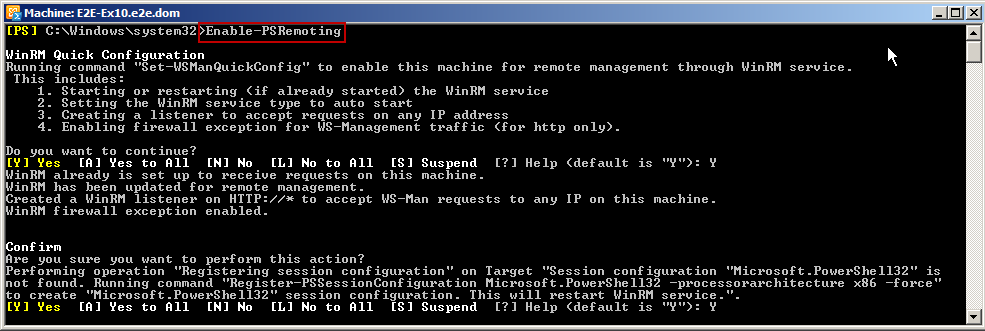
In the Exchange Management Shell window, execute the following command:
Enable-PSRemoting
This command configures the machine on which it is run, to receive Windows PowerShell remote commands.
-
Press <Y> to continue. -
Press <Y> again to confirm.
-
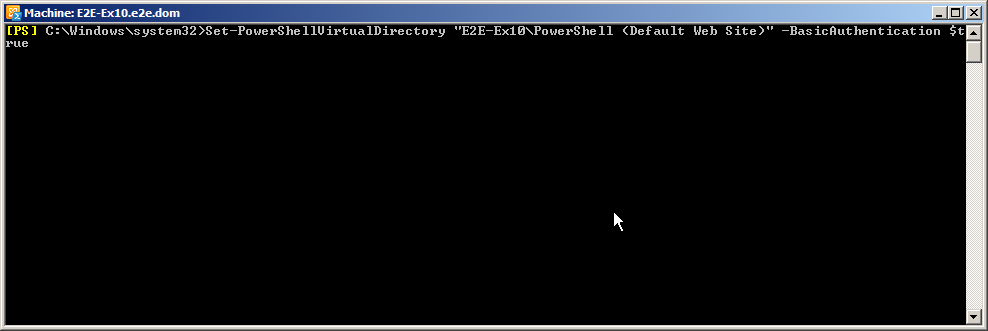
The next command lets you authenticate against the server being used as the remote PowerShell host server:
Set-PowerShellVirtualDirectory “<Exchange Server name>\PowerShell (Default Web Site)” –BasicAuthentication $true
If using non-SSL mode, Windows Authentication should also be enabled using this command that includes the additional Windows Authentication command:
Set-PowerShellVirtualDirectory “<Exchange Server name>\PowerShell (Default Web Site)” –BasicAuthentication $true-WindowsAuthentication $true
|
|
When the command is executed, even though it configures the system for basic authentication, all the data, including passwords, are encrypted using SSL. |
Default Installation vs. Advanced Installation
Migrator Pro for Exchange is installed by an Installation wizard. The Installation wizard offers you a choice of two installation types:
-
Default Installation: The wizard will scan your environment to determine the information necessary for installation, and then will install according to those specifications. This option will automatically install SQL Express if no SQL server is detected on the local machine.
-
Advanced Installation: The wizard will lead you through a series of screens for you to specify where you want to install Migrator Pro for Exchange, and the names, locations, and access credentials for certain network and program components, and will then perform the installation to those specifications.
The Default Installation option will suit most organizations. The Advanced Installation will be appropriate if you want to specify particular components other than those the wizard would find and use by default. The two options are described separately in the next two sections below.