
Section 9: Installing Integration for Notes
To install Integration for Notes, perform the following two installations:
-
Notes Integration.exe installation package for BTCal and ZApp to be installed on the Domino Coexistence server
-
Notes Integration FreeBusy.exe installation package for BTFree/Busy to be installed on the Domino Coexistence server and Windows Coexistence server (see FreeBusy user guide)
Please refer to the Directory Sync Pro Installation Guide if you will be installing Directory Sync Pro.
9.1 Downloading Instructions
9.1 Downloading Instructions
Binary Tree maintains the latest release of all the Install Kits on a secure FTP web site. The address to the FTP site is ftp://cftp.binarytree.com. To download a copy, Binary Tree will provide a user name and password. Log on to the web site using the given credentials and download a copy of the Install Kit to your Windows Desktop.
9.2 Install Integration for Notes BTCal on Domino
9.2 Install Integration for Notes BTCal on Domino
Follow the steps below to install the Domino Coexistence server (see the Administrator Pre-Install Checklist section for a list of prerequisite technical information to obtain prior to installing BTCal): Confirm the server meets the hardware requirements and prerequisites have been installed outlined in the Administrator Pre-Install Checklist.
The BTCal components are installed separately from the Free/Busy components (see the Free/Busy User Guide for more information).
|
|
|

-
Stop the Domino server by issuing the “quit” command at the console.
-
Run the Notes Integration.exe as Administrator
-
On the installation wizard screen, click Next
-
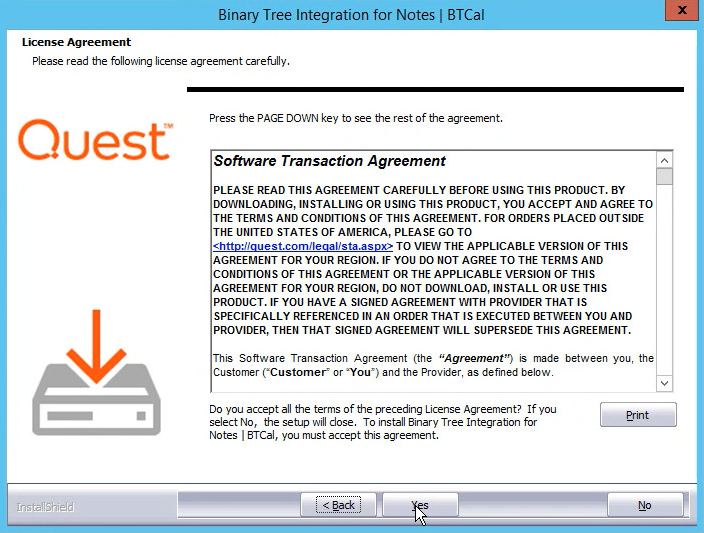
Review the Software License Agreement and then click Yes
-
On the Verify Domino Instance Data Directory Path screen, browse to the location of the Notes.ini file that will be modified for the Domino instance; click Next:
-
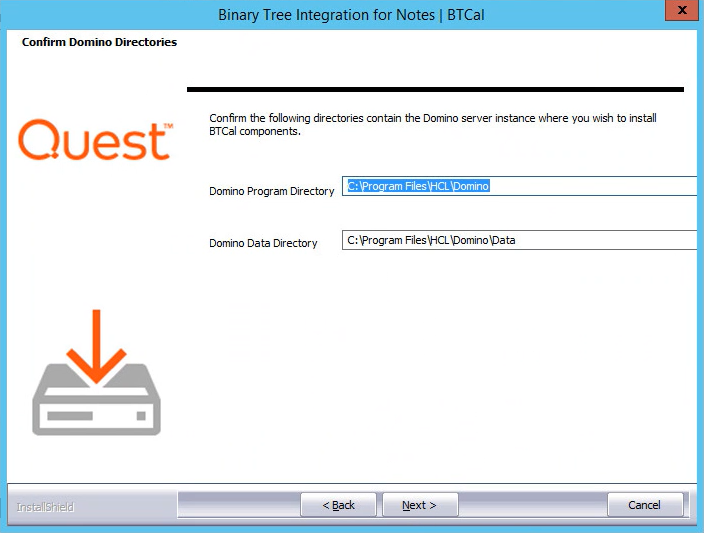
On the Confirm Domino Directories screen, confirm the displayed directories contain the Domino Program Directory and the Domino Data Directory where Integration for Notes BTCal will be installed; click Next:
-
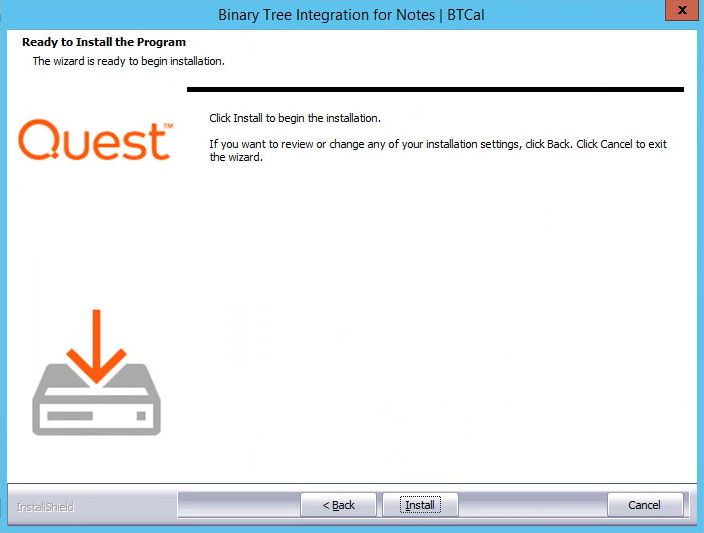
On the Ready to Install the Program screen, click Install to begin the installation:
-
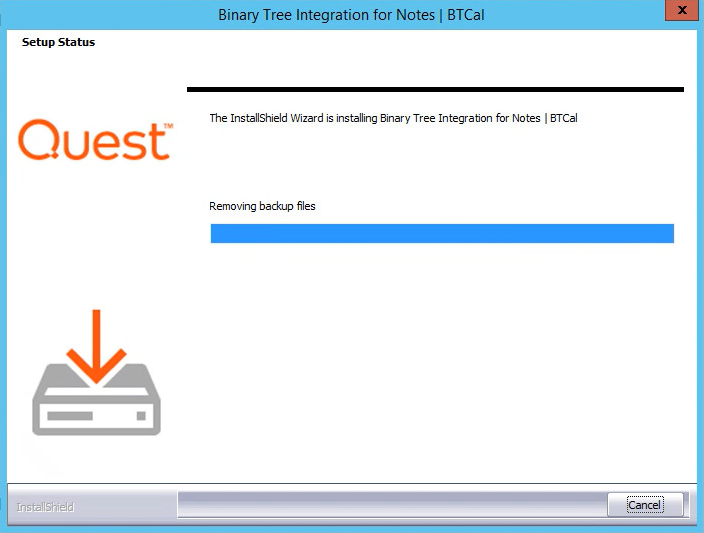
The progress of the installation will be displayed on the Setup Status screen:
-
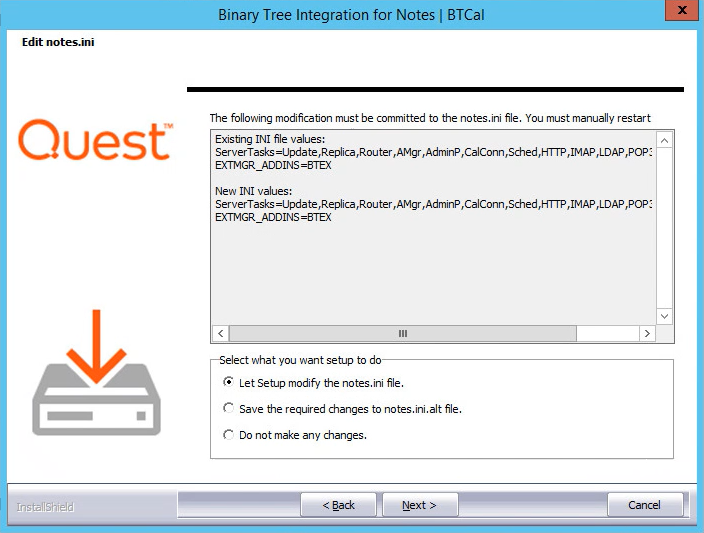
On the Edit notes.ini screen, select to modify the notes.ini file, save the required changes to a notes.ini alt file, or select to not make any changes to the notes.ini file; click Next. These changes must be made to the Notes.ini for Integration for Notes BTCal to run:
-
An informational message appears if Let Setup modify the notes.ini file was selected; click OK. Be sure to restart the Domino server for the changes to take effect:
When installation completes, the wizard complete screen appears. Click Finish to close:


Section 10: Create and Configure Domino Databases
Once installed, BTCal will not actually start unless certain Domino databases exist. If these databases do not already exist, they must be created.
To create the necessary databases, the administrator must perform the below tasks from the Notes Administrator client for each corresponding database.
Locate the databases and templates below in the Domino server’s data directory and sign them with either the server’s ID or your company’s preferred ECL signing ID.
|
Field Name |
Recommended Value |
Links |
|
BTCache V3 Template |
btcachev3.ntf |
See Section 10.1 |
|
BT Document Store Template |
btstore.ntf |
See Appendix A: ZApp |
|
BT IDVault |
btidcache.ntf |
|
|
BTCal Whitelist Template |
btwhitelist.ntf |
See Section 10.5 |
|
BT Calendar Cache V2 Template |
btcachev2.ntf |
|
|
BTCalStats Template |
btcalstats.ntf |
|
|
BT GRIP Local Template V2 |
btgriplocalv2.ntf |
See Appendix B: GRIP |
|
BT GRIP Remote Template |
btgripremote.ntf |
See Appendix B: GRIP |
|
|
|