
Steps to Connect to Azure Cloud Storage
1.Enter your Azure Storage account name and click the Connect button.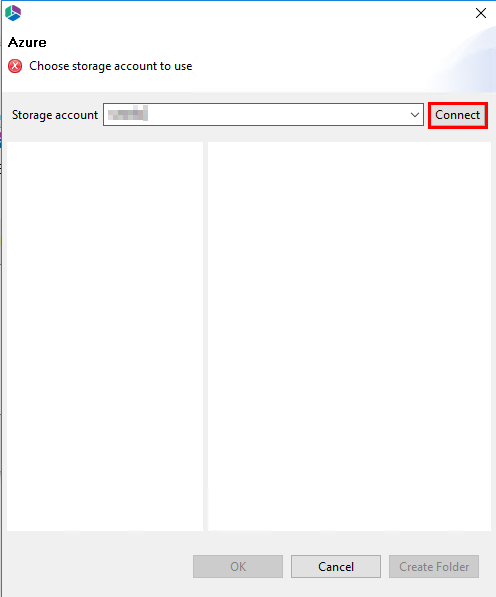
2.You will be prompted for your Azure Storage primary key, enter your key and click Connect.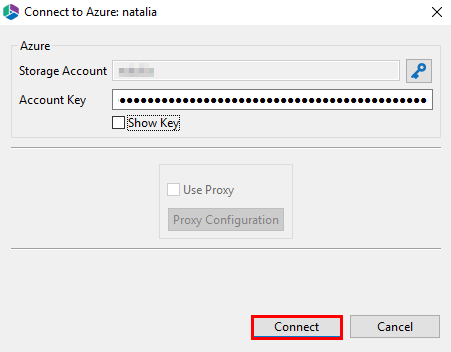
3.Once the connection is successfully established, the list of containers will display on the left side of the view. Select the container in which you wish to store the backups and its current list of available folders will appear on the right. Select the folder in which you wish to store the backups or click Create Folder to create a new folder. When finished, click OK to continue.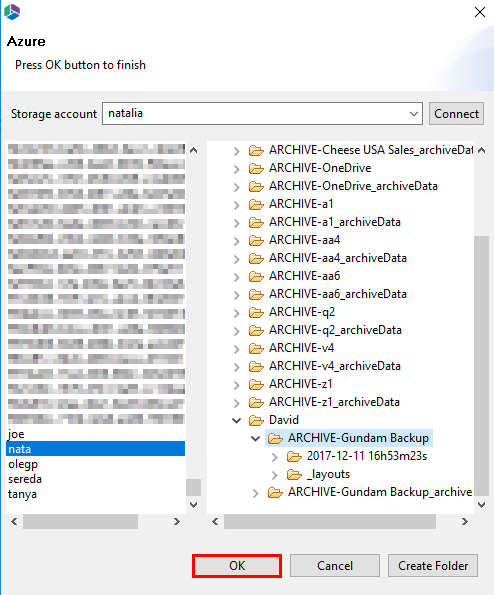
4.Confirm that the path displayed in the Location field is correct and then click OK to continue.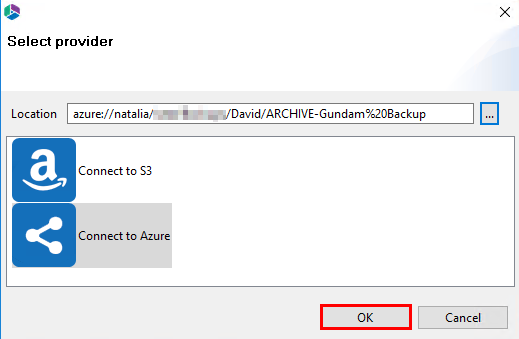
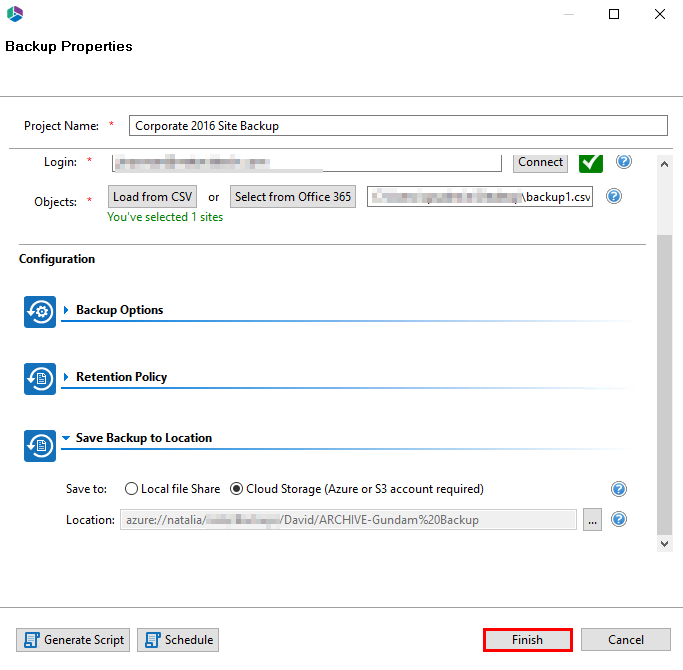
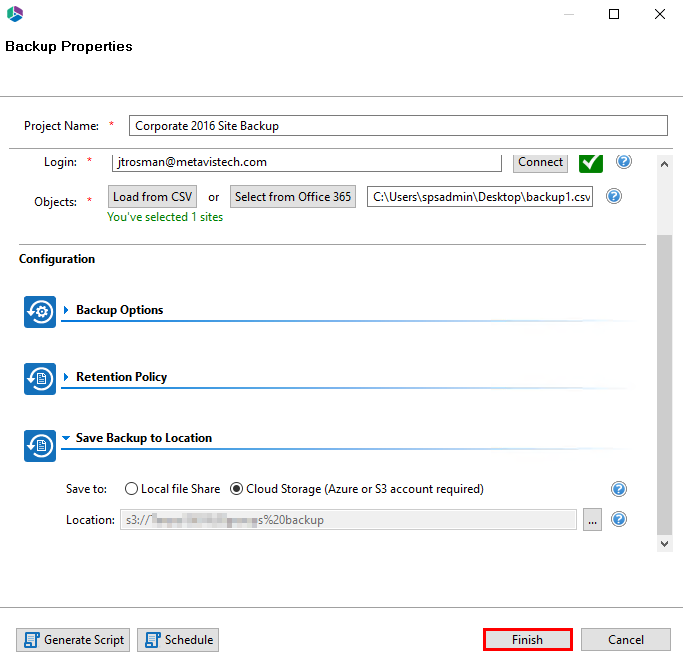
5.You will now be returned to the initial backup configuration. The "Save To Location" field will now be populated and you have another opportunity to modify the current settings or click Finish to begin the backup.
Steps to Connect to Amazon S3 Cloud Storage
1.Enter your Amazon S3 Access Key and click the Connect button.
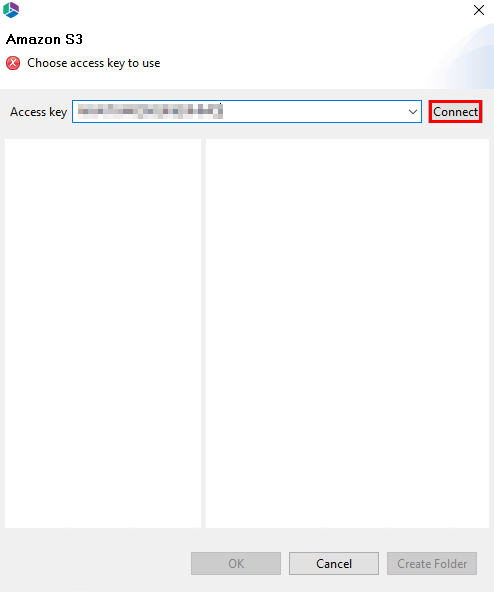
2.You will then be prompted for your Amazon S3 Secret Key, which you should enter and the click the second Connect button.
3.Once the connection is successfully established, the list of buckets will display on the left side of the view. Select the bucket in which you wish to store the backups and its current list of available folders will appear on the right. Select the folder in which you wish to store the backups or click Create Folder to create a new folder. Click OK to continue.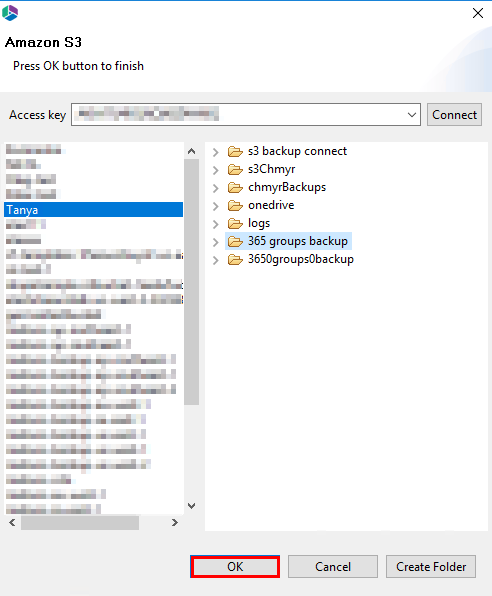
4.Confirm that the path displayed in the Location field is correct and then click OK to continue.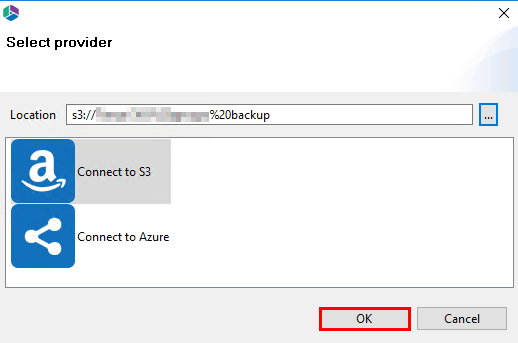
5.You will now be returned to the initial backup configuration. The "Save To Location" field will now be populated and you have another opportunity to modify the current settings or click Finish to begin the backup.
Hyper vs Classic Backup Setup
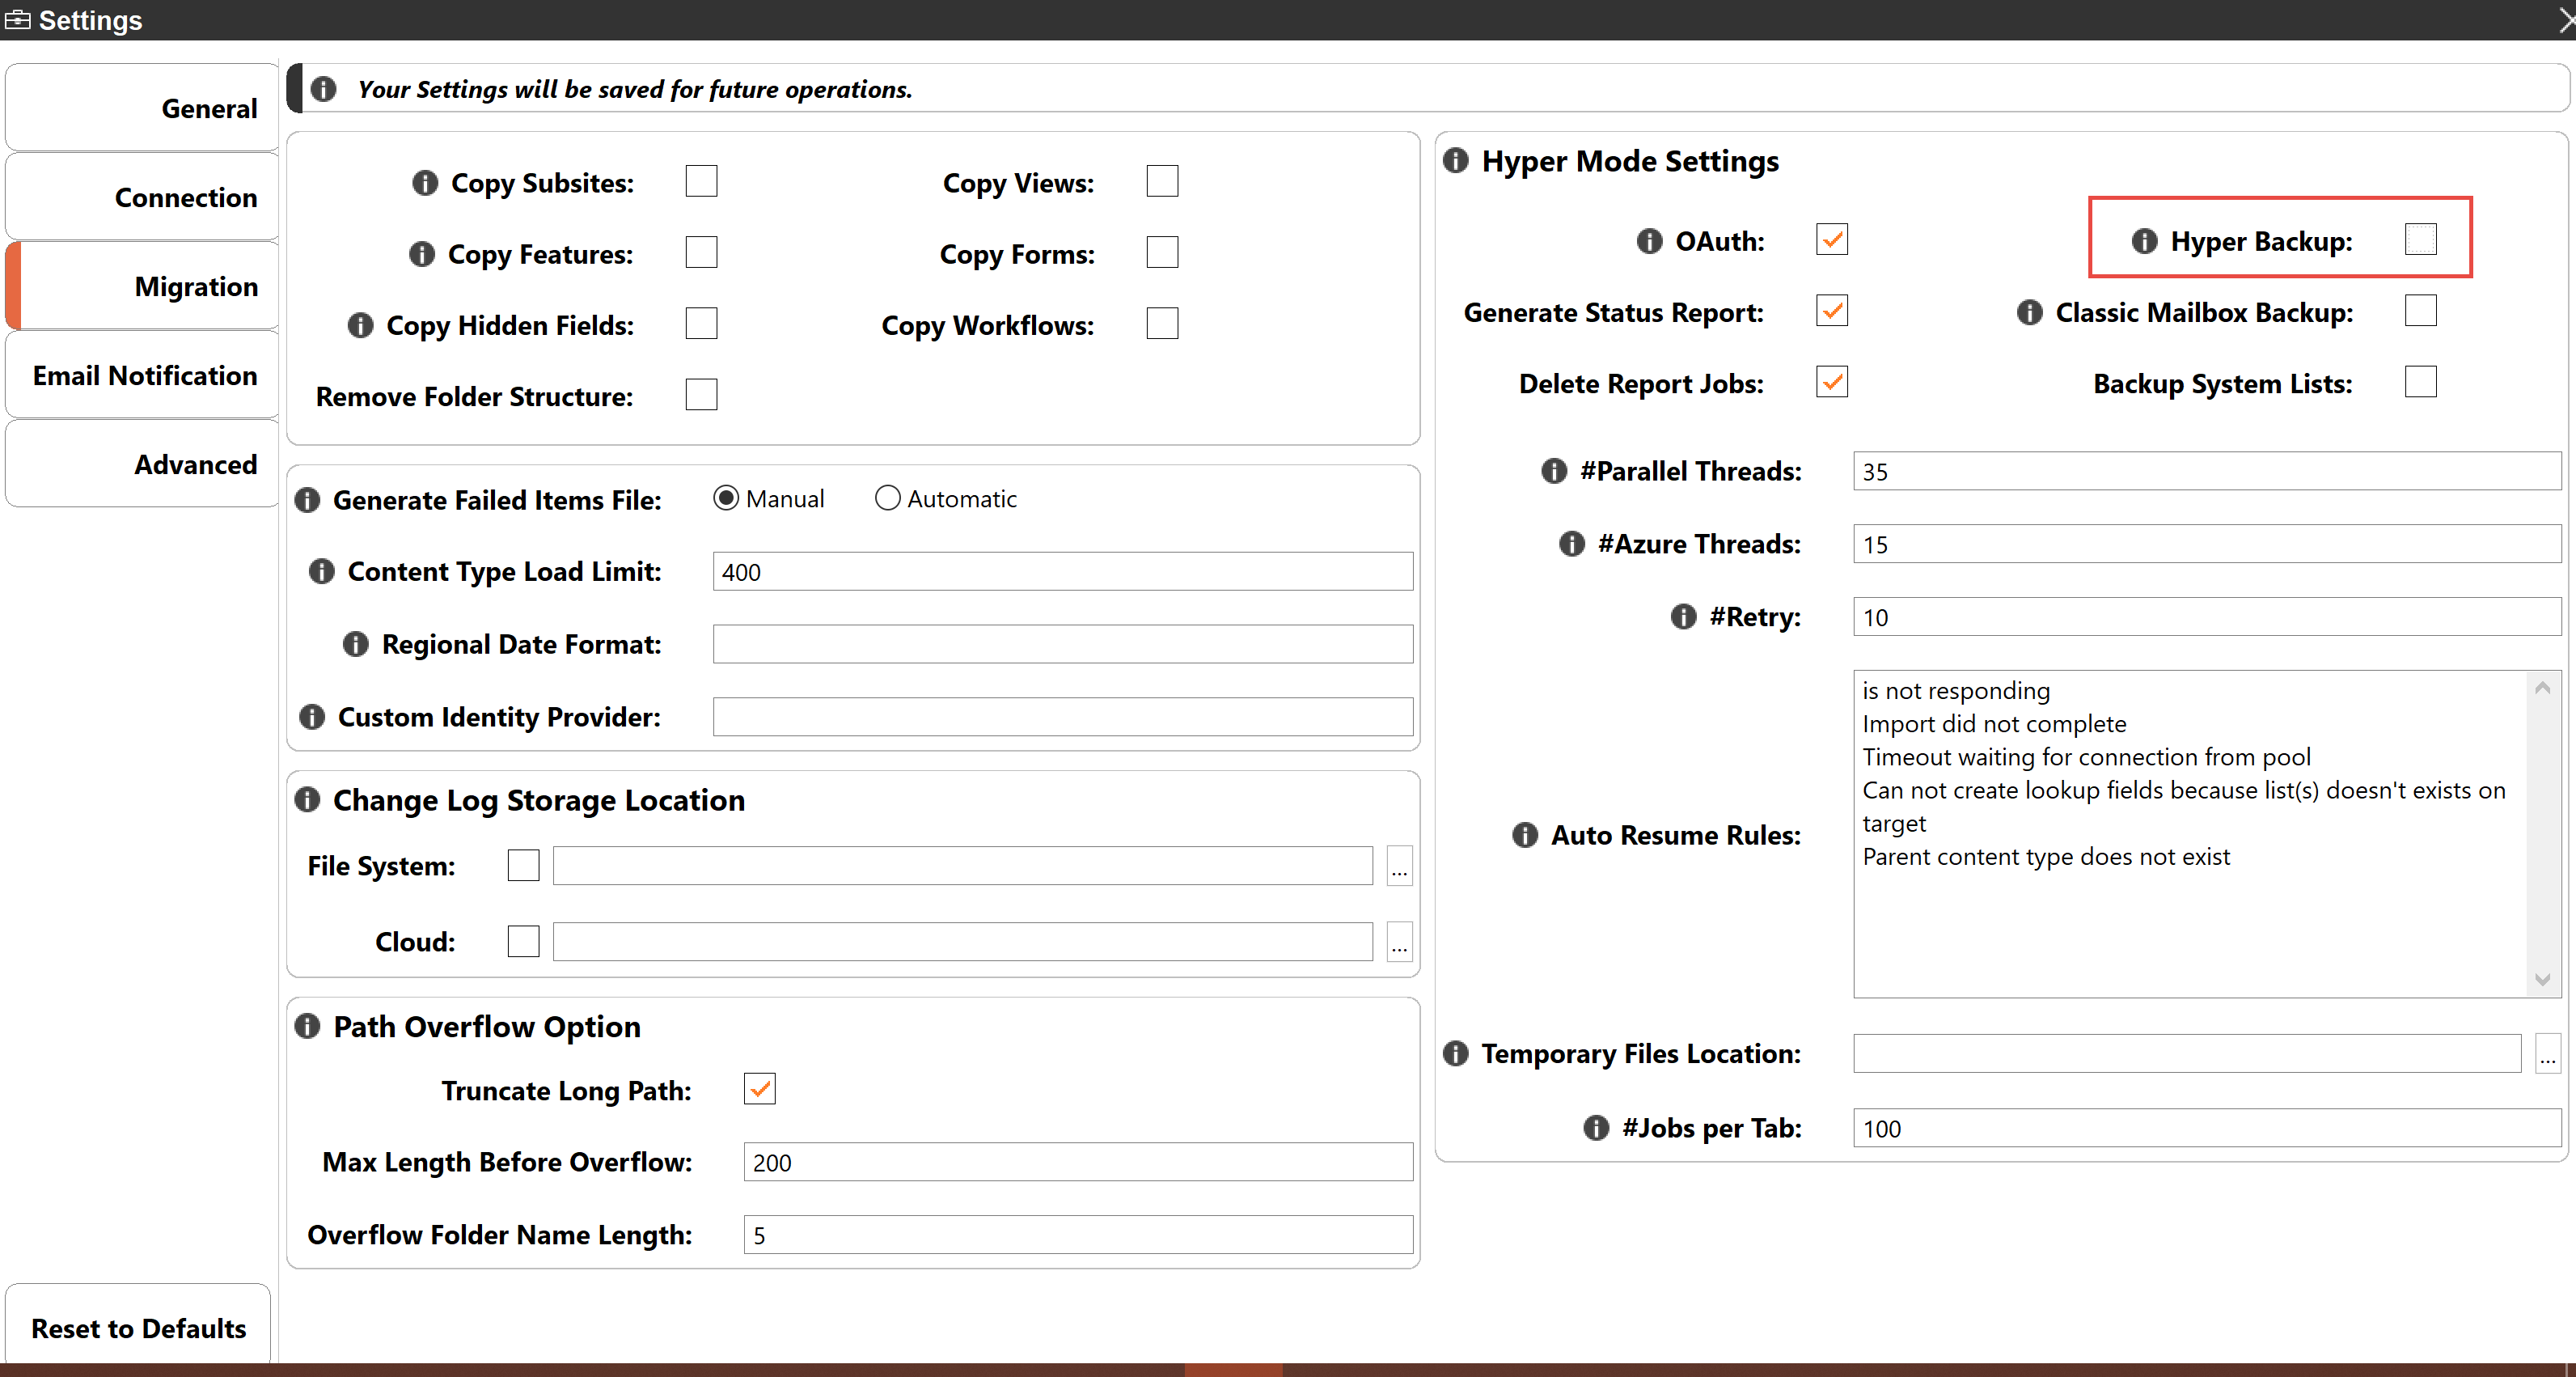
SharePoint Online, OneDrive, and Office 365 Group Backups are automatically set to occur in Hyper mode. If you wish to create a backup for one of these tenants in Classic mode you must first turn off the hyper mode capability:
1.Navigate to the Help tab in the Essentials tool, and select Profile Manager.

2.Under the Migration section of the profile manager, deselect the Hyper Backup option.
3.When exiting the profile manager, be sure to confirm that you want your changes saved when asked by the pop-up.
4.Restart the Essentials tool for these changes to take effect.
|
|
NOTE: Once you perform the restart, you will no longer be able to see the hyper backup jobs in the Backup Navigator pane, as hyper backup will be turned off. |

Hyper SharePoint Online Backup
Metalogix Essentials for Office 365 Backup is a simple and easy to use backup tool that empowers administrators and power users to efficiently backup, archive, and restore their content from SharePoint, Office 365 SharePoint Online, OneDrive for Business sites, and Exchange Online mailboxes (when licensed). With Metalogix Backup, you can quickly retrieve individual items or entire sites.
·Site Backup: Backup and extract site collections, sites, lists and libraries, documents and versions, permissions, views, column groups, fields, terms, and content types in SharePoint or Office 365.
·OneDrive for Business Backup: Backup and extract content, versions and SharePoint permissions from one or more users' OneDrive for Business Documents library within your Office 365 tenant.
·Exchange Online Mailbox Backup: Backup and extract messages, folders, calendar events, tasks and more from one or more users' Exchange Online Mailboxes within your Office 365 tenant. This feature is automatically disabled and must be manually enabled.
·Cloud Storage: Backup and Restore to/from Azure and Amazon S3
·Extract: Extract legacy or orphaned content from SharePoint and Office 365 to a file system based on specific search and filter criteria of your choice.
·Restore: Restore content to existing SharePoint or Office 365 site collections, sites, list and libraries, and folders without rolling back the entire SharePoint farm. (Cannot be used for Migration. Choose Metalogix Essentials for Office 365 migration for the best results)
·Ensure High Availability: Access critical content and ensure continuous 24x7 business operations in Office 365 and other hosted environments in the event of a service interruption through local backups.
·Rapid Item Level Restore: Granularly restore selected SharePoint items from the local backup copy with the option to include metadata, versions, and authorship properties.
·Schedule Backups: Use Windows scheduler to run full or incremental backups from PowerShell or the command line as a part of larger batch jobs.
|
|
NOTE: As with any Backup solution, it is strongly recommended that you thoroughly test the solution in a non-production environment prior to running any operations against your production data. Make note of all backed up and restored objects, their behavior, the process itself, scheduled operations as well as the results. If at any time you have additional questions about objects and functionality, please open a ticket with support for additional information. |