Reports
This section provides an overview of the available reports.
Collect Data
The first step to using Metalogix Administrator is to have the tool scan your data within a specified area. Here are the basic steps to perform the data collection.
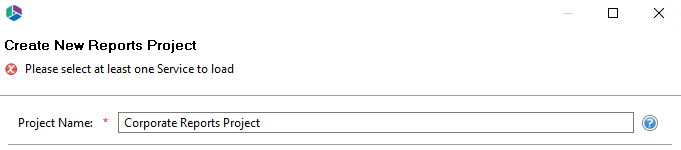
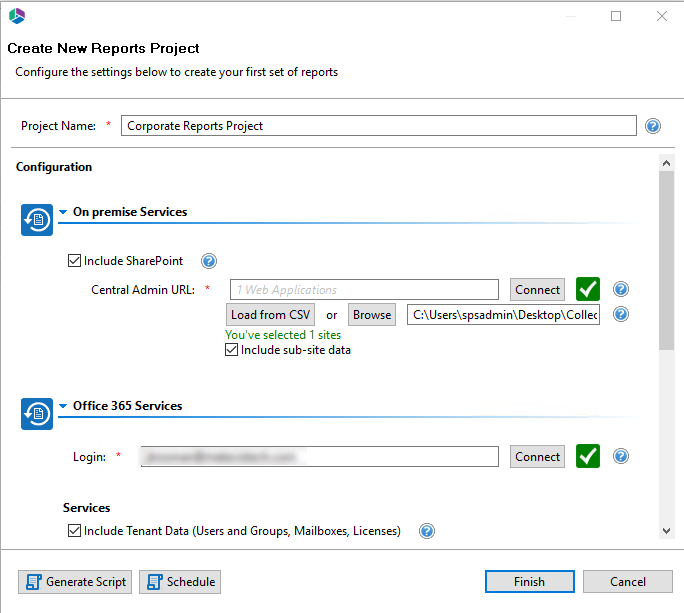
1.Press the Collect Data button in the Reports section of the Metalogix Administrator ribbon. This will load the Create New Report project configuration.

2.Enter a project name where your Administrator data will reside.
3.Expand and populate the relevant sections related to your need
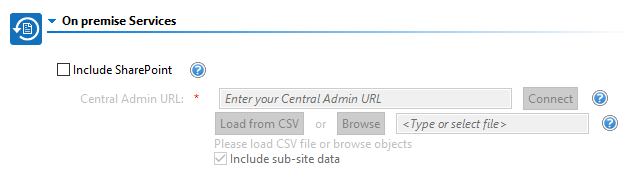
oOn premise Services - If you wish to include one or more site collections, please populate the required values in this section. Farm Administrator is required for all connections at the farm level.
oOffice 365 Services - If you wish to include one or more Office 365 Services, please populate the required values in this section. Global Administrator is required.
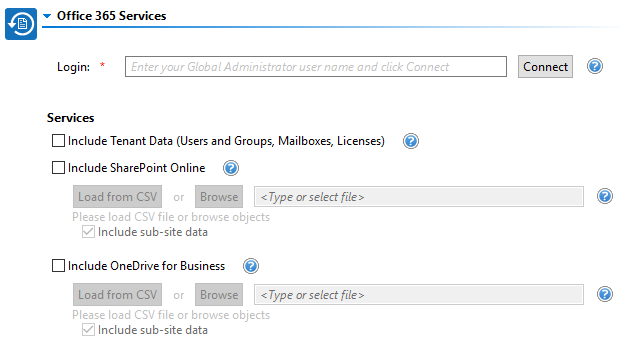
§Login - Enter your Global Administrator user name and click Connect to authenticate with the password.
§Include Tenant Data - Enable this option to include User Profile, Group, License and Exchange Online data
§Include SharePoint Online - Enable this option to include one or more SharePoint Online Site Collections.
§Include OneDrive for Business - Enable this option to include one or more OneDrive for Business sites.
oAdvanced Options
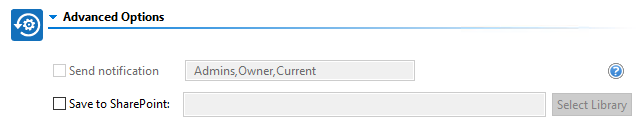
§Send notification - Enable this option to send an email notification when the collection is complete.
§Save to SharePoint - Enable this option and choose a SharePoint Online library to save an Excel report of the collected data.
4.Select Finish to begin the data collection now or use the Generate Script or Schedule options to perform this operation at another time.
Update Data
In order to keep the data up-to-date within your Reports, it is necessary to run update collections. To perform an update collection do the following:
1.Within the Navigator pane, expand any existing Administrator project and select the first level. If the project is a single site or site collection, this will be the name of that location. If the project contains multiple sites or OneDrives, this will be a folder with the number of locations that were included.
2.Once selected, do one of the following
· Right click and choose Update Data
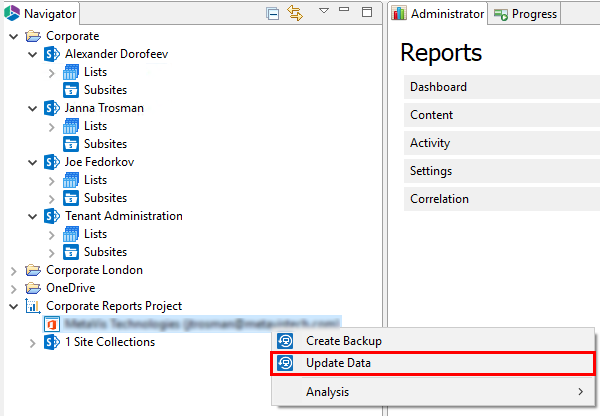
·Press the Update Data button in the Reports section of the ribbon.

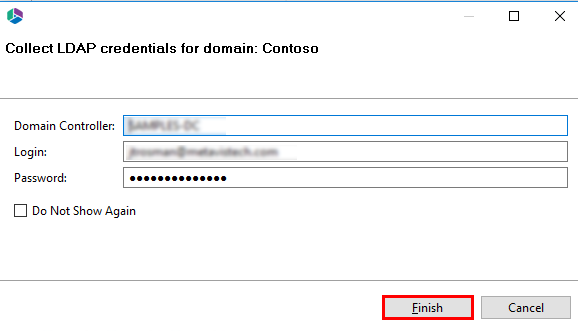
3.Choose Finish to run it now.
Load Data
After the data collection process has been completed, the Administrator Reports area should automatically populate with the first report. If you wish to load any other data into the reports area do the following:
1.In the Navigator pane, expand the Administrator project that you wish to load.
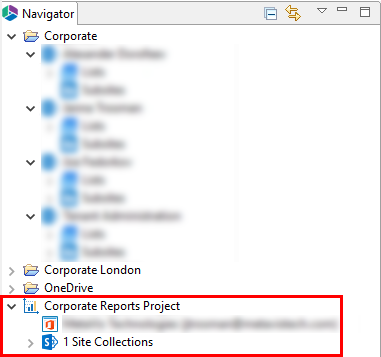
2.Select and then double click the specific location you wish to load. This could be the first level folder (if the collection included multiple site collections or OneDrives) or you could navigate lower to any site, list or OneDrive beneath that first level.
3.The first report will load into the Reports Area.
|
|
NOTE: this may take a few seconds or longer depending on the amount of data that was collected. |

To configure how the data is displayed, there is a menu of options on the right hand side of the top toolbar.
|
|
NOTE: not all views are available for each report. Refer to the Reports section below for additional information and availability. |


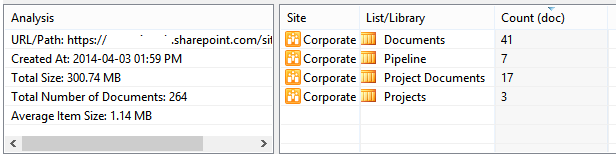
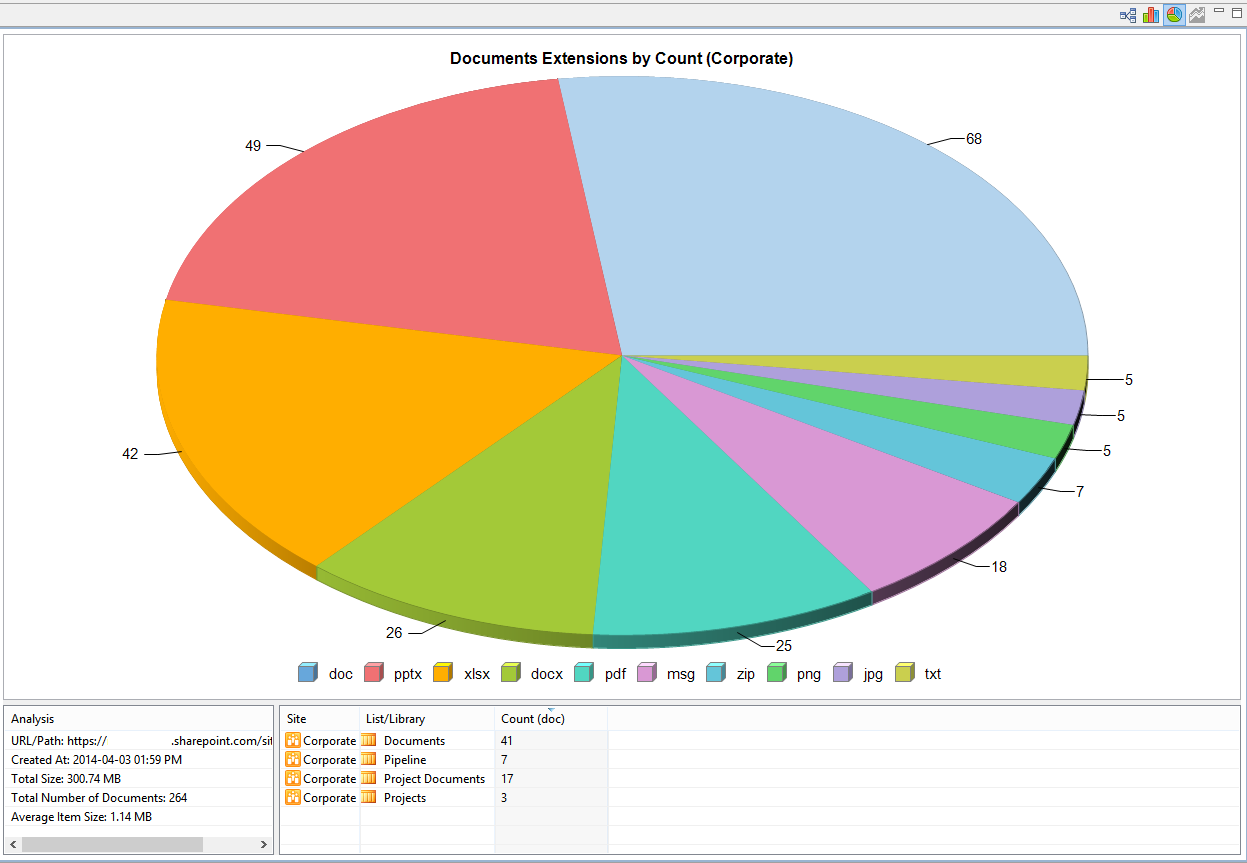
The Analysis section can also be tailored to the specific data that you wish to display. For example, if you are viewing the Documents Extensions report and wish to see the breakdown of all *.doc files, select this portion from the graph and the Analysis will update to show only the information about those documents.