
Compare Permissions, Groups, and Levels
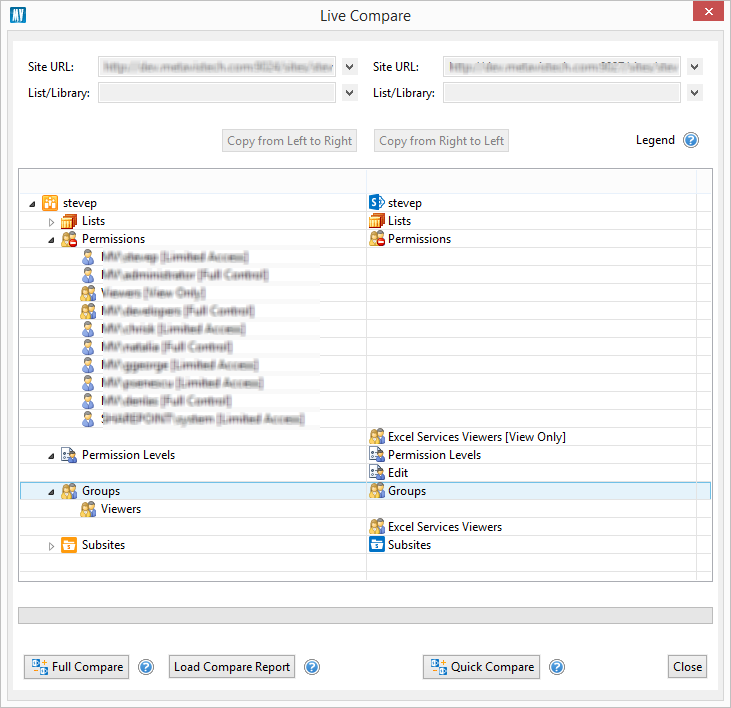
Security Manager provides a unique method for visually comparing and synchronizing permissions within any two site collections, sites or lists. The Live Compare! interface displays up to the moment differences between these objects and allows the user to drill-down and copy the differences to either environment.
The Live Compare! interface consists of single window separated into two parts. A user can drill down into any object type to compare or re-compare that object against its counterpart in the other site. The two "Copy from-" buttons at the top of the window initiate a standard copy operation and will prompt a Wizard.
SharePoint Groups
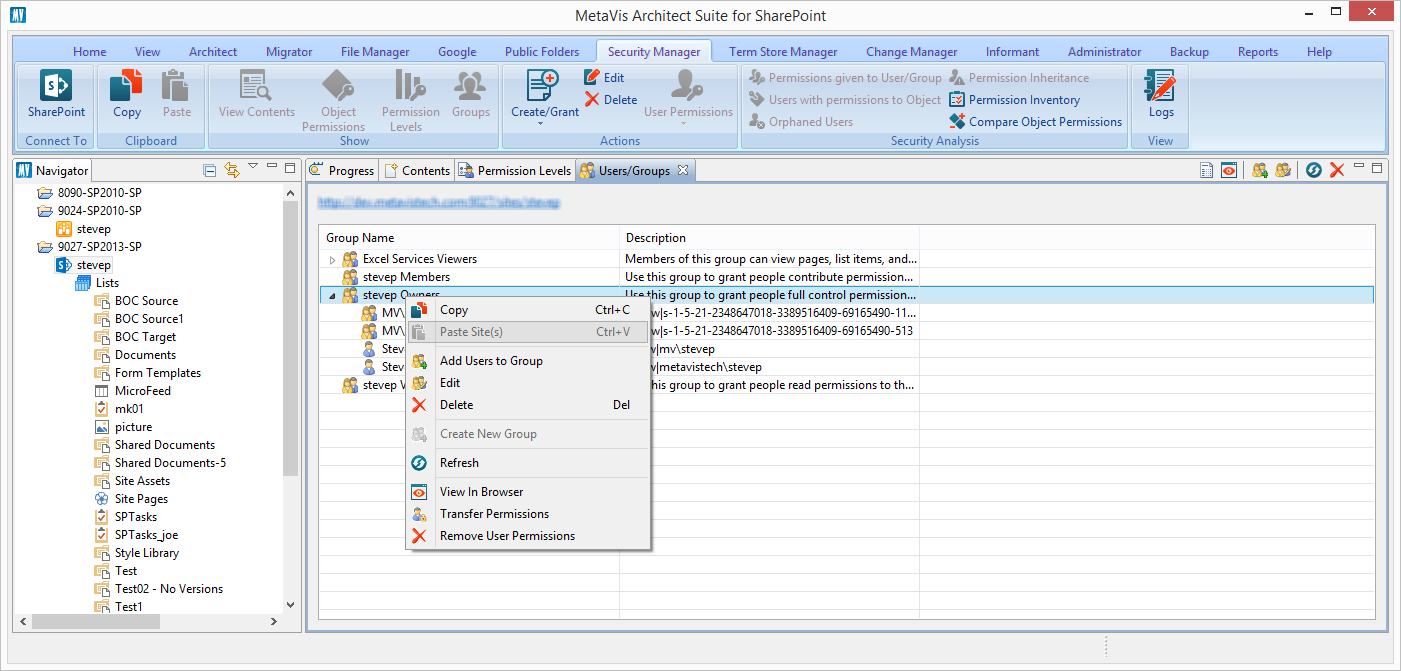
This window displays SharePoint groups associated with a specific site. It may be accessed by selecting a site from the Navigation Pane and then pressing the Groups button in the ribbon.
As with all windows, users will be able to select one or more of these objects and copy them from one place to another. There are also more specific operations available within the interface including adding and removing users from a group, creating, editing or deletion of groups and removing permissions.
Before running a SharePoint Groups report you will be presented with 2 optional parameters, Show Orphaned Groups and Show Total Members.
·Show Orphaned Groups - When included, this will add another parameter to the results which will highlight which of the groups are orphaned (if any are).
|
|
NOTE: this process can be extremely time consuming to complete. |

·Show Total Members - When included, this will add another parameter to the results displaying the number of members per group.
Copy SharePoint Group
Security Manager allows administrators to copy one or more SharePoint Groups from one site to another.
1.Select the source site in the Navigation area.
2.Press the Groups button in the ribbon (or from the right-click menu select Permissions>Show Groups) to expose all the available groups.
3.In the provided window select one or more groups to be copied and press the Copy button the ribbon.
4.In the Navigation area select the target site.
5.Press the Paste button from the ribbon.
6.In the provided window, confirm that information and select the appropriate options.
7.Press Finish to begin the operation.

Add a SharePoint Group
Security Manager allows administrators to add SharePoint groups to sites. Groups may be added to one or more sites at the same time.
1.Select one or more sites in the Navigation area.
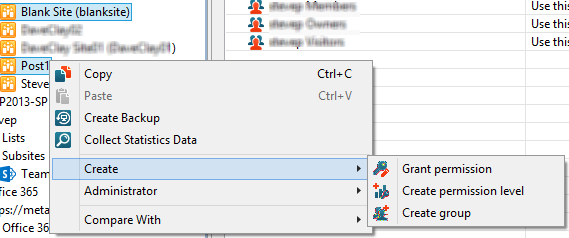
2.Press the Create/Grant button and select the Create Group option to activate the window.
3.In the provided window, enter a group name, group owner and description.

4.Press Finish to create the group.
|
|
NOTE: An existing Group may be removed selecting it in the Users/Groups window and then pressing the Delete button in the ribbon. |