
Recommended Configuration
In order for Essentials Drives to provide optimal performance on your hyper migrations, it is recommended that users set the configuration settings based on their work machine's hardware and Ethernet connection. These settings can be accessed in the Essentials.ini file, where the Essentials tool is installed (C:\Program Files\Quest\Essentials\Essentials.ini).
The following are the settings available for configuration:
· -DeMigrationPoolSize: This is the number of parallel threads that the tool will run to read from the source and then upload to the target. Note that this value is used for both 'Read from source' and 'Write to target' operations while in CSOM mode, while only for Read operations when in Azure Turbo mode. It is critical that resources are allocated appropriate (CPU, RAM and Internet speed) to match an increase of thread count since the content size increases rapidly as each thread load is multiplied by the Chunk Size settings.
·-DeMigrationChunkSize: This number dictates how many packages are to be copied from the source and then uploaded to the target in one thread. Note that this value is used for both 'Read from source' and 'Write to target' operations while in CSOM mode, while only for Read operations when in Azure Turbo mode.
·-DazurePacketMaxCapacity: This value is used for 'Write to target' operations while in Azure Turbo mode. This number dictates how many objects are to be created in Azure Storage within one package. Ensure that the number of packages are limited to have less than 1000 objects and have less than 100MB within each package. This will result in a faster upload speed to Azure.
·-DazureBatchingUploadThreads: This value is used for 'Write to target' operations while in Azure Turbo mode. This number dictates how many parallel threads are to be uploaded to Azure Storage. Again, this value will change depending on CPU, RAM and Internet speed.
It is also recommended that you reserve more RAM for the Essentials tool, particularly for hyper migration purposes, setting the RAM at 8GB-16GB.
Connecting to Resources
In order to be able to use the Metalogix Essentials Content and Navigator panes in order to copy the contents of your various Drives by dragging and dropping, you will first need to connect to them within Essentials. The following are detailed steps on how to connect to your respective Drives.
Connecting to Office 365
If you wish to connect to OneDrive, then follow these steps:
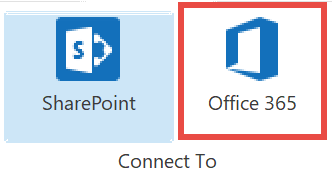
1.Start by selecting the Office 365 option in the Connect To section in the ribbon.
2.A window similar to the one shown below will be generated. In the Name field, enter a folder name. In the Type field, Office 365 Tenant (Tenant Administration Required) is automatically selected as the Type of connection you will be making. Enter the URL of your Office 365 tenant.
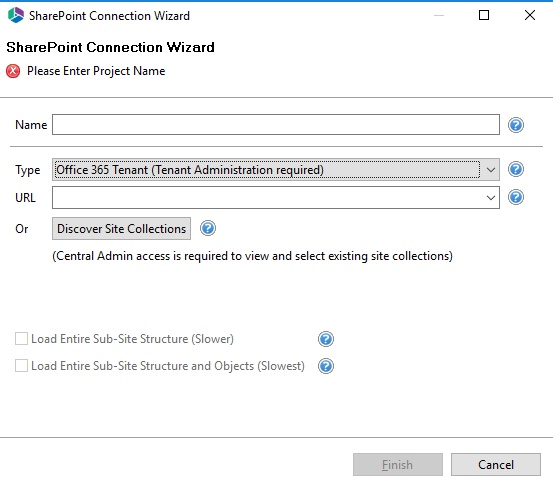
3.You have the following two additional options on this screen:
oLoad Entire Sub-Site Structure - Will load the entire sub-site hierarchy below the current site. To expedite the loading process, no additional objects will be loaded into the sub-site. You may double-click on any sub-site to load its objects individually.
oLoad Entire Sub-Site Structure and Objects - Will load the entire sub-site hierarchy below the current site along with all their objects.
4.Click Finish. The Essentials software will automatically detect the SharePoint authentication mechanism and your client environment. Depending on your configuration, you may be connected automatically or prompted for your credentials. Here are some of the possible scenarios:
·Option 1: If your SharePoint environment is using Integrated Windows Authentication and you are accessing this environment from a computer that is logged into the same domain, then no user/password information is necessary. Press the Next button and you will automatically log in using the credentials of the currently logged in user.
·Option 2: If your SharePoint environment is using Integrated Windows Authentication and you are accessing this environment from a computer that is NOT logged into the same domain then enter your user name, password and Domain in the provided fields and click Next.
·Option 3: If your SharePoint environment is using Form Based Authentication then enter your user name, password and Domain in the provided fields and click Next.
·Option 4: If your SharePoint environment is using Kerberos Authentication please refer to our FAQ area. Detailed configuration instructions are available there.
·Option 5: If your SharePoint environment is Hosted, such as (Office 365, BPOS, FPWeb, etc.) you should be able to connect by entering your user account and password, no differently than any other SharePoint environment.
·Option 6: Password Manager can store account credentials in protected storage to connect to SharePoint. For more information on setting up Password Manager, please refer to our FAQ area.
|
|
NOTE: ·The domain name may also be entered as a part of the user field in either the domain user or the user@domain syntax. ·If you have Digest Authentication enabled, please disable it. It can interfere with the tools ability to connect to SharePoint using Windows Authentication. |

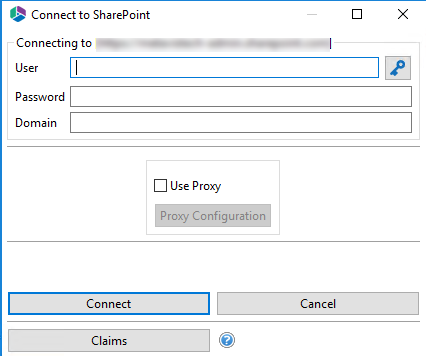
A window requesting a user, password, and domain will pop up. Provide the requested information and click Connect. If your account requires Claims Based Authentication, click the Claims button.
4.The Select Web Application window will appear, select the web applications you wish to connect to. Click Ok.
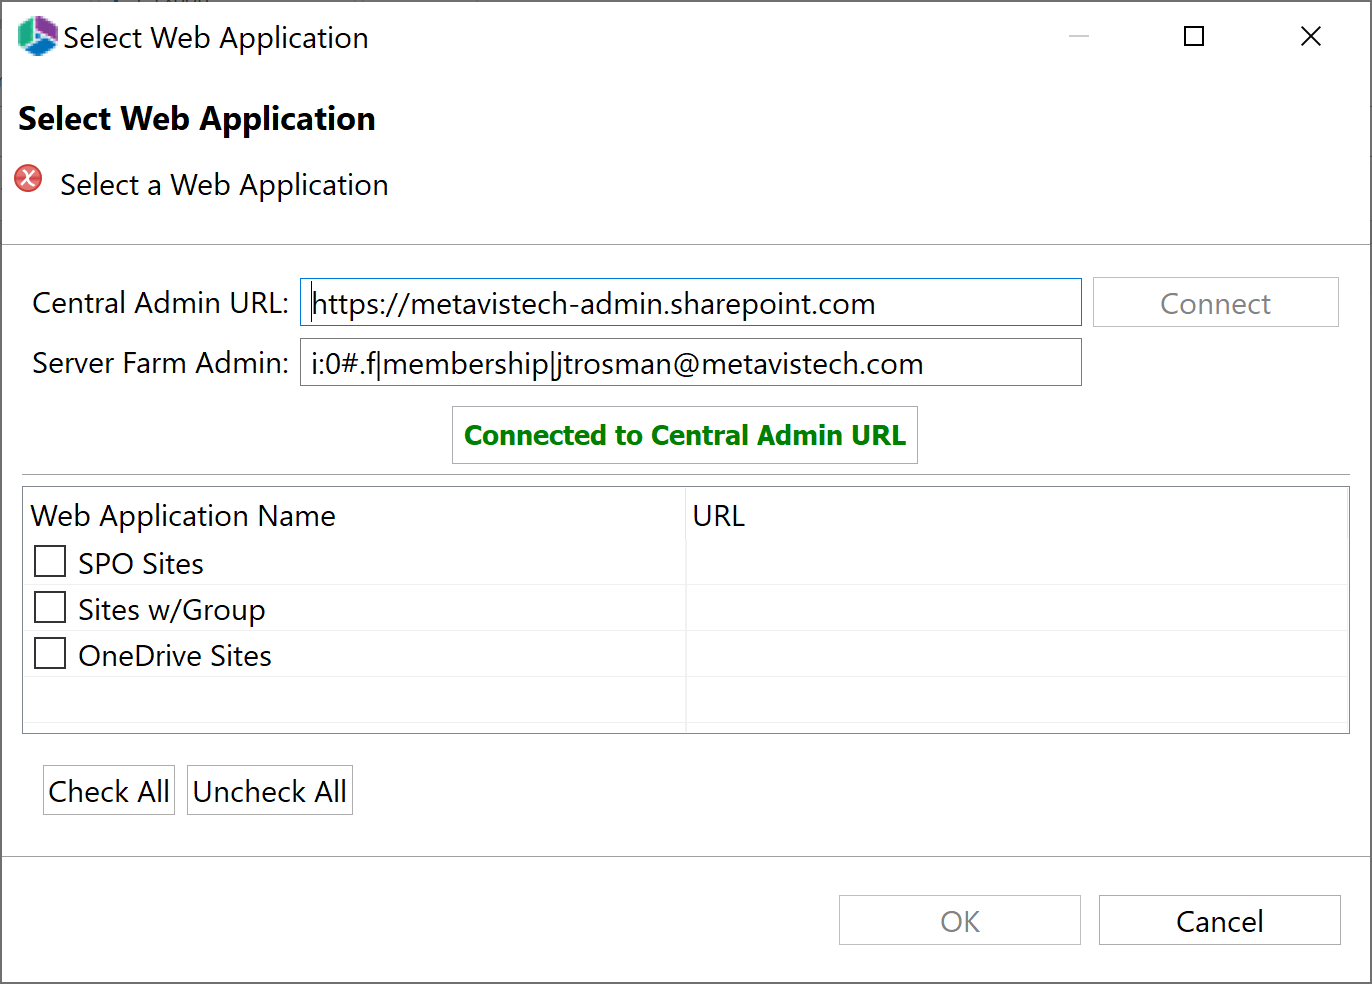
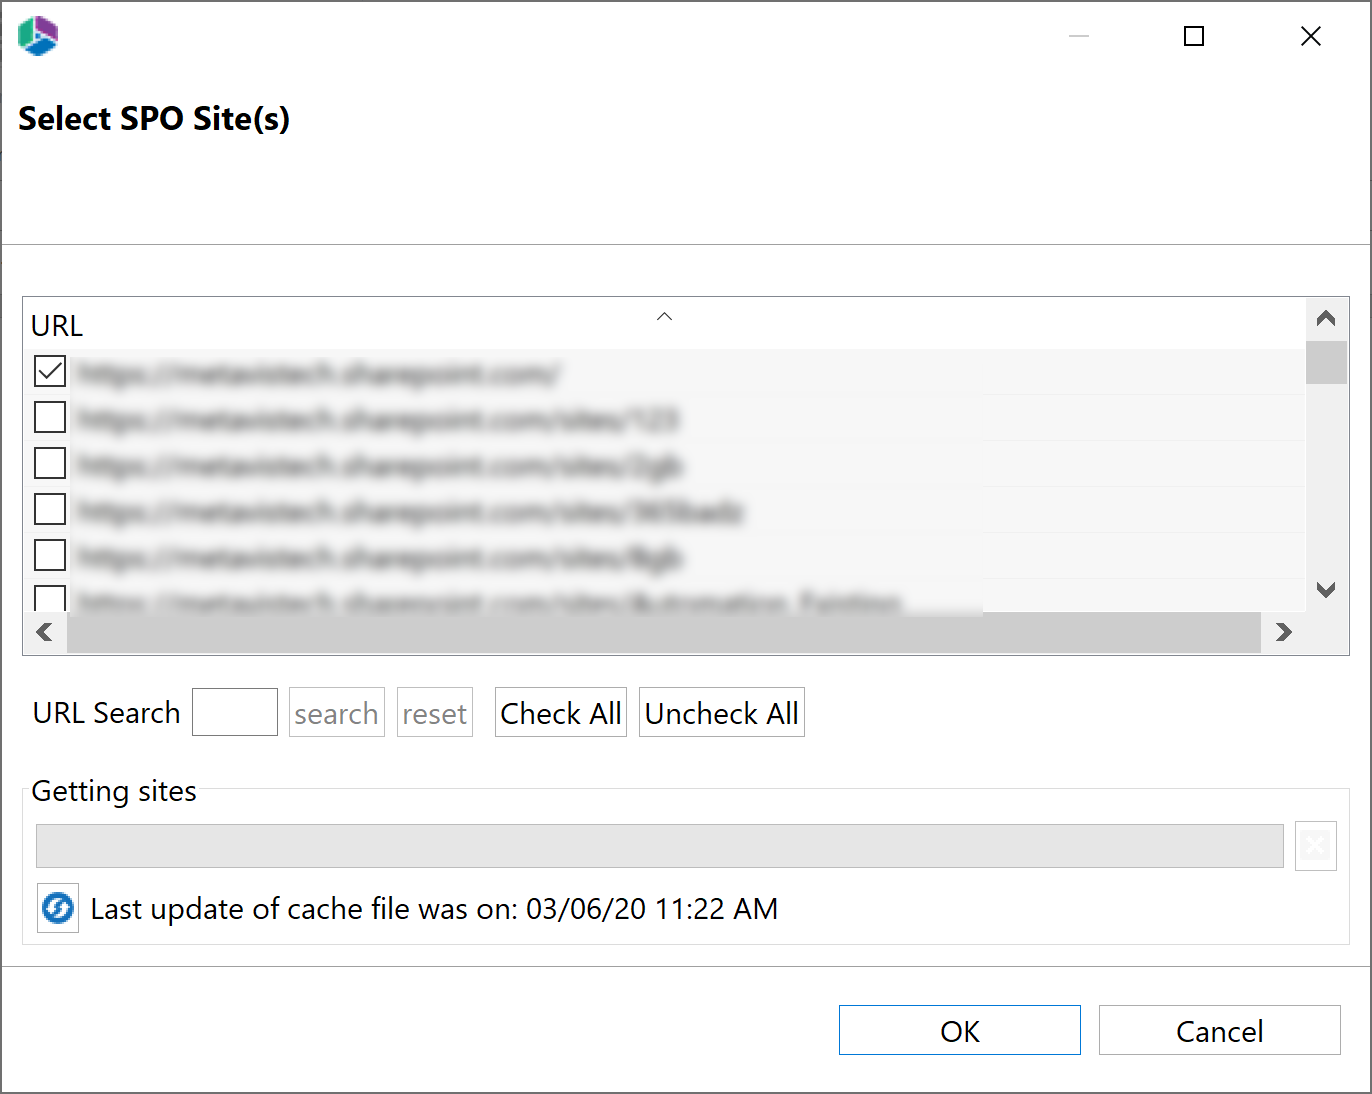
5.The Select SPO sites, Select Sites with Groups, and/or Select OneDrive sites windows will appear, depending on the web application names you chose (if you selected more than one, they will appear in succession), select the accounts you would like to connect to for each. Click Ok.
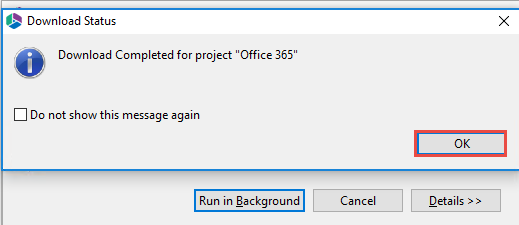
6.The operation will start to run, connecting to the accounts you specified. You will be notified once it has completed, click Ok.
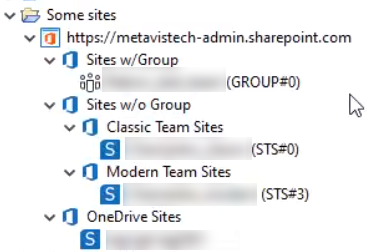
7.This connection is now available in the Navigator Pane. Here you can see the differentiation between Classic Team sites and Modern team sites, as well as an indication of what the site's template is (ex Group#0, Blog#0, etc. )
Connecting to SharePoint
If you wish to connect to SharePoint, do the following: