
Restore Specific Content
The following are instructions for restoring specific SharePoint content:
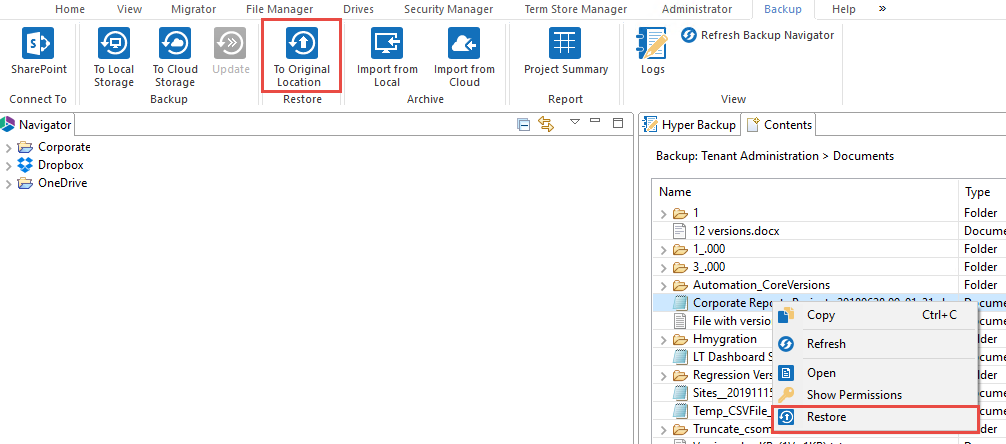
1.Navigate to the backup operation that contains the content you wish to restore. Double click on the list/library where the content resides.
2.The application will display the content in the Contents pane. Select the object(s) to restore.

3.Right-click and select the "Restore" option or choose "To Original Location" button in the Restore section of the Backup Ribbon.
4.The Restore Document Options window will pop up. Select the restore settings you would like to apply and click Finish.

5.Once you have configured all of your settings, click Finish to complete the restore.
Classic OneDrive Backup
Metalogix Essentials for Office 365 Backup is a simple and easy to use backup tool that empowers administrators and power users to efficiently backup, archive, and restore their content from SharePoint, Office 365 SharePoint Online, OneDrive for Business sites, and Exchange Online mailboxes (when licensed). With Metalogix Backup, you can quickly retrieve individual items or entire sites.
·Site Backup: Backup and extract site collections, sites, lists and libraries, documents and versions, permissions, views, column groups, fields, terms, and content types in SharePoint or Office 365.
·OneDrive for Business Backup: Backup and extract content, versions and SharePoint permissions from one or more users' OneDrive for Business Documents library within your Office 365 tenant.
·Exchange Online Mailbox Backup: Backup and extract messages, folders, calendar events, tasks and more from one or more users' Exchange Online Mailboxes within your Office 365 tenant. This feature is automatically disabled and must be manually enabled.
·Cloud Storage: Backup and Restore to/from Azure and Amazon S3
·Extract: Extract legacy or orphaned content from SharePoint and Office 365 to a file system based on specific search and filter criteria of your choice.
·Restore: Restore content to existing SharePoint or Office 365 site collections, sites, list and libraries, and folders without rolling back the entire SharePoint farm. (Cannot be used for Migration. Choose Metalogix Essentials for Office 365 migration for the best results)
·Ensure High Availability: Access critical content and ensure continuous 24x7 business operations in Office 365 and other hosted environments in the event of a service interruption through local backups.
·Rapid Item Level Restore: Granularly restore selected SharePoint items from the local backup copy with the option to include metadata, versions, and authorship properties.
·Schedule Backups: Use Windows scheduler to run full or incremental backups from PowerShell or the command line as a part of larger batch jobs.
|
|
NOTE: As with any Backup solution, it is strongly recommended that you thoroughly test the solution in a non-production environment prior to running any operations against your production data. Make note of all backed up and restored objects, their behavior, the process itself, scheduled operations as well as the results. If at any time you have additional questions about objects and functionality, please open a ticket with support for additional information. |

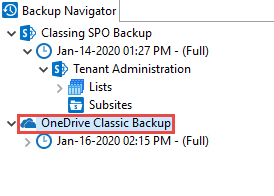
Creating OneDrive Classic Backup
In order to perform the OneDrive Backup as a Classic Backup you must first turn off Hyper Backup.
Metalogix Backup supports the ability to create a backup of any single OneDrive for Business or all OneDrives across your Office 365 tenant (when licensed).
To create a backup for OneDrive for Business sites in your Office 365 tenant:
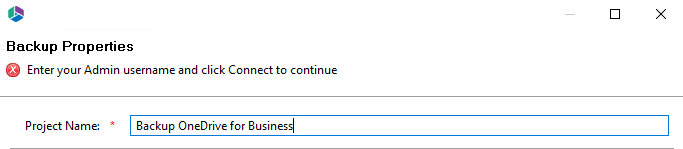
1.Press the "To Local Storage" or the "To Cloud Storage" button located in the ribbon. This will generate the Backup Properties screen.

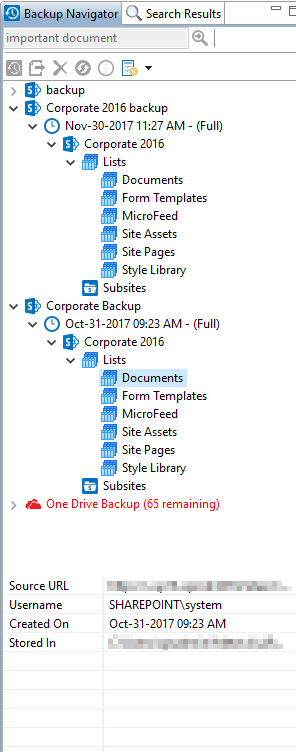
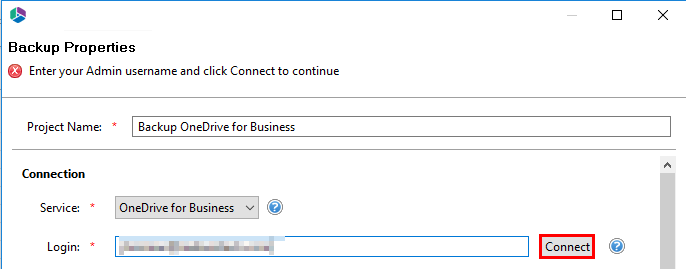
2.Enter a project name for your Backup, this name will be displayed in the Backup Navigator.
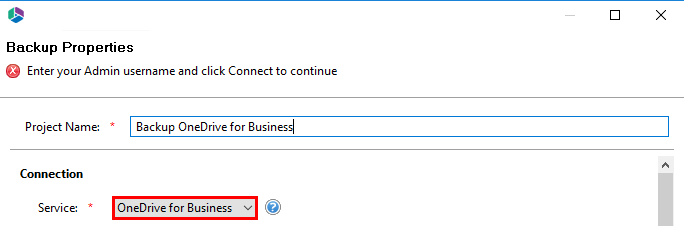
3.Under the Connection section of the wizard, select "OneDrive for Business" as your Service type.
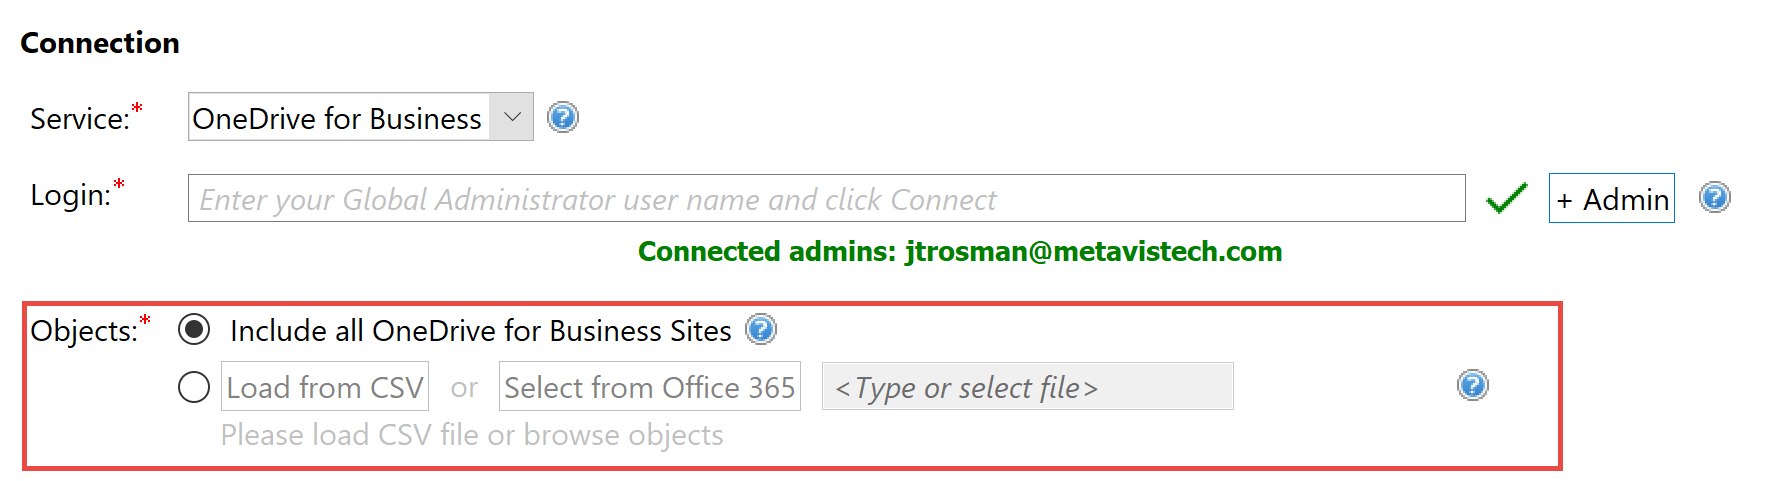
4.Enter your Global Administrator username and click the Connect button.
5.When prompted, enter your Global Administrator password and click Connect.
|
|
NOTE: ·To backup all OneDrive for Business sites you will need to enter your Office 365 Global Administrator login and password. ·If creating a backup of a Single OneDrive for Business Site, the account used to create the backup must already have at least Designer permissions to the OneDrive being backed up. |
6.You can choose to "Include all OneDrive for Business Sites", which will create a backup of all of your OneDrive for Business Sites, or you can select to specify which OneDrive for Business sites you wish to backup by either loading a list from a CSV file (by clicking Load from CSV), or selecting from a list provided by clicking Select from Office 365.
7.Choose your desired Backup, Retention, and Location options (Note: a location must be specified in order to continue).
Backup Options
Include Permissions - this option will include SharePoint site, list, and item level permissions from each uniquely permissioned object.
Include Content - this option will include the content within the onedrive folders in the backup.
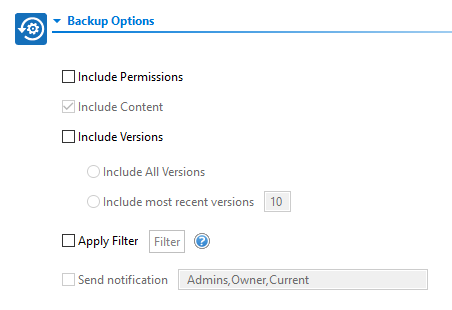
Include Versions - this option will allow you to specify how many versions of each item to include with the backup. If left unchecked, no versions will be included, if "Include All Versions" is selected then all versions will be included. If "Include Most recent versions" is selected then only the number of versions specified will be included, starting with the most recent and working backwards (major and minor versions are included).
Apply Filter - this option will allow you to customize a filter to include/exclude content based on metadata.
Send Notifications - Enter a specific user email address. For two or more, separate each email address with a comma.
Email(s) would be used in email notifications and in send test email option.
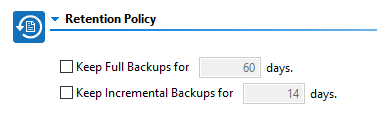
Retention Policy
Keep Full Backups - if configured, this will specify how long the software will retain any Full backups that were created in this project. The retention purge will occur at the start of the next run or scheduled backup update for each project which contains a configured retention policy.
Keep Incremental Backups - if configured, this will specify how long the software will retain any Incremental or Differential backups that were created in this project. The retention purge will occur at the start of the next run or scheduled backup update for each project which contains a configured retention policy.
Save Backup to Location
Save to - this option will determine if the backup project is stored on your local storage (local or network path) or within your cloud storage provider (Amazon S3 or Azure)
Location - this field will display the full path to the location where the backups will be stored. Click the Ellipsis button to the right to configure this location.

8. Click Finish to begin. For information on how to connect to Cloud storage, see the Connecting to Cloud Storage section.
Updating OneDrive Classic Backup
Once a Backup exists, users can create updates by capturing a full or incremental snapshots of their OneDrive environment. Here are the basic guidelines for this process:
1.Select a OneDrive Backup project from the Backup Navigator panel.
2.From the Ribbon (or right-click menu for the selected backup) select the Update Backup option. This will generate the Update Backup Properties screen.
3.A user may select one of several options for the update:
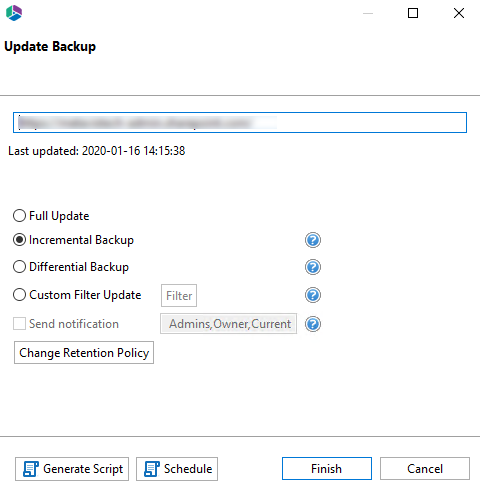
Full Update - this will create a full snapshot of your currently configured backup project.
Incremental Backup - this will capture only the changes in your backup project since the last update, regardless if that update was Full or Incremental. In this scenario a user could create a series of Backups containing data changes for a specific time period.
Differential Backup - this will capture all the changes in your backup project since the last full Backup, even if other incremental Backups have been created in the interim.
Custom Filter Update - Selecting this option will allow you to update the filter options for the backup. Filters allow the inclusion or exclusion of items by user defined criteria, such as date, size, file extension, file name, or file owner.
Please note that the Apply Filter functionality is only applied to selected containers (i.e. site, lists or folders). If you select specific content (documents or items) then those objects will be included with the operation regardless of the filter applied. If you want to selectively include content, please select the container that this content resides in and apply the filter or apply the filter against the container first, then select the remaining content.
For the File Extension and Exclude Folders parameters only, you can use "," to set more than 1 criteria. For example, use this format "png,docx,pptx" to include multiple file extensions.
"Size" filter should have a whole number without decimals. It recommended not to use operators "Equal" and "Not Equal" to avoid difficulties with accurate file size if it more than 1 MB.
Use "Save Filter" option to save filter settings to file and load it in different wizards or Profile Manager. Note that filter file and filter fields have to match. For example, set of fields in filter will be different if you copy file into two different libraries.

Send Notification - Enter a specific user email address. For two or more, separate each email address with a comma.
Change Retention Policy - selecting this button will open the retention policy properties window, allowing you to update the retention policy for the backup.
4.Press Finish to update the Backup now or choose the Schedule button to configure a Windows Task Scheduler task to schedule the update backup (See the Scheduling Backup Jobs section for more information).