
Managing Site Provisioning Profiles
Before an end user can request a new site collection or site, at least one Provisioning Profile must have been created. Once created, the Provisioning Profile becomes available to end users when a request for a new site collection or site is initiated.
To launch the ControlPoint Provisioning Profile Manager:
From the Manager ControlPoint panel, choose Governance Policy Manager and Provisioning > Provisioning Profile Manager.
To create a Provisioning Profile:
1From the Provisioning Profile Manager main page, choose [Create].
2Complete the fields on the Build New Provision Profile page as follows:
§Enter the Profile Name as you want it to display in the Provisioning Profile Manager list.
§Enter the End User Description as you want it to display in the Request a Site or Site Collection page.
§Enter the Profile Description as you want it to display in the Provisioning Profile Manager list.
§Select a Profile Type (Site Collection or Sub Site)
§Select a Base SharePoint Template.
NOTE: The Custom template tab is intended for a future release.
3If you want to Attach Additional Profile Settings:, you can
§Click the appropriate linkSet Site Collection Properties (if available), Set Site Properties, or Set List Propertiesand complete the applicable window.
NOTE: If you select Enforce Policy and schedule the operation to run on a recurring basis, it will be enforced for any site collection or site created using that Profile.
4Click [Create].
To edit a Provisioning Profile:
1From the Provisioning Profile Manager main page, check the box to the left of the Profile that you want to edit.
2Click [Edit].
3Edit the fields on the Edit Provision Profile page as appropriate.
4Click [Update].
To delete one or more Provisioning Profiles:
1From the Provisioning Profile Manager main page, check the box to the left of the Profile(s) that you want to delete.
2Click [Delete]
You will be prompted to confirm your action before continuing.
How New Sites and Site Collections Are Requested
An end user can request a new site or site collection as long as:
·the url for the Request Site or Site Collection page has been made available
AND
·the requester can be authenticated in Active Directory as a valid Office 365 user
AND
·the ControlPoint Application Administrator has specified the credentials to use for provisioning request submission.
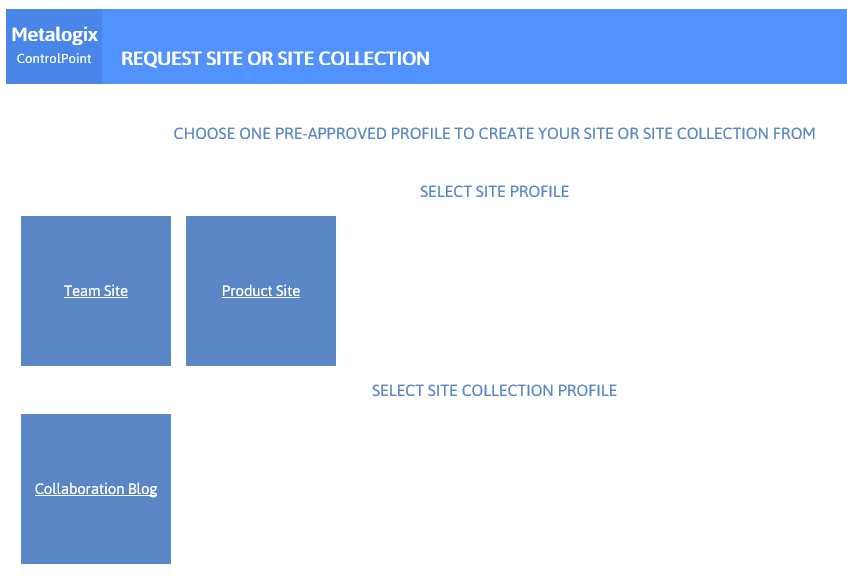
When the Request Site or Site Collection page is launched, the user will be prompted for login credentials. Once logged in, the user can select from the available Profiles that were created via the ControlPoint Provisioning Profile Manager.
Upon selecting a Profile, the Create Site (or Site Collection) page displays, prompting the requester for the following information:
·a Title and Description for the new site
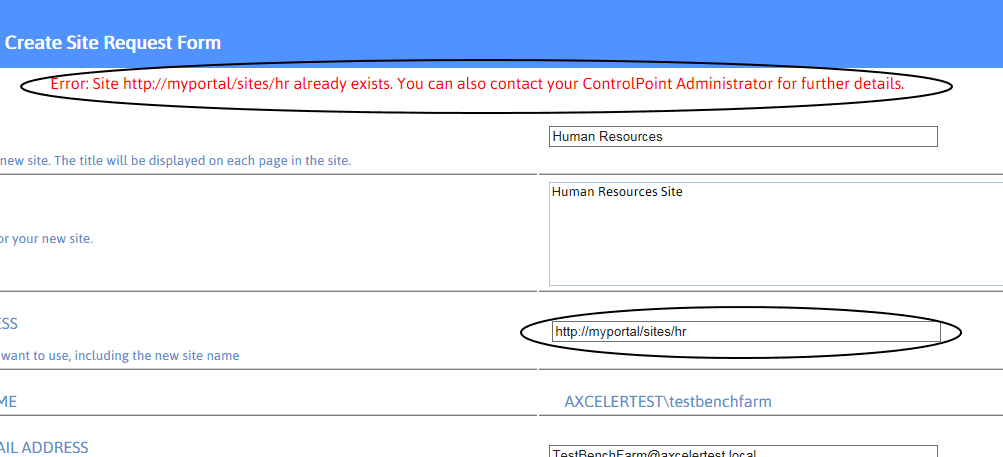
·the Web Site Address that the requester wants to use for the new site
NOTE: The requester must enter a full URL, including the name of the new site. For example, if the requester wants to create a subsite called Blog under mycompany.sharepoint.com/sites/sales, a valid URL might be https://mycompany.sharepoint.com/sites/sales/blog.
The Requester Name and Requester Email address pre-populate with the login name and email address of the current user. The Requester Email Address can, however be changed. If the request is for a Site Collection, Primary Site Collection Administrator and Primary Site Collection Email Address fields are pre-populated with the current user's information, but they can also be changed.
·When the requester places the request, ControlPoint validates the information provided by the requester, including that the URL is valid and available. If the validation fails, any error messages display at the top of the form.
If the validation is successful, a confirmation number is generated and displays at the top of the form, and a confirmation email is automatically sent to the requester.

NOTE: Once a request is submitted, it is registered in the Site Creation Requests list on the ControlPoint Configuration Site.
Making Provisioning Profiles Available to End Users
After at least one Provisioning Profile has been created, the next step is to make the Request Site or Site Collection page available to end users so they can submit requests for new site collections and sites.
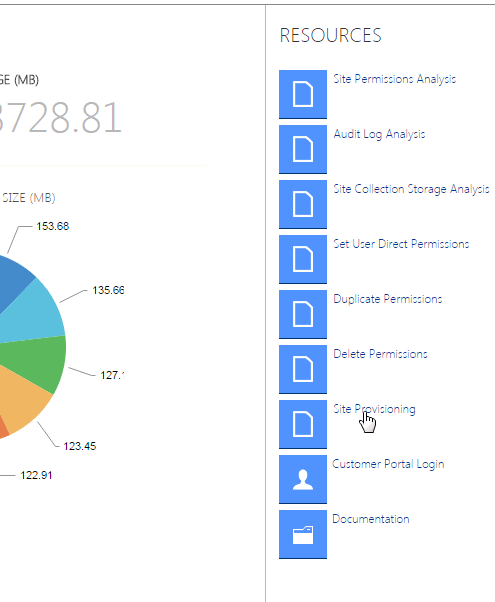
The Request Site or Site Collection Request page is initially accessible via the ControlPoint home page dashboard, in the Resources section.
For non-ControlPoint users, the Request Site or Site Collection page can be accessed via the following url:
http://<server_name>:<port_number> or <host_header_name>/_layouts/axceler/CPSiteProvisioning.aspx
(The server machine name is the name of the machine on which the ControlPoint Online application is installed 2828 is the default port number for ControlPoint Online.)
Managing Site Provisioning Requests
From the Manage Site Provisioning Requests page, you can:
·monitor incoming requests for site collections and sites
·approve or reject the requests, and
·edit request details, such as title, description or url.
To launch the Provisioning Requests Manager:
From the Manage ControlPoint tree, choose Governance Policy Manager and Provisioning > Provisioning Requests Manager.

Note that you can filter your view based on the state of the request:
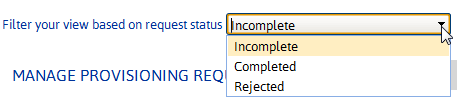
·The Incomplete view, includes requests with a status of:
§Requested
§Approved
§In Process
§Error
·The Completed view shows all requests which have been processed and for which site collections/sites have been created and all of the Additional Profile Settings (properties and Governance Policies) been applied.
·The Rejected view shows all Rejected requests.
To edit/view details of a Provisioning Profile:
1In the Manage Provision Requests grid, check the box to the left of the request that you want to view/edit.
2Click [Edit].
Note that you can edit the Title, Description, and URL of the request. You can also approve or reject the request by changing the Request Status.
If a request is Rejected, an email is automatically sent to the requester. If a request is Approved, it automatically starts Processing and is Completed when the site collection or site is created. Once the site or site collection is created, an email is automatically sent to the requester.
Note that you can edit the Title, Description, and URL of the request. You can also approve or reject the request by changing the Request Status.
If a request is Rejected, an email is automatically sent to the requester. If a request is Approved, it automatically starts Processing and is Completed when the site collection or site is created and all of the Additional Profile Settings (properties and Governance Policies) been applied per the new site collection or site. Once the site or site collection is created, an email is automatically sent to the requester.
NOTE: Additional Profile Settings are applied the next time the scheduled job that has been defined for the operation has run.
1Click [Update].
To approve one or more requests without viewing or editing details:
1From the Provisioning Request Manager main page, check the box to the left of each request you want to approve.
2Click [Approve].
To delete one or more requests:
1From the Provisioning Requests Manager main page, check the box to the left of the request(s) that you want to delete.
2Click [Delete]
You will be prompted to confirm your action before continuing.