Chat now with support
Chat mit Support

On Demand Migration for Email Current - User Guide

Introduction Preparing Migrations Test and Pilot Migrations Configuring and Running Migrations Post Migration Third Party Assessments and Certifications Glossary

Roles and Permissions

On Demand Migration for Email uses a role-based approach to manage user permissions in the Users and Roles tab. The following table describes the migration-related permissions for the default roles Full Administrator and Migration for Email Admin:

Table 4: Roles and Permissions
Permission Actions Full Administrator Migration for Email Admin
Manage Migration Plans
  • Create a migration plan from scratch.
  • Edit / Delete / Rename / Copy a migration plan created from scratch.
  • The actions defined by the permission Read.
Execute Migration Plans
  • Start / Stop / Restart a migration plan created from scratch.
  • The actions defined by the permission Read.
Manage Migration Plans From Templates
  • Create a migration plan from template.
  • Edit / Delete / Rename / Copy a migration plan created from a template.
  • The actions defined by the permission Read.
Execute Migration Plans From Templates
  • Start / Stop / Restart a migration plan created from a template.
  • The actions defined by the permission Read.
Manage Templates
  • Create / Edit / Delete a migration template.

  • The actions defined by the permission Read.
Read
  • View the existing migration plans (including those created from a template) and templates.
  • Download and view audit logs for a migration template.
  • Download and view all types of reports for a migration.


Note: Users without any permissions can still log in to ODME and will see a blank page after login, but they cannot work with the product until proper permissions assigned.

Using Azure AD Single Sign-On to Access ODME

Azure Active Directory single sign-on (Azure AD SSO) enables users to access On Demand Migration for Email based on their single organizational account in Azure Active Directory. Single sign-on enables users to authenticate to the application using their single organizational account.

To configure access to On Demand Migration for Email via Azure AD SSO:

  1. First, the administrator of your organization must grant On Demand Migration for Email access to your organization’s data. To do this, perform the following steps:
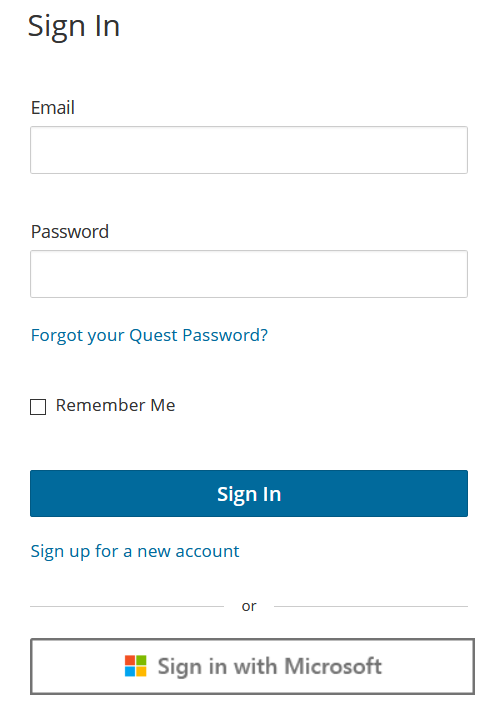
    1. Go to https://portal.ondemand.quest.com/ and click Sign In.
    2. In the Sign In dialog, click Sign in with Microsoft.


    3. Enter Azure AD administrator credentials.
    4. Click Accept in the dialog that opens to grant consent to the On Demand Migration for Email application.
  2. After that you can assign the ODME roles to Azure AD security groups directly, so that users in these groups would automatically gain access to ODME.
    1. For that, go to Users and Roles tab in ODME, select the role you need and click Users.
    2. Click the Add Azure Group button.
    3. In the dialog that opens, you can choose the group from the drop-down list. This list is populated with Azure AD groups that the user is a member of. You can also specify the group name in the following format: <domain name>\<group name>.

Overview of The Migration Process

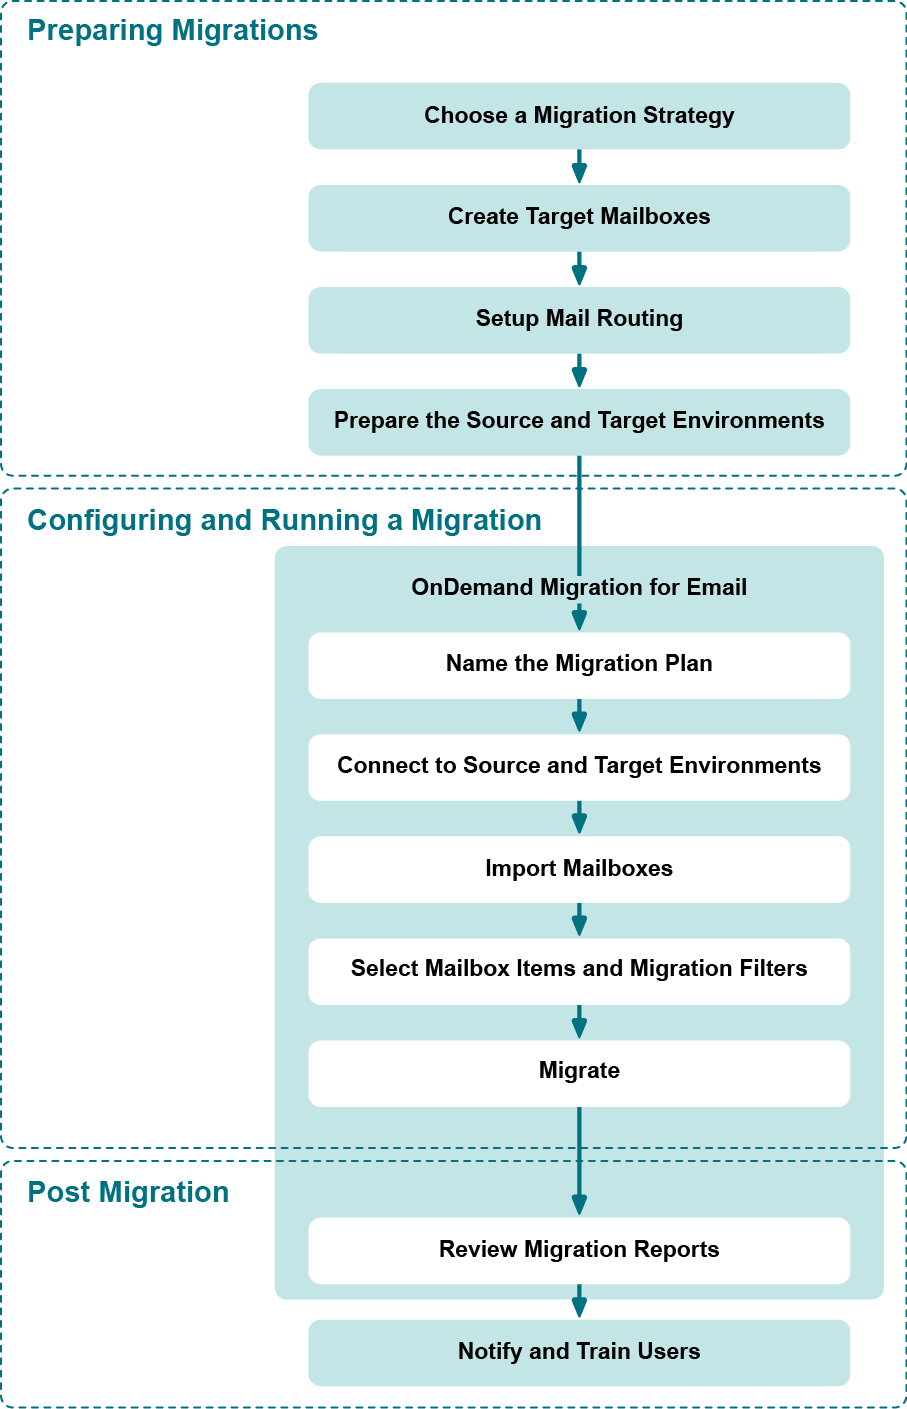
This chapter is designed to give new On Demand Migration for Email users an overview of each step in the migration process, which can be divided into three general stages:

  1. Preparing a Migration— These steps are performed before logging in to On Demand Migration for Email and include preparing your source and target email services for a migration.
  2. Configuring and Running a Migration — These steps involve connecting to your source and target email services, importing mailboxes, selecting which items to migrate, and then running a migration.
  3. Post-Migration — These steps are optional and are performed after a migration. They include viewing reports and training users on the new mail system.

Note:

  • ODME does not synchronize source changes with the target.
    Sample usage scenario: If a message was migrated to the target, the customer delete it in source mailbox and then migrate it again, the migrated message is still in the target in the same folder.
  • ODME does not update the Read/Unread status for email messages on the target if this status is changed on the source.

References:

The illustration below shows the stages of the migration process and the order in which each step should be performed.

Preparing a Migration

Before running a migration with On Demand Migration for Email, you should consider carefully which migration strategy best suits your needs. Then, if you haven’t already done so, you should create the target mailboxes in the target email service and (optionally) implement a mail routing strategy. Lastly, you should configure your source and target email service to ensure that On Demand Migration for Email can connect to each one and execute a migration.

  1. Choose a Migration Strategy — Depending on various factors, you can choose to perform either a one-time, “big bang” migration (cutover) or perform several staged migrations (co-existence). Choosing the right strategy will minimize migration errors and make it easier for users to transition into the new mail system.
  2. Create Target Mailboxes — Create the target mailboxes in the target email service. On Demand Migration for Email does not create them for you.
  3. Setup Mail Routing — Implement a mail routing strategy that will enable users to send and receive mail from both internal and external sources.
  4. Prepare the Source and Target Email Service — Configure your source and target email services to allow On Demand Migration for Email to connect to them and run a migration.
Verwandte Dokumente

The document was helpful.

Bewertung auswählen

I easily found the information I needed.

Bewertung auswählen