
2.3. Installing Software on the Migration Control Center
-
To launch the InstallShield install kit, double-click the Migrator for Notes Setup.exe file from the download location:
-
Click Run to start the wizard
-
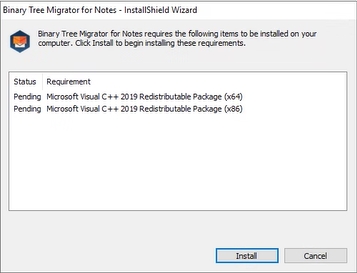
If required software is not installed, a dialog box shown below will be displayed. To allow the wizard to install the required software, click Install.
|
|
|
|
|
|
|
|
|

Several dialog boxes, similar to the ones shown below, are displayed during requirement downloading and installation:
-
When completed, the wizard displays the Welcome screen; click Next:

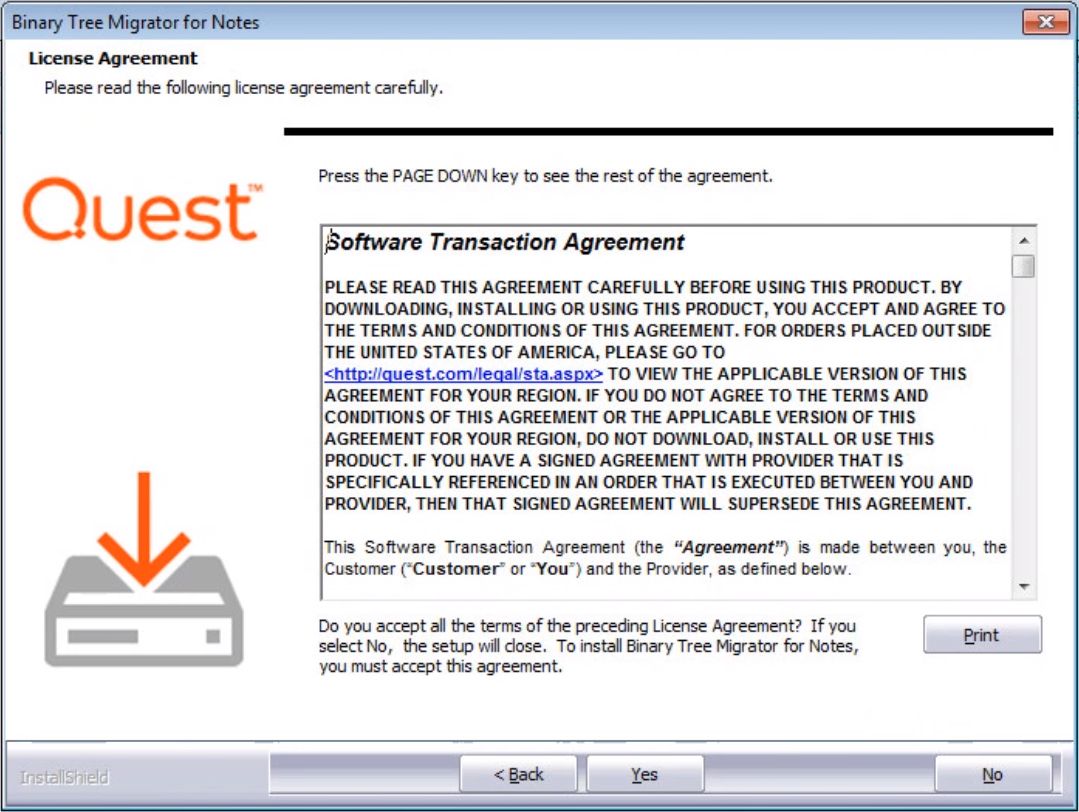
The wizard displays the License Agreement screen. Review the License Agreement and accept it; click Yes:
-
Select the destination path for installing Migrator for Notes in the Choose Destination Location screen. It is strongly recommended that you keep the default destination folder; click Next:

-
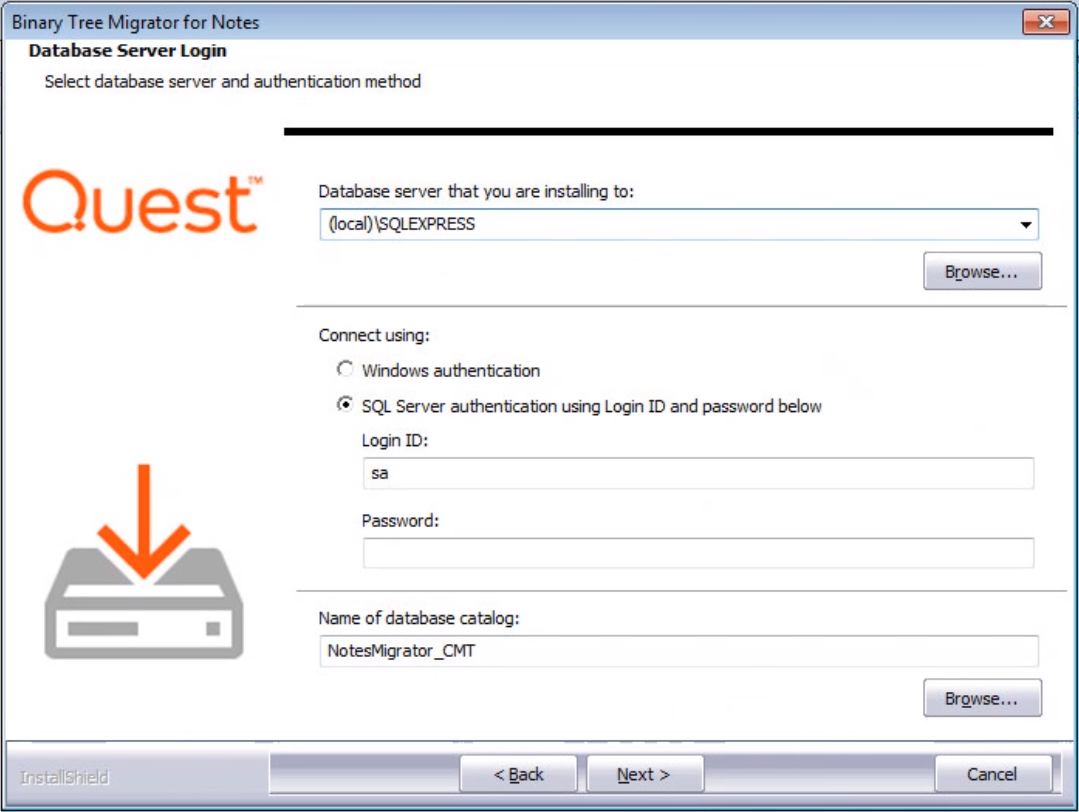
Enter the database server location and the credential information, and then click Next to continue. When SQL Server Express is installed by the installer, the password is set to “Password1” by default:
-
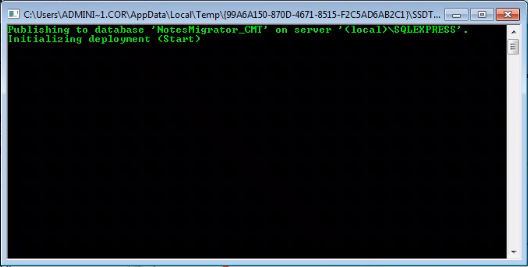
Several screens similar to the one below appear while the database and IIS is installed and configured:
-
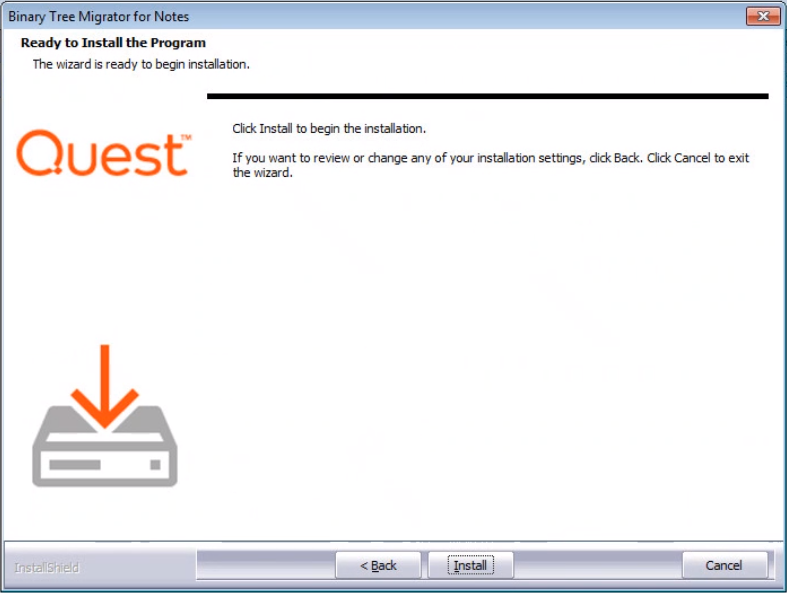
The Ready to Install Screen appears; click Install to begin the installation:
-
The wizard notifies when the software is successfully installed and configured on your system; click Finish to close the wizard:

-
The wizard creates the CMT for Exchange subfolder in the Program Files folder. Within this folder is another subfolder Notes Tools that also contains a copy of the Migrator for Notes Domino database. This copy can be used as a backup if needed.

In addition, a shortcut is added to the All Programs menu; click Start -> All Programs -> Binary Tree -> Notes Migrator.
2.4. Verify .NET Framework Features
-
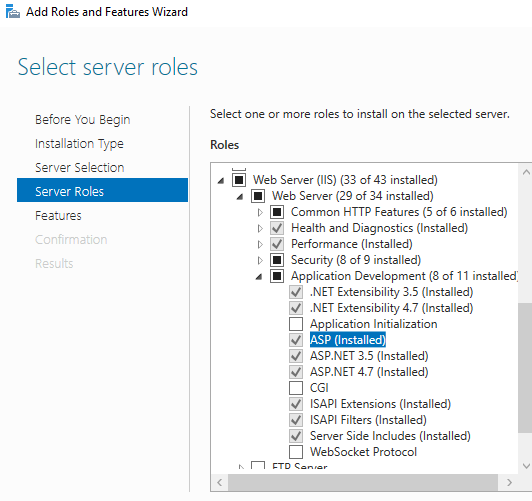
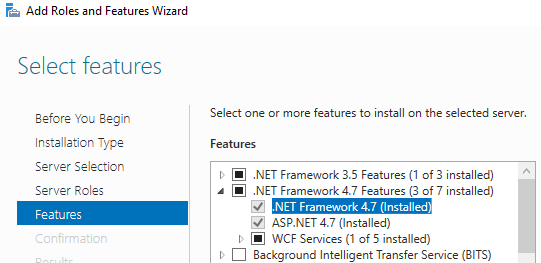
After the installation, open the Windows Server Manager and navigate to Configure this local server | Add Roles and Features | Features.
-
Ensure that . ASP.NET and .NET Framework are enabled (installed).
-
In the event that these are not enabled, select the Frameworks and ASP.NET and add the features.
.
|
|
|
2.5. Setting the CMTE App Pool to Enable 32-bit Applications
-
After the installation, open the IIS Manager and navigate to Application Pools
-
Right-click on .NET v4.5 in the Application Pools list and select Advanced Settings
-
Set the Enable 32-bit Applications setting to True
-
Restart the IIS Services
2.6. Repairing, or Uninstalling Migrator for Notes
The Migrator for Notes software can be modified, repaired, or removed after it has been installed by executing CMT Exchange Setup from the Control Panel.
-
In the Add or Remove Programs applet, locate the Binary Tree Migrator for Notes icon in the Control Panel and select it. To repair the application, select Repair; if you wish to remove the application, select Remove:
