
About the OWA extension
The Outlook Web Access (OWA) extension enables users to access and work with archived e-mails over the web. This extension is necessary only if you plan to allow users to access and retrieve archived emails over the web. Without this extension, the users will not be able to access the full content of the archived messages in OWA.
This guide describes how to install, configure and work with the Archive Manager OWA extension.
|
|
NOTE: Native rehydration or exports are intended for small data sets. For operations on large data sets, use a specialized utility such as Quadrotech Archive Shuttle (QAS). |

System requirements
·Windows Server 2016 / 2019 / 2022
·.NET Framework 4.8 or higher (https://dotnet.microsoft.com/en-us/download/dotnet-framework/thank-you/net48-web-installer)
|
|
NOTE: Make sure the .NET Framework 4.5 Features / WCF Services / HTTP Activation is checked under Server Manager > Add Roles and Features Wizard. |
Supported browsers
·Mozilla Firefox 69 and later
·Google Chrome 76 and later. See Steps to configure the Chrome browser.
·Opera 63 and later
·Microsoft Edge
|
|
NOTE: A valid certificate of the server where the OWA extension is installed must be imported into the trusted certificate store of the Microsoft Exchange Server. |
IIS configuration
Verify that you have installed the fix for MVC applications. To find appropriate update according for your OS see http://support.microsoft.com/kb/980368. If you are unable to browse the MVC application, you can try to register the framework for IIS by running the followings commands:
·%windir%\Microsoft.NET\Framework64\v4.0.30319\aspnet_regiis.exe ir
·IISreset
If required, uncheck Require SSL in IIS SSL Settings for OWA.
Installing the OWA extension
The Outlook Web Access (OWA) extension can be installed on any server in the same domain where Archive Manager for Exchange is installed. However it is recommended that the extension is installed on the primary Archive Manager for Exchange server.
In this chapter
Granting the super-user impersonation permissions in Exchange Server
Steps to install the OWA extension
Granting the super-user impersonation permissions in Exchange Server
The Archive Manager super-user must be granted impersonation permissions in the domain Exchange Server if you plan to access archived emails through OWA. Use the Exchange Management Shell to grand the super-user impersonation permissions across all Exchange 2016/2019/2022 servers in your environment:
1.Start the Exchange Management Shell.
2.To grant the super-user Impersonation permissions, run the following command:
New-ManagementRoleAssignment Name "Impersonation-MAM4Exchange" Role "ApplicationImpersonation" User "<superuser-name>"
Steps to install the OWA extension
1.Download and unzip the installer package.
2.Locate and run the extension installer. The default location is <installer-folder>\Quest\Archive Manager Installation Package\OWA Extension\Archive Manager OWA Extension Setup.exe. The Welcome window opens.
3.Click Next. The License Agreement window opens. You can click Print to to take a printout of the agreement.
4.Click Yes to continue. The Choose Destination Location window opens.
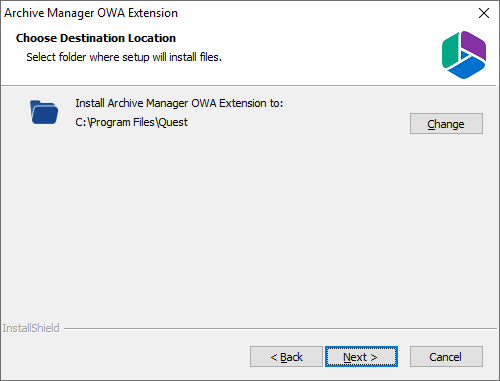
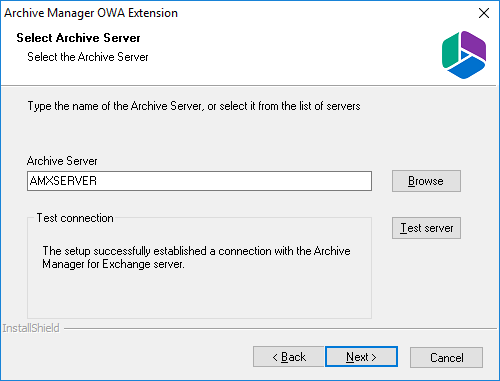
5.Click Change to select another folder or click Next to accept the default location and continue. The Select Archive Server window opens. You can enter the server name or click Browse to locate the Archive server. Then click Test server to verify the connection to the Archive server.
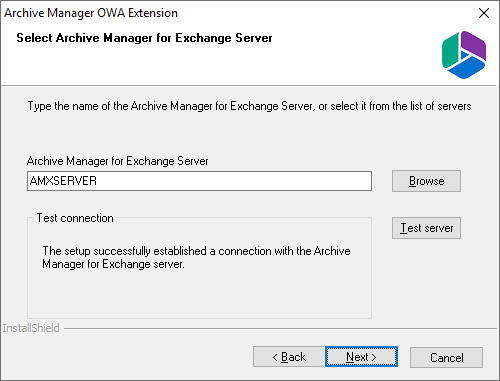
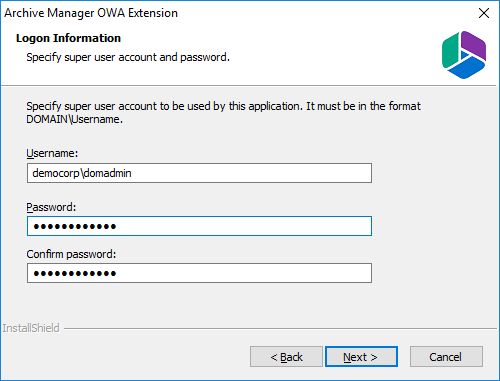
6.Click Next. The Logon Information window opens.
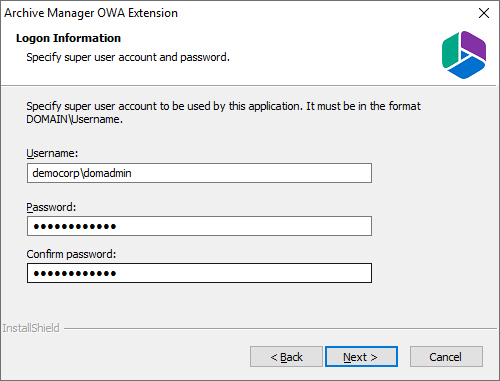
Enter the superuser credentials in the Username and Password fields. The superuser was configured during the installation of Archive Manager and is usually the enterprise admin of your domain.
7.Click Next. The Ready to Install the Program window opens.
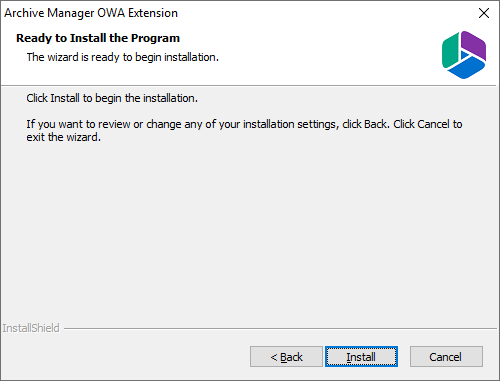
8.Click Install. When the installation completes, the configuration wizard opens. See Configuring the OWA extension to complete the installation.
1.Download and unzip the upgrade installer package.
2.Locate and run the extension installer. The default location is <installer-folder>\Quest\Archive Manager Installation Package\OWA Extension\Archive Manager OWA Extension Setup.exe. The Welcome window opens.
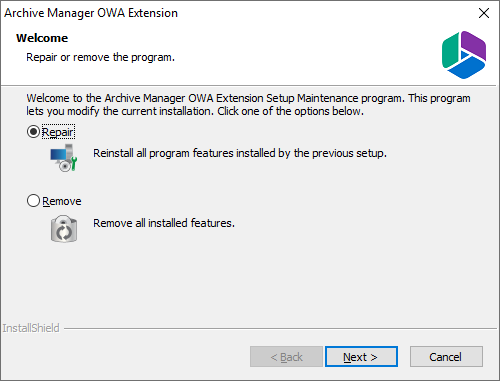
3.Select Repair and click Next. The Logon Information window opens. Verify that the superuser Username is the same. Then re-enter the Password and Confirm Password. You can change the credentials if you want.
4.Click Next. The Select Archive Server window opens. Verify that the Archive server is the same as before or click Browse to change the server.
5.Click Next. The Ready to repair the program window opens.
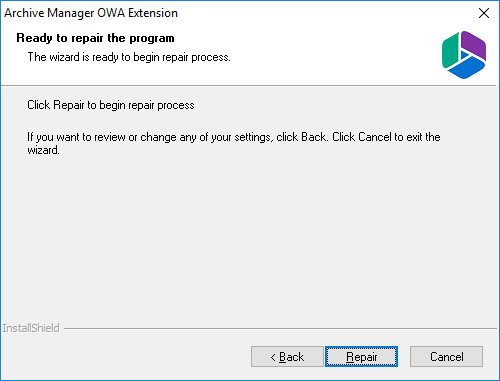
6.Click Repair to proceed with the upgrade. When the upgrade process completes, the Configuration setup wizard starts. If there are no changes to the previous configurations, you may click Cancel to exit the wizard. If you need to change the configuration, see Configuring the OWA extension to complete the upgrade..
Configuring the OWA extension
When the OWA extension is installed or upgraded, the configuration setup wizard starts automatically or follow the steps described below to start and configure OWA manually. If the configuration setup wizard starts automatically, skip to step 4.
1.Locate and run the configuration wizard from C:\Program Files\Quest\MAM4Exchange\Tools\OWA\exchangePamOwaNetInstallation.exe
2.Select the Install/repair option.
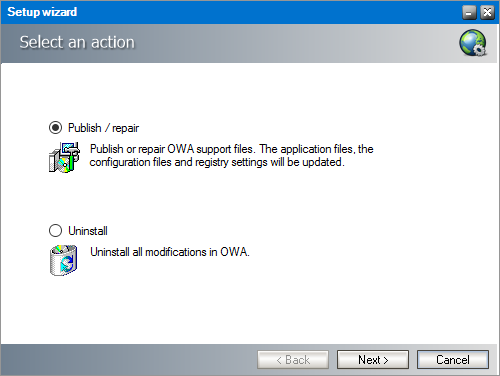
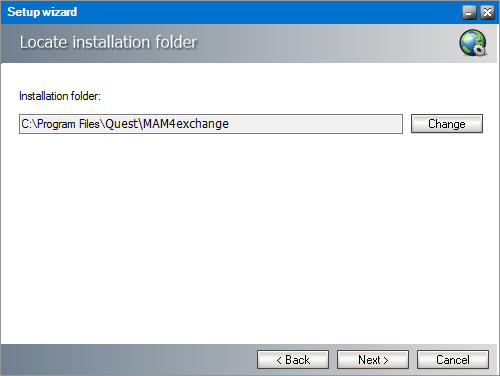
3.Click Next. The Locate installation folder window opens. Verify the installation path displayed. If the path is not correct, click Change to locate the Archive Manager for Exchange installation folder. Then Click Next. The Configuration parameters window opens.
4.Select either Exchange Server or Exchange Online. The default exchange server selection and property values may be different. Please review and revise the values as described below.
For Exchange Server:
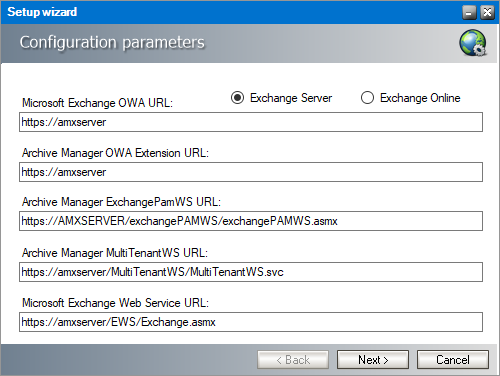
Microsoft Exchange OWA URL - URL of the Microsoft Exchange server.
Archive Manager OWA Extension URL - URL of the server where the OWA extension is installed.
Archive Manager ExchangePamWS URL - URL for the ExchangePamWS service. This service is installed on the Archive Manager server.
Archive Manager Multi TenantWS URL - URL of the MultiTenantWS service. This service is installed on the Archive Manager server.
Microsoft Exchange Web Service URL - URL of the Exchange web service in the format https://<exchange-server>/ews/exchange.asmx. The Exchange Web Service is a set of web services to access the mailboxes on Exchange Server. This web service is normally installed on Exchange Servers with the CAS role.
For Exchange Online:
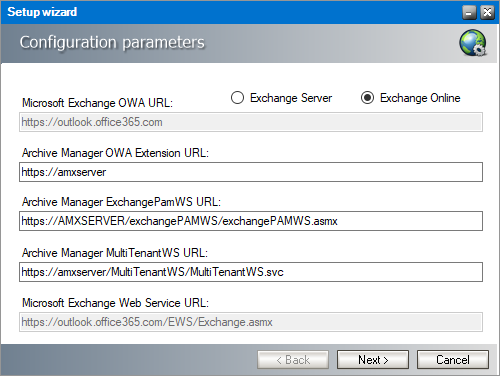
Microsoft Exchange OWA URL - read only property. Default value is https://outlook.office365.com
Archive Manager OWA Extension URL - the URL used to access OWA from the internet. If you use multiple URLs to access OWA, please use the one which is accessible to most of the users.
Archive Manager ExchangePamWS URL - URL for the ExchangePamWS service. This service is installed on the Archive Manager server.
Archive Manager Multi TenantWS URL - URL of the MultiTenantWS service. This service is installed on the Archive Manager server.
Microsoft Exchange Web service URL - read only property. Default value is https://outlook.office365.com/EWS/Exchange.asmx
5.Click Next. In the Exchange Web Services Credentials dialog, provide in the credentials of the superuser that runs the Archive Manager services. It was specified during the installation of Archive Manager.
For Exchange Server:
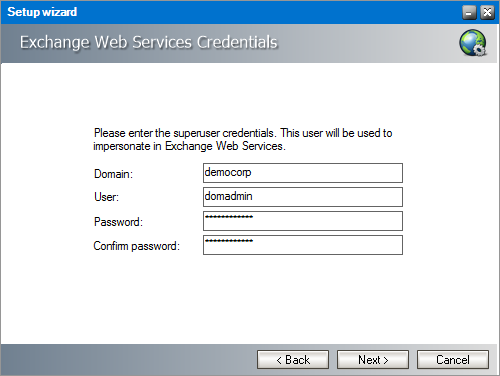
Enter the properties as described below:
Domain - enter the domain name.
User - enter the username.
Password - enter the password.
Confirm password - confirm the password you entered.
For Exchange Online:
|
|
NOTE: You must register your Quest Archive Manager application in Microsoft Entra ID. For more details, see Registering Quest in Microsoft Entra ID for EWS. |
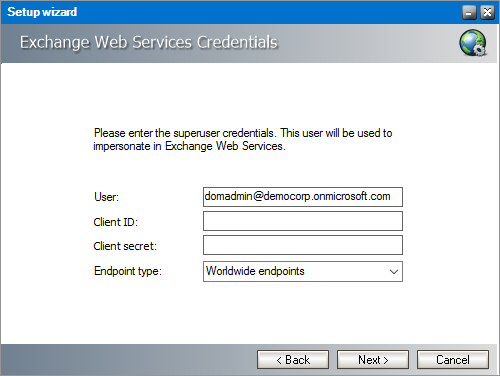
Enter the properties as described below:
User - enter the Exchange Online username.
Client ID - the Application ID that you copied from Microsoft Entra ID.
Client secret - the Client Secret Value that you copied from Microsoft Entra ID.
Endpoint type - select from one of the following endpoints:
·Worldwide endpoints - endpoints for worldwide Microsoft 365 subscriptions, which include the United States Government Community Cloud (GCC).
·U.S. Government DoD endpoints - endpoints for United States Department of Defense (DoD) subscriptions.
·U.S. Government GCC High endpoints - endpoints for United States Government Community Cloud High (GCC High) subscriptions
·Exchange Online Germany endpoints- endpoints for Germany.
6.Click Next. The Server Information window opens.
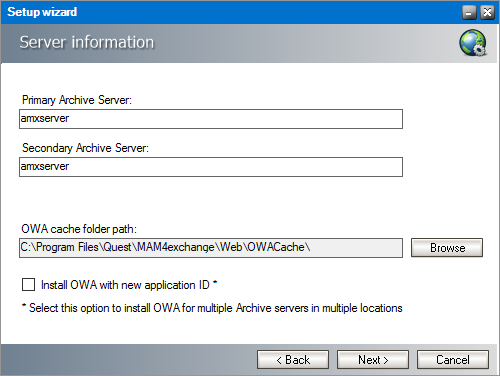
Enter the information as described below:
Primary Archive Server - name of your Archive Manager Archive Server.
Secondary Archive Server - name of your Archive Manager Retrieve Server. For a single-server deployment, the server name is the same as the Primary Archive Server. The secondary server will be used if the primary is not available.
OWA cache folder path - By default, the cache folder is created under the Web folder. Use the Browse button to change the OWA cache path, if necessary.
Install OWA with new application ID - select this option to install OWA for multiple Archive servers in multiple locations. The unique identifier ensures that the Archive servers can reliably detect the OWA extension in different locations.
7.Click Next. The Summary window opens.

8.Click Publish. The Installation window opens and the the upgrade progress is displayed. If this is a first time install, the InstallShield Wizard Complete window opens. If this is a repair or upgrade that completes, the Maintenance Complete window opens.

9.Click Finish to close the configuration setup wizard.
|
|
NOTE: The new settings will not be applied immediately. Either you will have to wait until the system recognizes the changes (done approximately every hour) or you will have to reset the owa application pool: either by recycling the application pool or by resetting IIS. In the latter case connected users will be disconnected and will have to log on again. |
Working with the OWA extension
When the OWA Extension is installed and configured correctly, the Archive Manager OWA extension appears as an icon in the ribbon of the Outlook desktop client, or a menu option in the More Actions menu of any Office 365 Outlook email body. With this extension, you can archive emails with different retention categories, restore archived emails and search for archived emails.
In this chapter:
·Steps to configure the Chrome browser
·Steps to access the OWA extention in Office 365 Outlook
·Steps to access the OWA extention in Outlook desktop
The following topics are described with a reference to an on-premise Outlook client. The same descriptions apply to an O365 Outlook web page:
Steps to configure the Chrome Browser
If you use the Chrome® browser to access OWA, follow the steps below to allow Chrome to interact with OWA without impediments.
1.Open Chrome on the computer from where the Outlook is accessed.
2.At the top right, click More 
3.Click Privacy and security and then Site Settings.
4.Click Additional content settings and then Insecure content.
5.Next to "Not allowed to show insecure content," click Add.
6.Enter the FQDN of the Exchange server. For example, enter amxexch.democorp.com
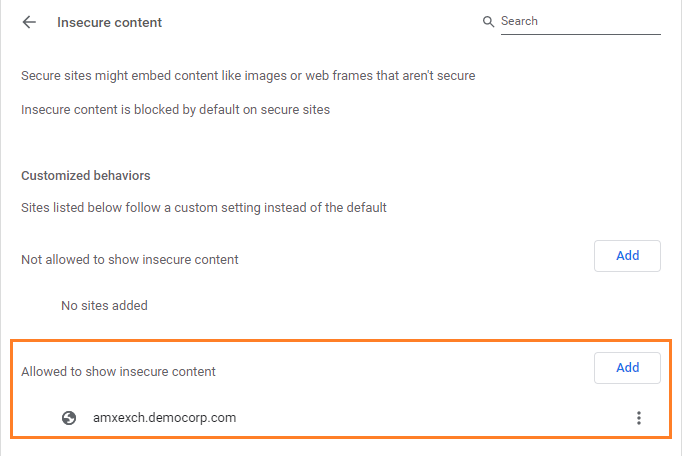
a.To change the default settings: Next to the URL, click More
b.Click either Allow (or Block), Edit, or Remove.
Steps to access the OWA extention in Office 365 Outlook
1.Enter https://outlook.office365.com in your web browser and log in to your instance of Outlook.
2.Open any email and click More Actions from the email pane. The More Actions menu opens.
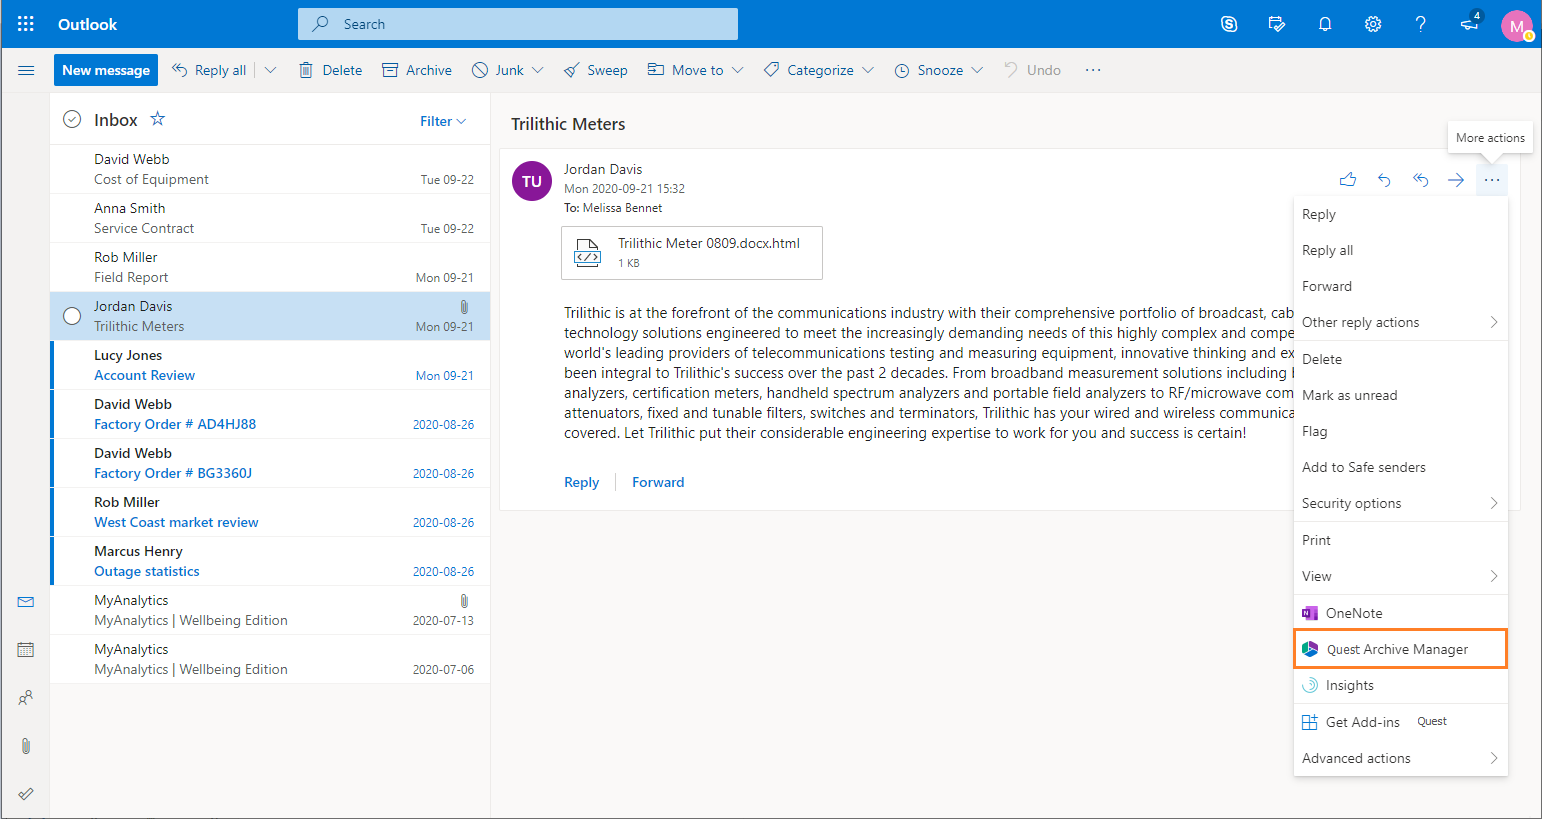
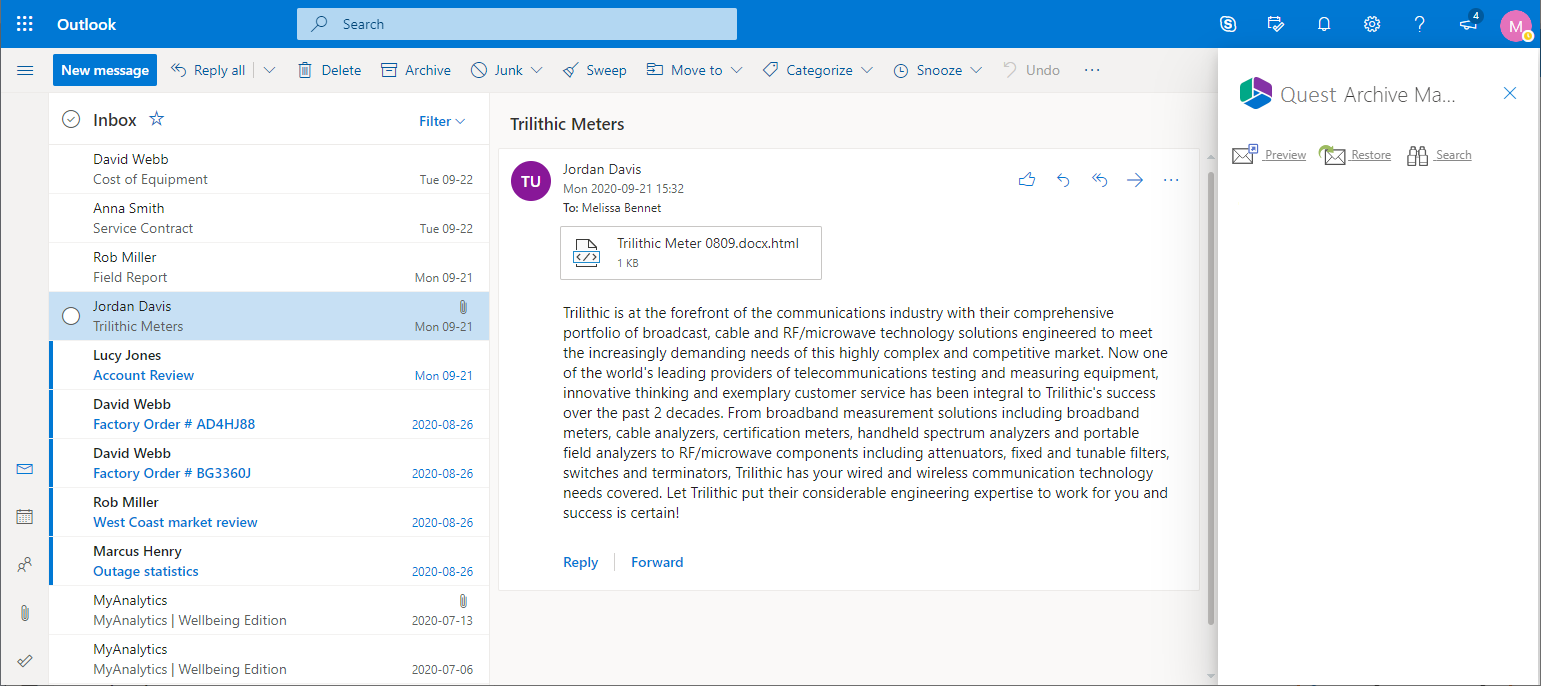
3.Click Quest Archive Manager. The Archive Manager OWA Extension panel opens.
Steps to access the OWA extention in Outlook desktop
1.Enter https://<exchange-server-fqdn-name>/owa in your web browser.
2.Open any email and click the Quest Archive Manager extension link in the message pane. The Archive Manager extension panel expands to display the options available. For non-archived emails, the Archive and Search options are displayed. For non-archived emails, the Preview, Restore and Search options are displayed and the functions that the user is permitted to use depending on what rights they are assigned in the Archive Manager Administration Center (AMAC).

|
|
NOTE: Users can be granted or denied the permission to archive, restore or search for archived emails. The permissions are managed with the Archive Manager Administration Console (AMAC) in the Manager view > Settings > Outlook Addin permissions pane. For more information about permissions, see the Archive Manager for Exchange Administration Guide. |