
About this document
This document describes the steps to upgrade Archive Manager for Files and its components for a single server environment. For multi-server deployments or other cases that require special upgrades from versions older than 8.2, please contact Quest Technical Support Resources.
Steps to download the install media
1.From your browser, navigate to the https://www.quest.com/products/metalogix-archive-manager-for-exchange page
or
navigate to the http://www.quest.com/trials page. Locate the product Metalogix Archive Manager for Exchange.
2.Click the Download Free Trial button.
3.Fill the Download Your Free Trial registration form and click Download Trial. The file download page appears.
4.Download the install media zip file.
5.The the trial license key is specified in the email that is sent to you.
6.Ensure that the files are available locally on the computer on which you are planning to install the Metalogix Archive Manager for Exchange components.
Archive Manager for Files
Upgrading Metalogix Archive Manager for Files implies that a previous version of Metalogix Archive Manager for Files is installed.
|
|
NOTE: Before you upgrade, we recommend you take a backup of the Archive Manager database.. |

Archive Manager for Files can be upgraded in one of two ways:
·automatically, with the Archive Manager installer. This method automatically upgrades Archive Manager for Files on the same server where it was previously installed.
·manually, using the Archive Manager for Files Setup.exe file. This method manually upgrades Archive Manager for Files on the same server where it was previously installed.
In this chapter:
·Steps to automatically upgrade with the Archive Manager installer
·Steps to manually upgrade with the Archive Manager for Files installer
·Steps to manually upgrade the Archive Manager for Files database
Steps to automatically upgrade with the Archive Manager installer
1.Download the latest Metalogix Archive Manager for Files install media. For instructions see Steps to download the install media.
2.Run the Metalogix Archive Manager Installation Package.
3.The wizard checks whether the Metalogix Archive Manager for Files installation requires an upgrade. If it does, the Upgrade option will be selected automatically.
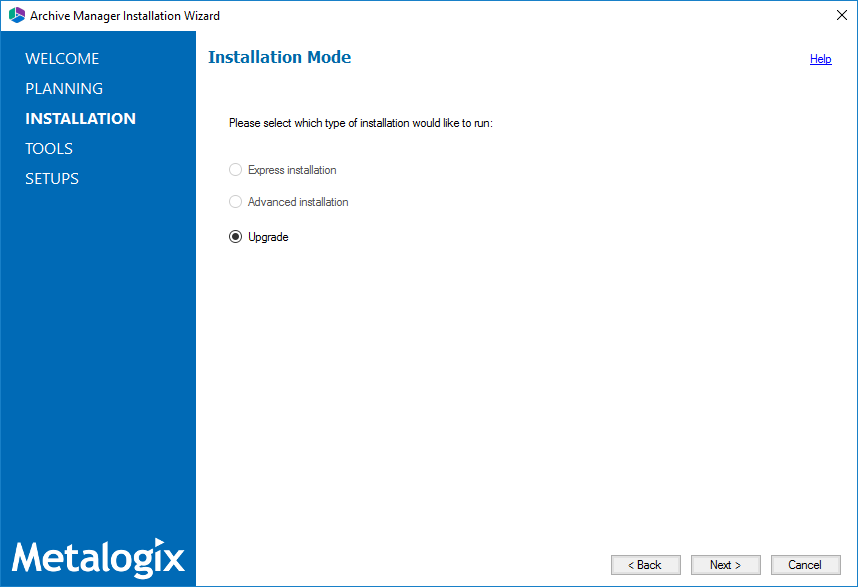
4.Click Next. The Installation Components page appears with a list of components that are already installed on the server. You can select which components to upgrade.
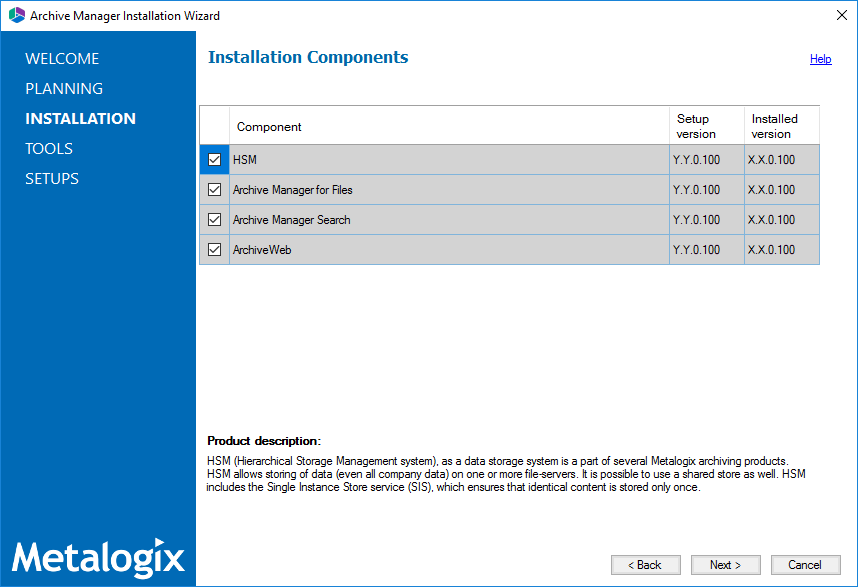
5.Click Next. The Checking Prerequisites page appears. A check is conducted to find out if a new prerequisite is needed for the upgrade.
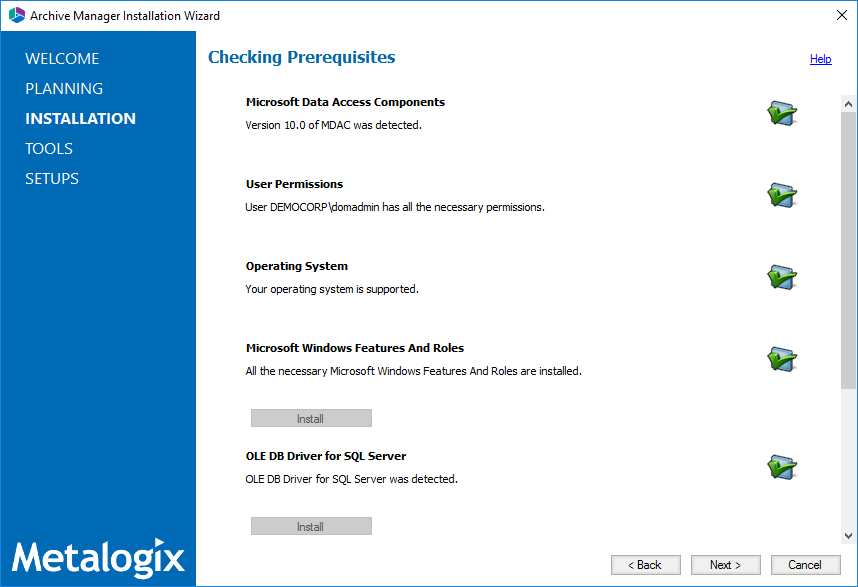
6.Click Next. The Superuser Account page appears. Specify and confirm the password.
|
|
NOTE: The Superuser name cannot be changed. |
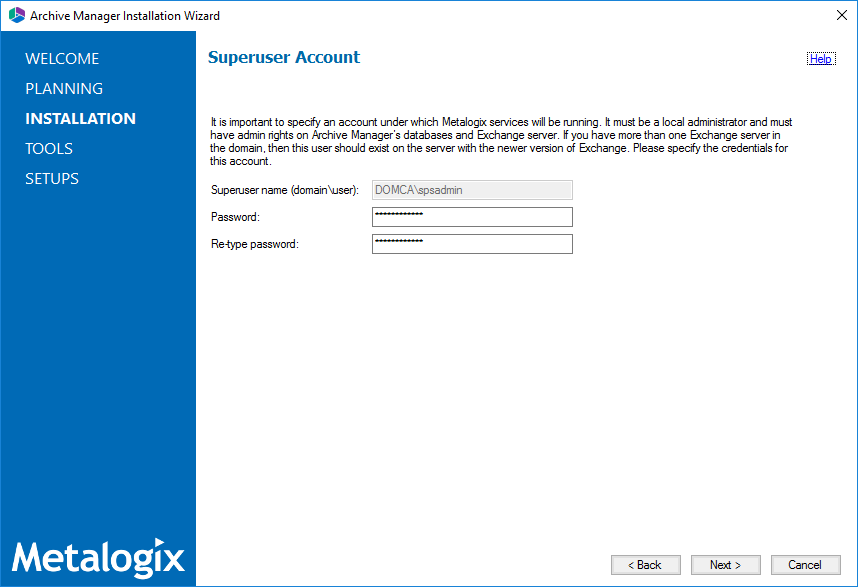
7.Click Next. The Summary Installation page appears. This page presents information about component versions that will be installed after the update (Setup version column), and versions that are currently installed (Installed version column).
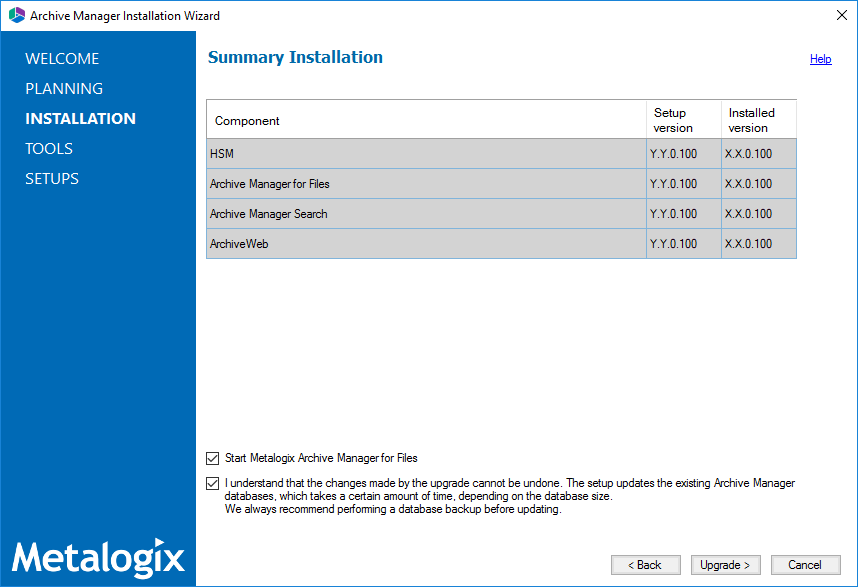
a.Select the check box Start Metalogix Archive Manager for Files to open the Archive Manager for Files Administration Center (AMAC) when the upgrade completes.
b.Select the check box I understand that... to confirm that you have acknowledged the upgrade. The setup updates the Archive Manager database. If the check box is not selected, you cannot install the upgrade.
8.Click Install to start the upgrade. Click Back to return to the previous page or click Cancel to exit the upgrade wizard. If you click Install, the upgrade process starts. The upgrade progress for each component is displayed and the operation is confirmed.
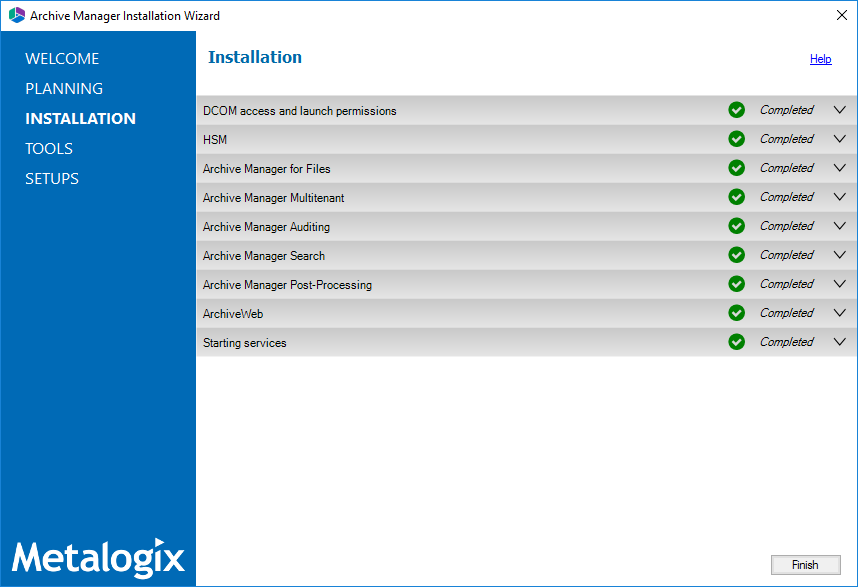
9.Click Finish to close the wizard when all the components are upgraded.
Steps to manually upgrade with the Archive Manager for Files installer
1.Run the Archive Manager Search installer. the default location is C:\Archive Manager Installation Package\Archive Manager Search\Archive Manager for Files Setup.exe. The Welcome window opens.
|
|
NOTE: A prerequisite check occurs and missing requirements if any are displayed. Install the prerequisites. |
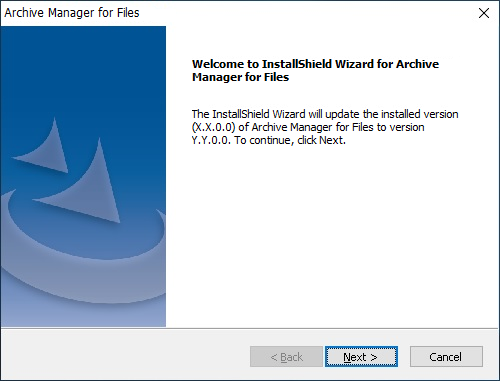
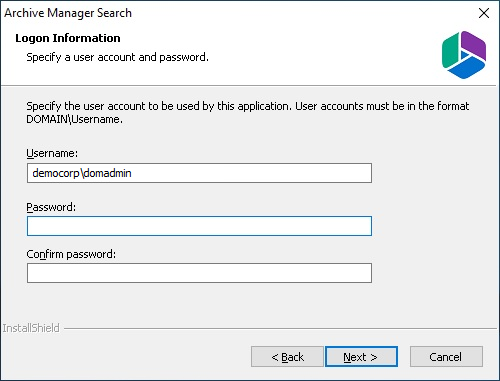
2.Click Next. The Logon Information window opens.
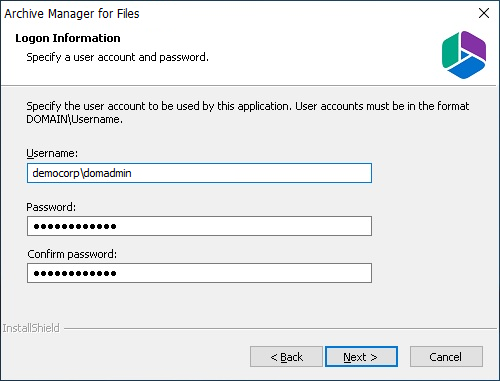
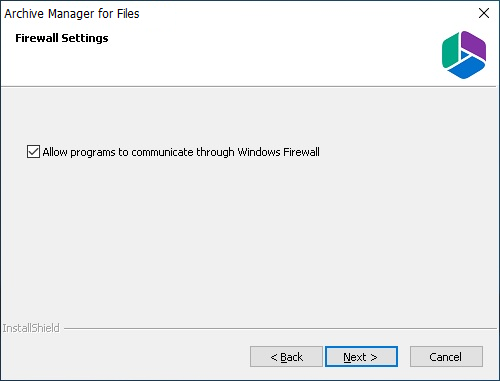
3.Click Next. The Firewall Settings window opens. Select the check box to allow communications through server firewalls. By default, the Allow programs to communicate through Windows Firewall is checked. This will allow critical services to communicate with the Archive Manager for Files service. If you clear the check box, critical services may not be able to communicate through the firewall.
4.Click Next. The Ready to modify the program window opens.

5.Click Update to upgrade Search. If you want to review or change the wizard settings, click the Back button. To exit the wizard click Cancel. When the upgrade completes the Update Complete window opens.
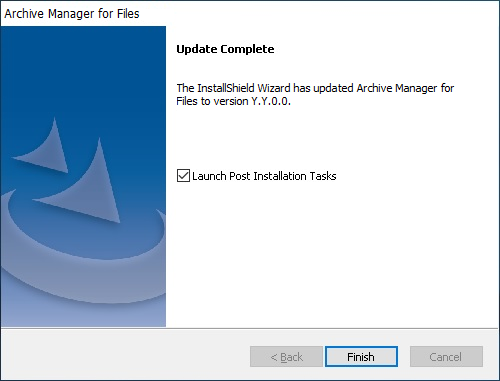
6.Select Launch Post Installation Tasks to open the Archive Manager Configuration Tool to manually upgrade the Archive Manager for Files database. Click Finish.
Steps to manually upgrade the Archive Manager for Files database
If you choose this manual process and database scripts are upgraded, you must run the scripts manually from the Archive Manager Configuration Tool for three components: Files Archive, Auditing and Users.
For Files Archive
1.From the feature panel on the left in the Archive Manager Configuration Tool, click Files Archive and select the Database tab.
2.Verify that the database connection information is as expected. Then click Run Scripts. The Run Scripts selection window opens.
3.Click Select All to select all check boxes. Click Next. The View SQL scripts window opens.
4.Click Next. The Run Scripts authentication window opens. Enter the information as described below:
a.Authentication - authentication type used for the database. Choose either Windows authentication or SQL Server authentication
a.Database user - database login username if SQL Server authentication is the selected as the authentication mode.
b.Password - password of the database user if SQL Server authentication is the selected as the authentication mode.
c.(optional) Check the I want to review the SQL Scripts check box to view the scripts.
5.Click Next. If you chose to view the SQL scripts then the View SQL scripts window opens. If you chose to view the Oracle scripts then the View Oracle scripts window opens
Click Save Script to save the script as a script file to a folder. Check the Word wrap check box to display long lines as multiple lines of text.
6.Click Next. The Run SQL scripts window reopens with the scripts you have chosen to run.
7.Click Next. When the status changes to Scripts were run successfully, click Finish to close the script installer. The Scripts section of the Database tab displays the status and updated version of the scripts.
For Auditing
1.From the feature panel on the left in the Archive Manager Configuration Tool, click Auditing and select the Database tab.
2.Repeat steps 2 to 7 as described above.
For Users
1.From the feature panel on the left in the Archive Manager Configuration Tool, click Users and select the Database tab.
2.Repeat steps 2 to 7 as described in the previous section.
HSM
You can automatically upgrade HSM with the Archive Manager installer. If you need to manually upgrade HSM, follow the steps described below.
|
|
NOTE: Upgrading HSM does not upgrade third party file storage systems used as HSM stores. Refer to the upgrade manuals for the third party file storage products. |
In this chapter:
·Steps to manually upgrade with the HSM installer
·Steps to manually upgrade the HSM database
Steps to manually upgrade with the HSM installer
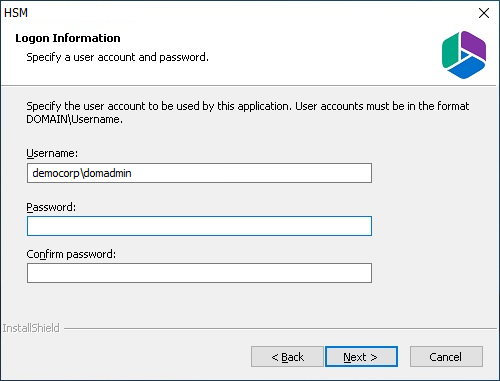
1.Log in to the HSM server with the credentials of the superuser (eg. democorp\domadmin)
2.Download the installation media. For more information see Steps to download the install media.
3.Run the Metalogix Archive Manager Installation Package to extract the files to a local folder.
4.Close the unified installer wizard which starts automatically.
5.Run the HSM setup from <Media folder>\Archive Manager Installation Package\HSM\HSM Setup.exe
|
|
NOTE: A prerequisite check occurs and missing requirements if any are displayed. Install all missing requirements before you proceed. |
6.The Welcome window of the HSM installer opens.
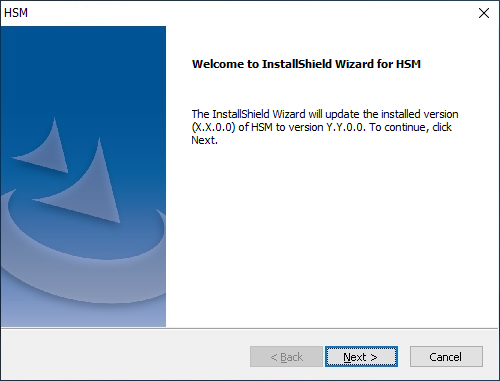
7.Click Next. The Logon Information window opens.
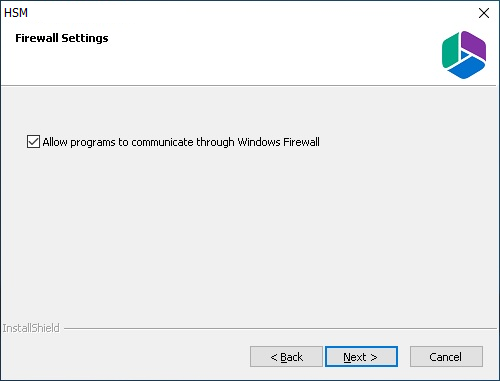
8.Click Next. The Firewall Settings window opens if the Windows Firewall is active on your computer. By default, the Allow programs to communicate through Windows Firewall is checked. This will allow critical services to communicate with the HSM service. If you clear the check box, critical services may not be able to communicate through the firewall.
9.Click Next. The Ready to update the program window opens.
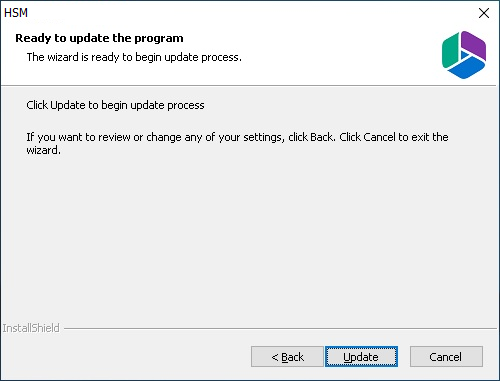
10.Click Update to upgrade HSM. If you want to review or change the wizard settings, click the Back button. To exit the wizard click Cancel. When the upgrade completes the Update Complete window opens.

11.Click Finish to close the installer.
Steps to manually upgrade the HSM database
If you choose the manual upgrade process, you must run the scripts manually from the Archive Manager Configuration Tool.
1.From the feature panel on the left in the Archive Manager Configuration Tool, click HSM and select the Database tab.
2.Verify that the database connection information is as expected. Then click Run Scripts. The Run Scripts selection window opens.
3.Click Select All to select all check boxes. Click Next. The View SQL scripts window opens.
4.Click Next. The Run Scripts authentication window opens. Enter the information as described below:
a.Authentication - authentication type used for the database. Choose either Windows authentication or SQL Server authentication
a.Database user - database login username if SQL Server authentication is the selected as the authentication mode.
b.Password - password of the database user if SQL Server authentication is the selected as the authentication mode.
c.(optional) Check the I want to review the SQL Scripts check box to view the scripts.
5.Click Next. If you chose to view the SQL scripts then the View SQL scripts window opens. If you chose to view the Oracle scripts then the View Oracle scripts window opens
Click Save Script to save the script as a script file to a folder. Check the Word wrap check box to display long lines as multiple lines of text.
6.Click Next. The Run SQL scripts window reopens with the scripts you have chosen to run.
7.Click Next. When the status changes to Scripts were run successfully, click Finish to close the script installer. The Scripts section of the Database tab displays the status and updated version of the scripts.
Search
You can automatically upgrade search using the Archive Manager installer. If you need to manually upgrade the search or post processing services, follow the steps described below.
In this chapter:
·Steps to manually upgrade with the Search installer
·Steps to manually upgrade the Search database
Steps to manually upgrade with the Search installer
1.Run the Archive Manager Search installer. the default location is C:\Archive Manager Installation Package\Archive Manager Search\Archive Manager Search Setup.exe. The Welcome window opens.
|
|
NOTE: A prerequisite check occurs and missing requirements if any are displayed. Install the prerequisites. |

2.Click Next. The Logon Information window opens.
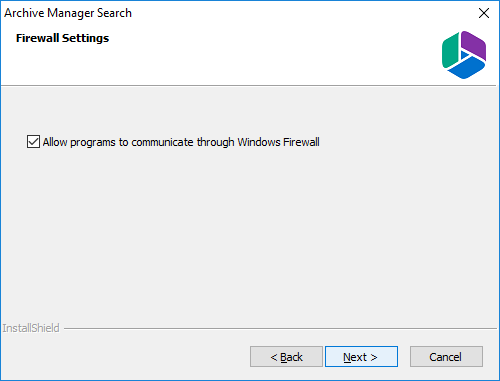
3.Click Next. The Firewall Settings window opens. Select the check box to allow communications through server firewalls. By default, the Allow programs to communicate through Windows Firewall is checked. This will allow critical services to communicate with the SMTP service. If you clear the check box, critical services may not be able to communicate through the firewall.
4.Click Next. The Ready to modify the program window opens.

5.Click Update to upgrade Search. If you want to review or change the wizard settings, click the Back button. To exit the wizard click Cancel. When the upgrade completes the Update Complete window opens.
6.Click Finish.
Steps to manually upgrade the Search database
If you choose this manual process and database scripts are upgraded, you must run the scripts manually from the Archive Manager Configuration Tool for two components: Search and Post Processing.
For Search
1.From the feature panel on the left in the Archive Manager Configuration Tool, click Search and select the Database tab.
2.Verify that the database connection information is as expected. Then click Run Scripts. The Run Scripts selection window opens.
3.Click Select All to select all check boxes. Click Next. The View SQL scripts window opens.
4.Click Next. The Run Scripts authentication window opens. Enter the information as described below:
a.Authentication - authentication type used for the database. Choose either Windows authentication or SQL Server authentication
a.Database user - database login username if SQL Server authentication is the selected as the authentication mode.
b.Password - password of the database user if SQL Server authentication is the selected as the authentication mode.
c.(optional) Check the I want to review the SQL Scripts check box to view the scripts.
5.Click Next. If you chose to view the SQL scripts then the View SQL scripts window opens. If you chose to view the Oracle scripts then the View Oracle scripts window opens
Click Save Script to save the script as a script file to a folder. Check the Word wrap check box to display long lines as multiple lines of text.
6.Click Next. The Run SQL scripts window reopens with the scripts you have chosen to run.
7.Click Next. When the status changes to Scripts were run successfully, click Finish to close the script installer. The Scripts section of the Database tab displays the status and updated version of the scripts.
For Post Processing
1.From the feature panel on the left in the Archive Manager Configuration Tool, click Post Processing and select the Database tab.
2.Repeat steps 2 to 7 as described in the previous section.